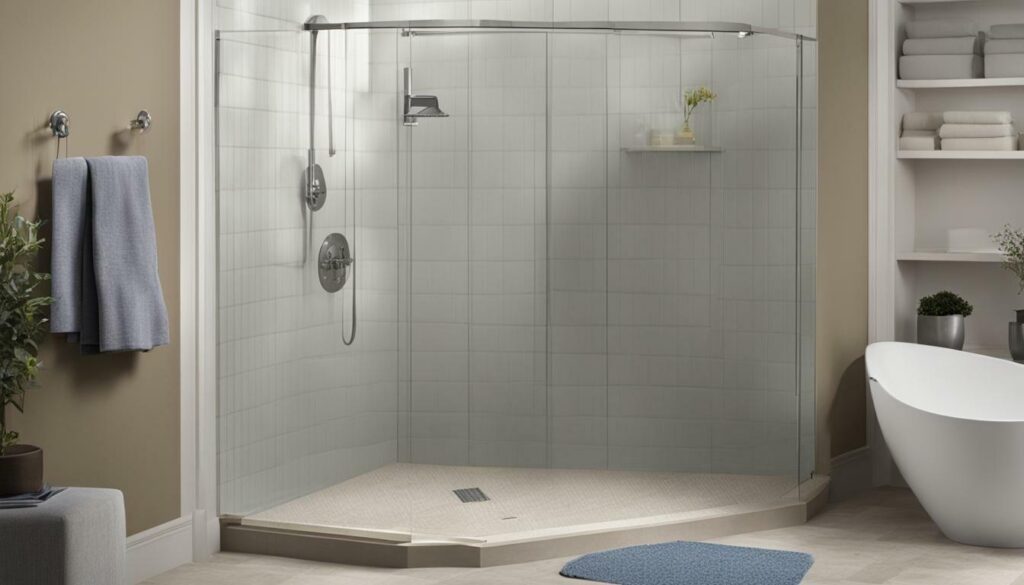
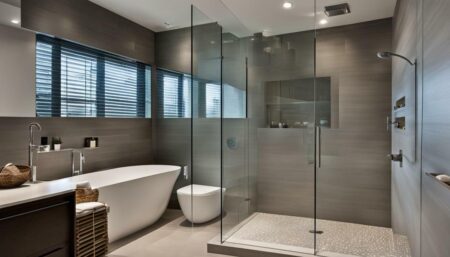
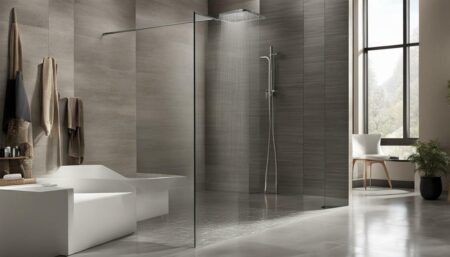
Are you looking to create a stylish and accessible bathroom? Or perhaps you want to upgrade your existing shower? Installing a curbless shower is the perfect solution for both! In this comprehensive guide, we will walk you through the process of installing a curbless shower in your home. With step-by-step instructions and helpful tips for each stage of the installation, you’ll be enjoying a barrier-free shower experience in no time.
- Installing a curbless shower can enhance the accessibility and aesthetics of your bathroom.
- Proper planning and preparation are crucial to the success of your curbless shower installation project.
- The curbless shower pan, waterproofing, and drain installation are essential components of a curbless shower.
- Adding tiles, fixtures, and accessories can enhance the functionality and style of your curbless shower.
- Maintenance and care are important for ensuring the longevity and functionality of your curbless shower.
Planning and Preparation
Installing a curbless shower is an excellent way to create an accessible and stylish bathroom. Before you begin your project, take the time to plan and prepare properly to ensure success.
Curbless Shower Design Ideas
There are many different curbless shower design ideas to choose from, so it’s essential to find the one that best suits your needs and preferences. One popular option is an open-concept design that blends seamlessly into the rest of the bathroom. Another great choice is a walk-in shower with multiple showerheads and a built-in bench for added comfort and convenience. Regardless of the design you choose, careful planning and preparation are key to success.
Curbless Shower Construction
Proper curbless shower construction is essential to ensure the longevity and functionality of your shower. Before you begin, make sure to have all the necessary tools and materials on hand, including a waterproofing membrane, a shower pan, and tiles. It’s also important to ensure that the subfloor and plumbing are in good condition before starting the construction process.
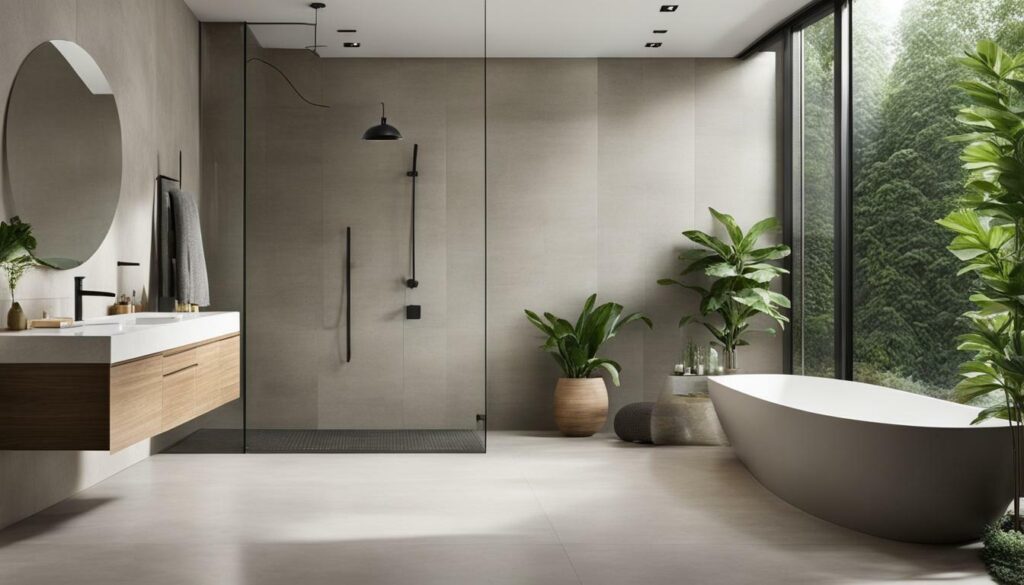
Once you have all the necessary materials, it’s time to begin the construction process. Proper preparation and attention to detail are essential to ensure success. Take the time to carefully measure and plan each stage of the construction process, and don’t hesitate to seek professional guidance and support if necessary.
Demolition and Removal
Before starting the installation of your curbless shower, the existing shower must be removed. This is crucial for creating a proper base and ensuring the longevity of your curbless shower.
The first step is to turn off the water supply from the main valve. Use a wrench to remove the showerhead, faucet handles, and any other fixtures. Next, remove the shower pan, walls, and tiles. If you encounter any stubborn tiles, use a chisel and hammer to break them. Be careful not to damage the pipes or underlying structure.
Once the shower is completely removed, inspect the area for any water damage or mold. Any issues must be addressed before proceeding with the installation. It is also important to ensure that the plumbing is in good condition and meets the requirements for a curbless shower installation.
Proper demolition and removal are crucial for a successful curbless shower construction project. Take your time and be meticulous in removing the existing shower to create a clean and level base for your new curbless shower.
Curbless Shower Pan Installation
The curbless shower pan is a crucial element of accessible shower installation. It not only provides a practical base for your shower but also ensures that the water drains away efficiently, preventing water damage and slip hazards.
Follow these steps for a successful curbless shower pan installation:
- Prep the area: Before installing the curbless shower pan, ensure the area is free of debris and has been properly cleaned and dried. Make sure the subfloor is level and stable.
- Install the drain: Install the drain assembly according to the manufacturer’s instructions. The drain should be installed at the lowest point of the shower area to ensure proper drainage.
- Create the slope: To allow for proper drainage, the shower pan needs to have a slope of at least 1/4 inch per foot. Use a level to ensure the slope is consistent and runs towards the drain.
- Cut the shower pan liner: Measure and cut the shower pan liner to fit the shower area. Make sure the liner extends up the walls by at least 3 inches.
- Install the liner: Secure the liner to the shower area using adhesive or fasteners, making sure to remove any air pockets. The liner should be snug against the shower floor and walls.
- Add the shower pan mortar: Mix the shower pan mortar according to the manufacturer’s instructions and spread it over the liner, making sure to follow the slope created earlier.
- Smooth the mortar: Smooth the mortar using a trowel and ensure it is level and even. Allow the mortar to dry completely before moving on to the next step.
- Install the shower drain cover: Once the mortar is dry, install the shower drain cover and test the drainage system to ensure it is working properly.
Following these steps will ensure a proper and reliable curbless shower pan installation, creating a solid foundation for your accessible shower project.
Waterproofing and Drain Installation
Waterproofing your curbless shower is an essential step to prevent any water damage to your bathroom. There are different materials and techniques you can use to waterproof your shower, including liquid waterproofing membrane or waterproofing tape. Make sure to apply the waterproofing material to all surfaces that come into contact with water, including the shower walls, floor, and curbless shower pan.
Once you have applied the waterproofing membrane, the next step is to install the drain. The drain is an important component as it ensures that the water is diverted away from the shower’s surface. You can choose from different types of drain systems, including linear drains or traditional round drains. Ensure that the drain is installed correctly, and the waterproofing membrane is sealed around it.
| Tip: | Test the waterproofing by pouring water over the surfaces, including the drain, and checking for leaks before tiling the shower. This will help prevent any water damage in the long run. |
|---|
Proper waterproofing and drain installation are necessary steps to ensure your curbless shower’s longevity without any water damage to your bathroom.
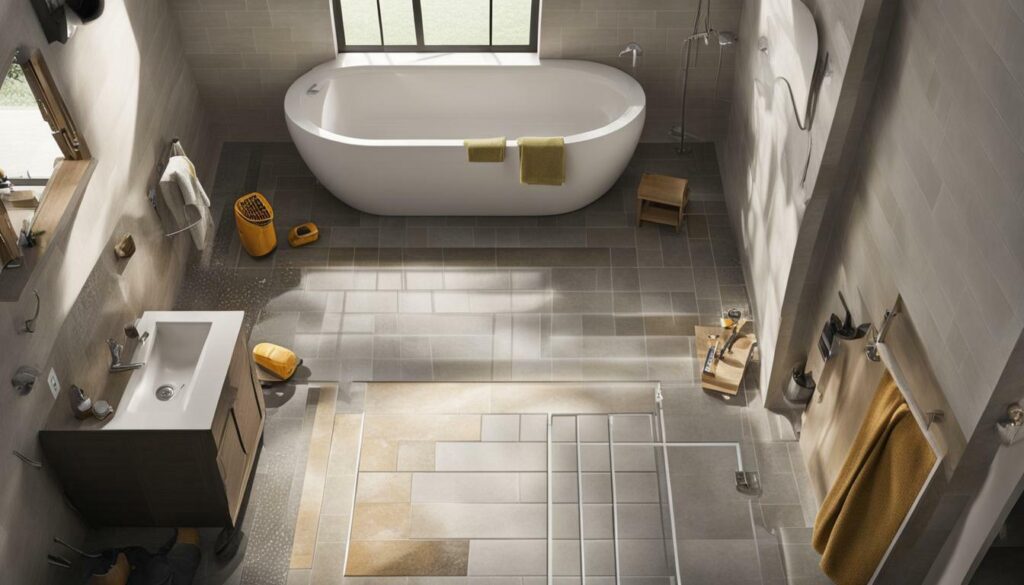
“Waterproofing is a crucial step to prevent any water damage to your bathroom. It’s important to invest in quality waterproofing materials and techniques for a long-lasting curbless shower.”
Curbless Shower Drain Installation
“Installing the drain system correctly ensures that water is diverted away from the shower’s surface, preventing any water damage. Take care during the installation process to avoid any leaks.”
Curbless Tile Shower Installation: Step-by-Step Guide
Adding tiles to your curbless shower not only enhances its visual appeal but also provides a durable and easy-to-clean finish. Follow these steps to tile the walls and floor of your curbless shower:
- Measure and plan: Measure your shower space and plan the layout of the tiles. Ensuring that the tiles are cut and installed precisely is crucial to avoid any gaps or uneven surfaces.
- Prepare the surface: Ensure the shower floor and walls are clean, dry, and debris-free. Apply a coat of waterproofing membrane to the walls and floor to prevent water damage.
- Install the tiles: Begin with the first row of tiles on the shower floor, starting from the drain and working your way toward the wall. Use a tile spacer to ensure even gaps between tiles. Continue laying tiles in rows until the entire floor is covered. Repeat the same process for the walls. Use a tile cutter to cut tiles to size for edges and corners.
- Grout the tiles: After the tiles have been set and the adhesive has cured, remove the tile spacers and fill in the gaps between tiles with grout. Use a float to spread the grout and wipe away any excess with a damp sponge. Allow the grout to dry for a day.
- Seal the tiles: Apply a coat of tile sealer to protect the grout and tiles from moisture and stains. Allow the sealer to dry for a day before using the shower.
With these steps, you can successfully install tile in your curbless shower, adding a touch of elegance and durability to your bathroom.
Adding fixtures and accessories can significantly improve the functionality and accessibility of your curbless shower. When selecting these elements, consider the needs of individuals who may require additional support or assistance, such as grab bars or handheld showerheads. These additions can ensure a safe and comfortable shower experience for everyone.
When installing fixtures and accessories, ensure that they are securely mounted and meet local building codes. Consider the placement of these elements, ensuring they are within reach and easily accessible.
One popular addition is the installation of a shower bench. This provides a convenient seating option for those who may require it. A shower bench can also be used to store shower essentials, reducing clutter and keeping everything within reach.
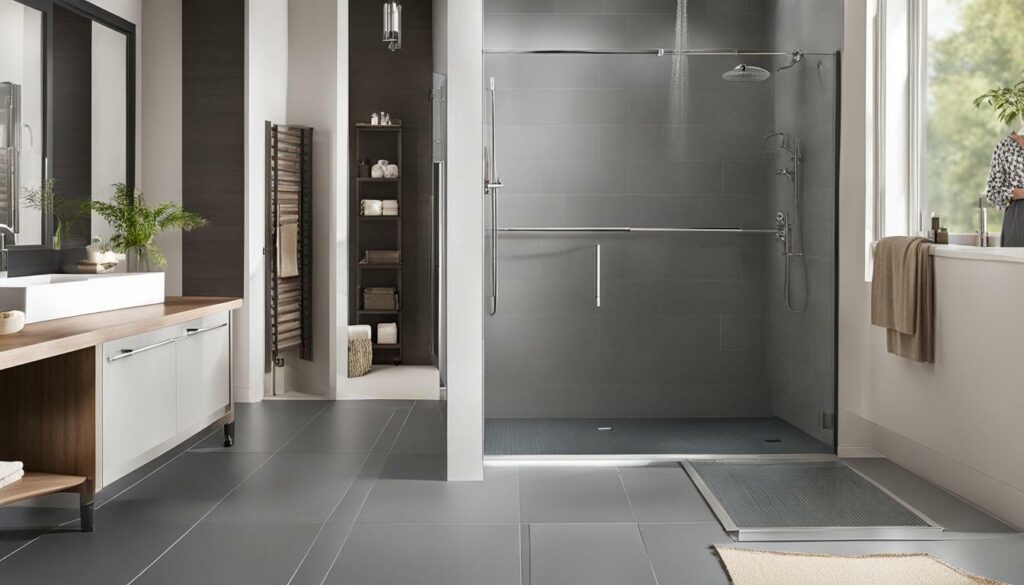
Another important fixture is the showerhead. Opt for a handheld showerhead that can be adjusted to the desired height and direction. This allows individuals to shower with ease, regardless of their mobility restrictions.
Installation of grab bars is essential to ensure safety and stability for those who require additional support. Consider installing grab bars in various locations to provide optimal assistance, such as near the shower bench or toilet.
Fixtures and Accessories
Now that the major components of your curbless shower installation are complete, it’s time to focus on the fixtures and accessories that will make your shower functional and accessible.
When selecting fixtures, consider their durability and functionality. Look for showerheads and faucets that are easy to use and maintain. Choose grab bars that can support weight and are positioned for optimal accessibility.
When installing fixtures and accessories, ensure that they are properly anchored. Use waterproof materials to prevent damage and ensure longevity.
Adding a bench or seat to your curbless shower can also enhance its functionality and accessibility. Consider the size and positioning of the bench to ensure maximum comfort and convenience.
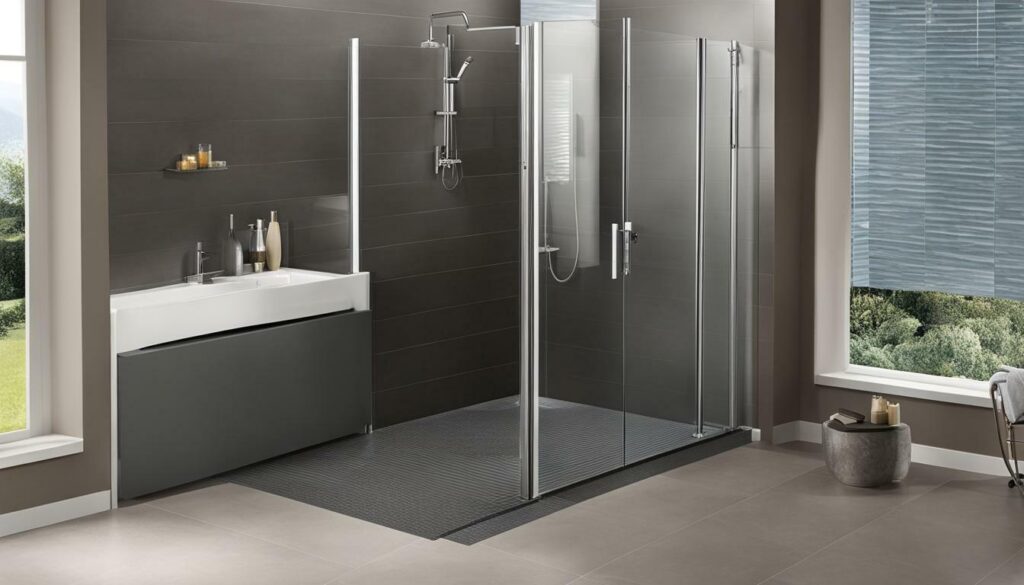
Tip: When selecting fixtures and accessories, look for those that are specifically designed for accessible shower installation. These can provide additional features, such as handheld showerheads and adjustable grab bars.
Maintenance and Care Tips
Congratulations on successfully installing your new curbless shower! To ensure it remains in top condition, proper maintenance and care are essential. Follow these tips to maintain your accessible shower installation:
- Regular Cleaning: Clean the shower area regularly to prevent the buildup of soap scum, mold, and mildew. Use a non-abrasive cleaning solution and a soft cloth or sponge to wipe down the walls and floor. Avoid using harsh chemicals or abrasive scrubbers that can damage the tile and grout.
- Sealing: Once a year, seal the tile and grout to prevent water damage and maintain the shower’s integrity. Consult with a professional to determine the type of sealer that is best for your tile and grout.
- Drain Maintenance: Remove debris from the drain regularly to prevent clogging and water backup. Use a hair catcher or strainer to catch hair and other debris before it enters the drain.
- Repair Damage: If you notice any cracks or chips in the tile or grout, repair them immediately. Ignoring damage can lead to water damage and mold growth.
By following these simple maintenance and care tips, your curbless shower installation will remain in excellent condition for years to come.
Embarking on a curbless shower installation project may seem daunting, but with the right guidance, it can be a rewarding and fulfilling experience. Following the step-by-step guide in this article, you can create an accessible and stylish shower in your home.
Remember to plan and prepare carefully before beginning the construction process. Proper demolition, installation of the curbless shower pan, waterproofing, drain installation, tiling, and fixtures and accessories are crucial steps in creating a functional and safe shower for you and your loved ones.
Investing in Your Home
By creating a curbless shower in your home, you are investing in its long-term value and making it a more accessible and welcoming space for guests and family members. The finishing touches, such as sealing and caulking, can make a significant difference in your curbless shower’s overall look and functionality, so don’t overlook these final details.
Maintenance and Care
Proper maintenance and care are crucial for ensuring the longevity and functionality of your newly installed shower. Follow the tips and advice provided in this article to keep your curbless shower in top condition.
Mastering the art of curbless shower installation is achievable with the right guidance and knowledge. Start your curbless shower installation project today and enjoy the benefits of a barrier-free shower experience.


