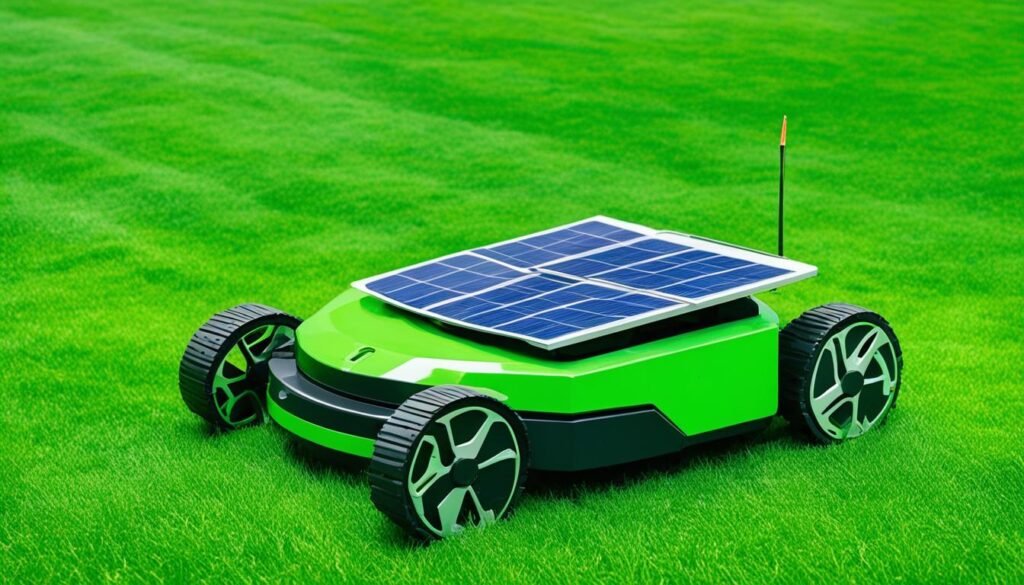
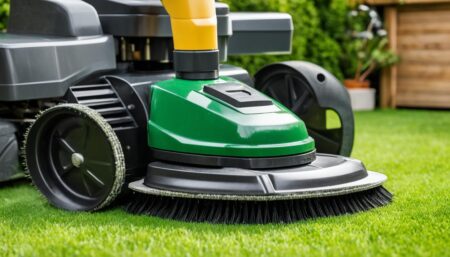
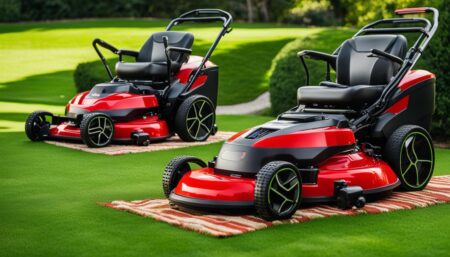
Are you tired of spending hours mowing your lawn every week? Imagine having a robotic helper that can take care of your lawn effortlessly. With a DIY robot lawn mower, you can make this dream a reality! In this article, we will guide you step-by-step on how to build your own robot lawn mower, turning your lawn care into an exciting DIY project.
Key Takeaways:
- Building a DIY robot lawn mower gives you the freedom to customize it according to your specific needs and preferences.
- Constructing your own robot mower can be a cost-effective alternative to purchasing a commercial model.
- Creating a functional robot from scratch brings a sense of satisfaction and accomplishment.
- Choosing the right equipment is crucial for optimal performance and ease of assembly.
- Following a step-by-step guide is essential to ensure proper assembly and programming of the robot.
Why Build a DIY Robot Lawn Mower?

Building a DIY robot lawn mower offers numerous benefits and advantages that cater to your specific needs and preferences. Let’s take a closer look at why constructing your own robot mower is a fantastic idea:
1. Customization
When you build your own DIY robot lawn mower, you have the freedom to customize it according to your exact requirements. You can choose the cutting height, mowing pattern, and even add additional features such as obstacle detection or GPS navigation. This level of customization ensures that your robot mower delivers optimal performance tailored to your lawn’s unique characteristics.
2. Cost-effectiveness
Building your own robot lawn mower can be a cost-effective alternative to purchasing a commercial model. By sourcing your own components and utilizing readily available materials, you can significantly reduce the cost compared to buying a pre-made robot mower. Plus, with the satisfaction of building it yourself, you’ll enjoy even greater value for your money.
3. Sense of Accomplishment
Creating a functioning robot from scratch is a highly rewarding experience. Building a DIY robot lawn mower allows you to showcase your technical skills and creativity. Witnessing your creation autonomously navigate your lawn and maintain it to perfection brings a sense of satisfaction and accomplishment that can’t be compared to simply purchasing a ready-made model.
“Building a DIY robot lawn mower allows you to showcase your technical skills and creativity.”
By considering these benefits, you can make an informed decision to embark on the exciting journey of building your own DIY robot lawn mower.
Choosing the Right Equipment

When it comes to building your own DIY robot lawn mower, selecting the right equipment is crucial. Having the essential components ensures optimal performance and ease of assembly. Here are the key items you’ll need:
- A Suitable Lawnmower Base: Choose a sturdy lawnmower with a metal frame as the foundation for your robot.
- Dual-Motor Controller: This component controls the movement of the robot and coordinates the motors.
- RC Transmitter and Receiver: These devices allow you to wirelessly control and communicate with your robot.
- Front Caster Wheels: Install these wheels to enhance maneuverability and stability.
- High Amp Hour Batteries: Invest in batteries with a high capacity to provide sufficient power for your robot.
- Motors from Powered Wheelchairs or Mobility Scooters: Source motors from these devices to drive the wheels of your robot effectively.
By carefully selecting the above components, you can ensure that your DIY robot lawn mower has the essential elements for successful construction. Now let’s take a closer look at how these components come together in the building process.
| Component | Description |
|---|---|
| Lawnmower Base | A sturdy lawnmower with a metal frame that serves as the foundation for your robot |
| Dual-Motor Controller | An essential component that controls the movement of the robot and coordinates the motors |
| RC Transmitter and Receiver | Devices that allow you to wirelessly control and communicate with your robot |
| Front Caster Wheels | Wheels installed at the front of the robot to enhance maneuverability and stability |
| High Amp Hour Batteries | Batteries with a high capacity to provide sufficient power for your robot |
| Motors from Powered Wheelchairs or Mobility Scooters | Motors sourced from these devices to effectively drive the wheels of your robot |
Building the Robotic Lawnmower Set-Up
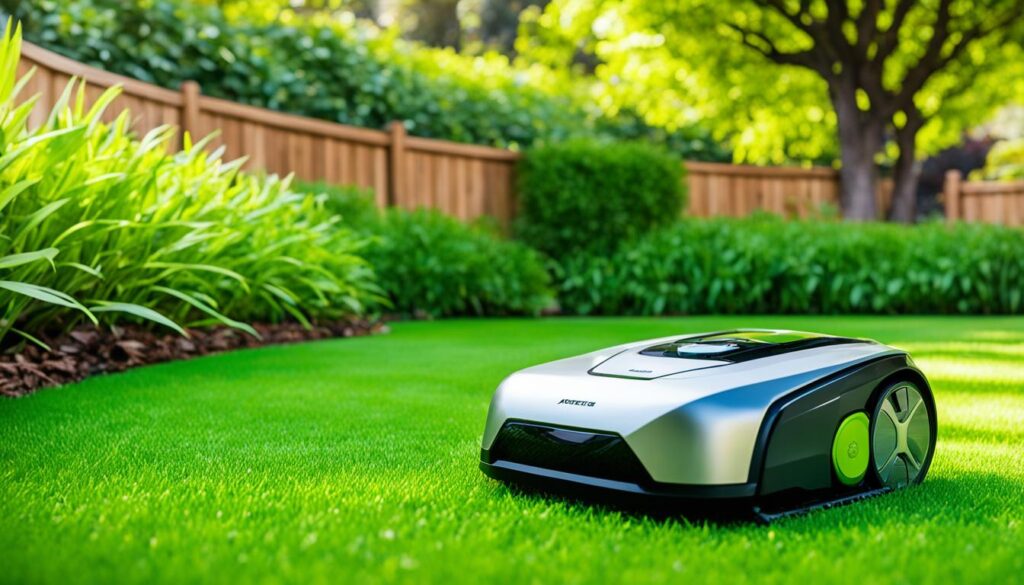
The process of building the robotic lawnmower set-up involves several important steps that will transform an ordinary lawnmower into a DIY robot lawn mower. By following this step-by-step guide, you’ll be able to create a fully functional and efficient robotic landscaper for your lawn.
- Select a Sturdy Lawnmower – Begin by choosing a lawnmower with a strong metal frame. This will provide a stable base for your robot lawn mower, ensuring durability and longevity.
- Install the Dual-Motor Controller – The dual-motor controller is the brain of your robot lawn mower. Follow the manufacturer’s instructions to properly install and connect the controller to your lawnmower.
- Set Up the RC Transmitter and Receiver – The RC transmitter and receiver allow you to control your robot lawn mower remotely. Install and configure these components according to the provided instructions.
- Attach Front Caster Wheels – Front caster wheels provide stability and maneuverability to your robot lawn mower. Fasten them securely to the front of the lawnmower base.
- Mount the Motors – Use threaded rods or angle iron to mount the motors on the lawnmower base. Ensure that the motors are firmly attached for optimal performance.
- Connect the High Amp Hour Batteries – Connect the high amp hour batteries to power the motors and controller. Follow the manufacturer’s instructions to ensure safe and proper wiring.
- Wire the Motors to the Controller – Connect the motors to the dual-motor controller, ensuring that the wiring is correctly routed. Double-check all connections to avoid any electrical issues.
Following these steps will allow you to build a solid foundation for your DIY robot lawn mower. Once completed, your robot lawn mower will be ready for programming and testing.
“Building the robotic lawnmower set-up is an exciting and rewarding process. By carefully selecting the right components and following the step-by-step guide, you’ll be well on your way to having your own autonomous lawn care technology.”
Example Table:
| Component | Description |
|---|---|
| Lawnmower Base | A sturdy lawnmower base with a metal frame for stability and durability. |
| Dual-Motor Controller | The central control unit that manages the movements of the robot lawn mower. |
| RC Transmitter and Receiver | The remote control system that enables wireless operation of the robot lawn mower. |
| Front Caster Wheels | Wheels attached to the front of the lawnmower base to provide stability and maneuverability. |
| High Amp Hour Batteries | Batteries with a high capacity to power the motors and controller for extended operation. |
| Motors | Electric motors sourced from powered wheelchairs or mobility scooters for driving the lawnmower. |
With the robotic lawn mower set-up complete, it’s time to move on to the next step: programming and testing your DIY robot lawn mower.
Programming and Testing
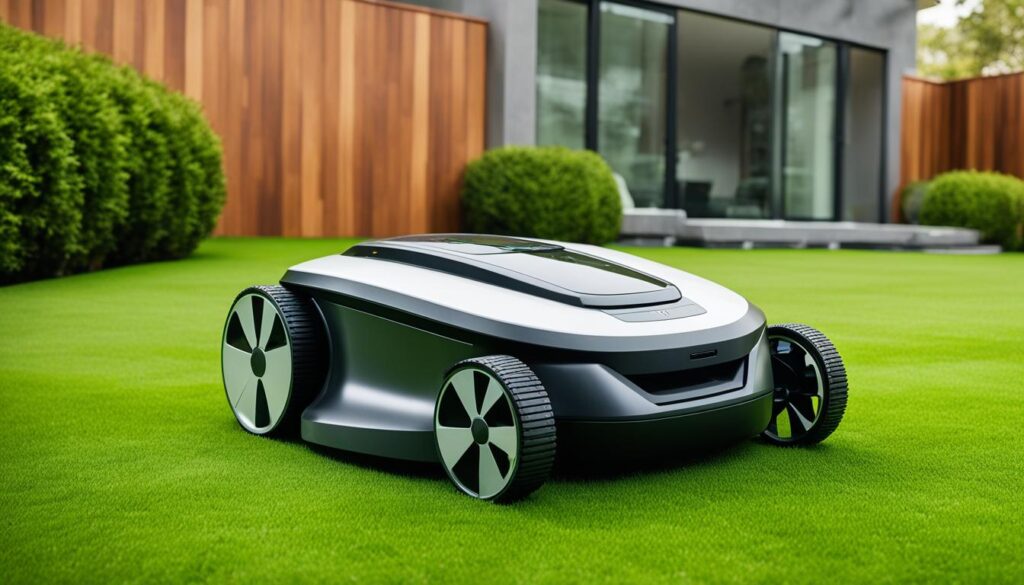
Once you have successfully built the physical set-up of your DIY robot lawn mower, the next step is to program and test it. This crucial phase ensures that your robot mower functions effectively and safely. Let’s dive into the programming and testing process:
Setting up the Controller and Receiver
To begin, you will need to set up the controller and receiver of your DIY robot lawn mower. Follow the manufacturer’s instructions to connect and configure the controller and receiver properly. This step establishes the communication between the remote control and the mower, enabling you to control its movements.
Configuring Motor Control Settings
Configuring the motor control settings is essential for smooth operation. By adjusting parameters such as speed, direction, and acceleration, you can optimize the performance of your DIY robot lawn mower. Refer to the user manual to understand the specific control settings of your chosen motor controller.
Calibrating the Mower’s Movements
Calibration is crucial to ensure accurate navigation and cutting patterns. Most DIY robot lawn mowers utilize sensors or feedback mechanisms to detect obstacles and adjust their movements accordingly. Calibrate these sensors to enhance your mower’s ability to detect and avoid potential obstacles, resulting in a precise mowing experience.
Once you have programmed the controller and calibrated the mower’s movements, it’s time to test its functionality. Take your DIY robot lawn mower to a controlled environment such as your backyard or a designated testing area. It’s important to observe and evaluate its performance under different conditions, ensuring that it functions safely and efficiently.
Regular maintenance and adjustments may be necessary during the testing phase. Monitor the mower’s performance closely, identifying any areas that require improvement or fine-tuning. By thoroughly testing and optimizing your DIY robot lawn mower, you can achieve a seamless and effective lawn care solution.
Continue reading to discover how to fine-tune and optimize your DIY robot lawn mower for exceptional performance and explore essential safety considerations.
Fine-Tuning and Optimization
Once the basic functions of the DIY robot lawn mower are working properly, it’s time to fine-tune and optimize its performance. This step is crucial to ensure efficient and effective lawn care. By making specific adjustments and implementing additional features, you can enhance the capabilities of your DIY robot mower.
Adjusting Cutting Height
One important aspect of fine-tuning your DIY robot lawn mower is adjusting the cutting height. This allows you to achieve the desired grass length and maintain a well-manicured lawn. Experiment with different cutting height settings to find the optimal balance between a neat appearance and the health of your grass.
Optimizing Motor Control Settings
To optimize the performance of your DIY robot mower, it’s essential to fine-tune the motor control settings. This involves adjusting parameters such as speed, acceleration, and turning radius. By optimizing these settings, you can ensure smooth and efficient operation, minimizing any potential damage to your lawn.
Implementing Additional Features
Take your DIY robot lawn mower to the next level by implementing additional features such as obstacle detection and avoidance. This can help prevent accidents and ensure that your mower navigates around objects smoothly. There are various sensors and technologies available that can be integrated into your robot’s system to enhance its capabilities.
“Fine-tuning and optimizing your DIY robot lawn mower is a continuous process. Regularly monitor its performance and make necessary adjustments to achieve optimal results.”
Regular monitoring and adjustment of the robot’s performance will not only optimize its efficiency but also prolong its lifespan. Additionally, keep an eye out for any software updates or improvements that may be available for your DIY robot mower.
By fine-tuning and optimizing your DIY robot lawn mower, you can ensure that it operates at its full potential, delivering pristine and well-maintained lawns with minimal effort on your part.
| Advantages of Fine-Tuning and Optimization | Benefits |
|---|---|
| Improved cutting precision | Ensures consistent and even grass length |
| Enhanced performance | Efficient navigation and grass cutting |
| Reduced potential for lawn damage | Minimizes unintended grass scalping or overgrowth |
| Increased longevity of the robot mower | Optimal functioning and reduced wear and tear |
Safety Considerations
When it comes to building and using a DIY robot lawn mower, safety should always be a top priority. By following a few essential safety tips and taking precautionary measures, you can ensure a safe and enjoyable experience with your robot mower.
Wear Protective Gear
Before operating your DIY robot lawn mower, make sure to wear appropriate protective gear. This includes safety goggles, gloves, and sturdy footwear. By protecting yourself, you minimize the risk of injuries while working with the mower.
Keep Bystanders at a Safe Distance
When the DIY robot lawn mower is in operation, it is important to keep bystanders, especially children and pets, at a safe distance. This will prevent any accidents or injuries that may occur if someone inadvertently comes in contact with the mower.
Regularly Inspect the Mower
Regularly inspecting your robot mower is crucial to ensure its safe operation. Check for any loose wires, damaged parts, or signs of wear and tear. Additionally, inspect the lawn for any potential hazards, such as rocks or debris, before starting the mower.
“Safety should always be a top priority when building and using a DIY robot lawn mower.”
Implement Safety Features
To further enhance the safety of your DIY robot lawn mower, consider implementing additional safety features. An emergency stop button can instantly halt the mower’s operation in case of any emergencies or unexpected situations. An obstacle detection system can help the mower navigate around objects and avoid collisions.
Regular Maintenance and Upkeep
Maintaining and regularly servicing your DIY robot lawn mower is essential for its safe and efficient operation. Keep the blades sharp and clean, and ensure all moving parts are properly lubricated. Regularly check the battery, wiring, and connections to ensure they are in good condition.
Avoid Operating in Inclement Weather
It is recommended to avoid operating your DIY robot lawn mower in inclement weather conditions, such as heavy rain or storms. Wet grass can make the terrain slippery and increase the risk of accidents. Wait for dry weather conditions before resuming the operation of the mower.
| Safety Tips for DIY Robot Lawn Mower | Precautionary Measures |
|---|---|
| Wear protective gear, including goggles and gloves | Regularly inspect the mower for any potential hazards |
| Keep bystanders at a safe distance, especially children and pets | Implement safety features like an emergency stop button and obstacle detection system |
| Avoid operating the mower in inclement weather conditions | Maintain and service the mower regularly |
By following these safety tips and taking the necessary precautions, you can enjoy the benefits of a DIY robot lawn mower while ensuring the safety of yourself, your loved ones, and your property.
Maintenance and Troubleshooting
Like any mechanical device, a DIY robot lawn mower requires regular maintenance to ensure its optimal performance. Taking proper care of your robot lawn mower will prolong its lifespan and keep it running smoothly. Here are some important maintenance tips and troubleshooting techniques to keep in mind:
Maintenance Tips:
- Clean the mower: Regularly remove grass clippings, dirt, and debris from the robot lawn mower. This will prevent build-up and ensure proper operation.
- Inspect and replace worn-out parts: Check the blades, wheels, and sensors for any signs of wear and tear. Replace them as needed to maintain efficient cutting and navigation.
- Lubricate moving components: Apply lubricant to the mower’s moving parts, such as the wheels and bearings, to reduce friction and ensure smooth operation.
- Keep the charging station clean: Regularly clean the charging station to prevent dust and debris from interfering with the robot lawn mower’s docking and charging process.
Troubleshooting:
“My DIY robot lawn mower is not cutting the grass evenly.”
This issue may be caused by a blade that is dull or incorrectly aligned. Check the blades for sharpness and proper alignment. Sharpen or replace the blades if necessary.
“The robot lawn mower stops abruptly during operation.”
This problem could indicate a low battery or an obstacle detection failure. Ensure that the mower’s batteries are fully charged and that the obstacle detection sensors are clean and functioning properly.
“My DIY robot lawn mower is not returning to the charging station.”
If the robot lawn mower is having trouble finding or docking at the charging station, check that the station’s location is easily accessible and free from obstructions. You may also need to calibrate the mower’s navigation system for better accuracy.
| Problem | Possible Cause | Solution |
|---|---|---|
| The robot lawn mower is not cutting the grass evenly | Dull or misaligned blades | Sharpen or replace blades |
| The robot lawn mower stops abruptly during operation | Low battery or obstacle detection failure | Charge batteries and clean sensors |
| The DIY robot lawn mower is not returning to the charging station | Inaccessible or obstructed charging station, navigation calibration issues | Ensure accessibility and calibration |
By following these maintenance tips and troubleshooting techniques, you can ensure that your DIY robot lawn mower operates efficiently and effectively, giving you a beautifully manicured lawn with minimal effort.
Future Enhancements and Upgrades
Building a DIY Robot Lawn Mower opens up a world of possibilities for future upgrades and enhancements. As technology advances, you can transform your DIY creation into a cutting-edge robotic landscaper.
Advanced Features for DIY Robot Lawn Mower
One exciting avenue for enhancement is the integration of advanced features into your DIY Robot Lawn Mower. Consider adding GPS navigation to enable precise mapping and autonomous operation, allowing your mower to navigate your lawn with unparalleled accuracy. Smartphone integration is another popular upgrade, providing convenient control and monitoring options right at your fingertips.
Improving Performance with Upgrades
To enhance the performance of your DIY Robot Lawn Mower, consider upgrading its cutting system. By investing in a more powerful cutting blade or implementing adjustable cutting heights, you can achieve even more precise and tailored lawn care results.
Expanding Functionality with New Sensors
Adding new sensors to your DIY Robot Lawn Mower can greatly enhance its functionality. Consider incorporating obstacle detection sensors to ensure your mower can navigate around objects and avoid potential damage. Rain sensors can also be integrated to enable automatic pausing of mowing activities during inclement weather, protecting your mower and maintaining the health of your lawn.
Stay Ahead of the Curve
As technology continues to evolve, it’s important to stay informed about the latest advancements relevant to your DIY Robot Lawn Mower project. Stay connected with online communities and forums dedicated to DIY lawn care technology to learn about new ideas, innovations, and upgrades.
With a DIY Robot Lawn Mower, the possibilities for future enhancements and upgrades are limitless. By exploring advanced features, upgrading performance components, and implementing new sensors, you can continuously improve the capabilities of your robotic landscaper.
Conclusion
Building a DIY robot lawn mower is a fantastic way to bring innovation and convenience to your lawn care routine. By following a step-by-step guide and utilizing the right equipment, you can create a customized and efficient robotic landscaper that perfectly suits your needs. Not only will this project be rewarding and fulfilling, but it will also allow you to take control of your lawn care and achieve a beautifully manicured lawn.
Regular maintenance of your DIY robot lawn mower is essential to ensure its optimal performance. By cleaning the mower, inspecting and replacing worn-out parts, and lubricating moving components, you can extend its lifespan and maintain its efficiency. Additionally, staying updated with the latest advancements in DIY lawn care technology will provide you with opportunities to enhance and upgrade your robot mower in the future.
With your DIY robot lawn mower, you can say goodbye to the mundane task of manually mowing your lawn and embrace a more convenient approach. Enjoy your free time while your robot mower takes care of the hard work for you. Say hello to a beautifully maintained lawn and the joys of DIY lawn care technology!
FAQ
What are the benefits of building a DIY robot lawn mower?
Building a DIY robot lawn mower allows you to customize the mower according to your specific needs and preferences. It can also be a cost-effective alternative to purchasing a commercial model and provides a sense of satisfaction and accomplishment.
What essential equipment do I need for a DIY robot lawn mower?
You will need a suitable lawnmower base, a dual-motor controller, an RC transmitter and receiver, front caster wheels, high amp hour batteries, and motors sourced from powered wheelchairs or mobility scooters.
Can you provide a step-by-step guide for building a robotic lawnmower set-up?
First, select a sturdy lawnmower with a metal frame. Then, install a dual-motor controller, an RC transmitter and receiver, and front caster wheels. Mount the motors using threaded rod or angle iron. Finally, connect the high amp hour batteries and wire the motors to the controller.
How do I program and test my DIY robot lawn mower?
Programming and testing involve setting up the controller and receiver, configuring the motor control settings, and calibrating the mower’s movements. Thorough testing in a controlled environment is essential for safety and functionality.
What can I do to fine-tune and optimize the performance of my DIY robot lawn mower?
You can adjust the cutting height, optimize the motor control settings, and implement additional features such as obstacle detection and avoidance. Regular monitoring and adjustment will ensure efficient lawn care.
What safety considerations should I keep in mind when building a DIY robot lawn mower?
Follow all necessary safety guidelines, such as wearing protective gear and keeping bystanders at a safe distance. Implement safety features like emergency stop buttons and obstacle detection systems to enhance the safety of the robot.
How do I maintain and troubleshoot my DIY robot lawn mower?
Regular maintenance includes cleaning the mower, inspecting and replacing worn-out parts, and lubricating moving components. Troubleshoot any issues that may arise, such as motor malfunctions or sensor failures, and promptly address them to avoid further damage.
Can I upgrade my DIY robot lawn mower with new features and technologies?
Yes, you can explore advanced features like GPS navigation, smartphone integration, or autonomous operation. Upgrading the cutting system or adding new sensors can also improve performance.
What are some future enhancements and upgrades for a DIY robot lawn mower?
Future enhancements can include integrating new technologies, improving cutting efficiency, and enhancing autonomous capabilities. Keeping up with technological advancements allows continuous improvement of your DIY robot lawn mower.
Why should I consider building a DIY robot lawn mower?
Building a DIY robot lawn mower allows you to take control of your lawn care and provides a cost-effective and customizable alternative to commercial models. It offers a fulfilling project that simplifies your lawn care routine.


