Are you tired of waking up to cold floors in the winter? Radiant floor heating is an excellent solution that provides comfortable warmth throughout your home. While it may seem daunting, installing radiant floor heating as a DIY project is simpler than you think. In this comprehensive guide, we will walk you through the process step-by-step, from understanding the benefits and types of radiant floor heating systems to planning, preparation, and installation.
By the end of this guide, you’ll have all the information you need to successfully install radiant floor heating and enjoy the comfort and energy efficiency it provides.
- DIY radiant floor heating is a great way to save money and enjoy more comfortable living spaces during colder months.
- There are two main types of radiant floor heating systems: hydronic and electric.
- Careful planning and preparation are crucial before starting any installation project.
- The installation process can vary depending on the type of system you choose.
- Testing and troubleshooting are necessary to ensure your radiant floor heating system is working efficiently after installation.
Understanding Radiant Floor Heating
If you’re considering installing radiant floor heating in your home, it’s essential to understand how this type of system works. Radiant heat flooring is a method of heating your home that involves installing heating elements or tubing beneath your flooring, which then radiates heat upwards, providing uniform warmth throughout the room.
Underfloor heating is an excellent alternative to traditional heating methods, providing numerous benefits such as energy efficiency and improved comfort. With radiant floor heating, there are no cold spots or drafty areas, and the heat is evenly distributed throughout the room, providing a more comfortable and cozy environment.
Unlike forced-air heating systems, which can cause dust and allergens to circulate throughout your home, radiant floor heating is an in-floor system that provides clean, allergy-free warmth. This makes it an excellent choice for those with respiratory issues or allergies.
“Radiant floor heating is an excellent alternative to traditional heating methods, providing numerous benefits such as energy efficiency and improved comfort.”
There are two primary types of radiant floor heating systems: hydronic and electric. Hydronic systems use hot water to heat the floor, while electric systems use electricity to power heating elements installed beneath the floor surface. Each system has its advantages and considerations, which we’ll discuss in detail in the next section.
Overall, underfloor heating provides a luxurious, energy-efficient heating solution that can add value to your home. With radiant heat flooring, you can enjoy the comfort of warm floors and consistent warmth throughout your home, even during the coldest months of the year.

When it comes to radiant floor heating systems, there are two main options: hydronic and electric. Hydronic systems use a network of pipes filled with hot water to heat the floor, while electric systems use heating cables or mats installed directly beneath the floor surface. Both types of systems offer benefits and drawbacks, so it’s essential to consider your needs and budget before making a decision.
Hydronic Radiant Floor Heating System
Hydronic systems are typically considered the most effective and efficient type of radiant floor heating system. They use a boiler to heat water, which is then distributed through a network of pipes installed beneath the floor. The heated floor then radiates heat into the room, creating a comfortable and consistent temperature. One of the main benefits of hydronic systems is that they can be powered by a variety of energy sources, including gas, oil, or renewable energy. However, they are more expensive to install and require more maintenance than electric systems.
Electric Radiant Floor Heating System
Electric radiant floor heating systems are typically less expensive to install and require less maintenance. They use heating cables or mats installed directly beneath the floor surface to heat the room. Electric systems are an ideal option for smaller areas and can be powered by renewable energy sources like solar and wind power. However, they are not as energy-efficient as hydronic systems and can be more costly to operate over time.

| Hydronic Radiant Floor Heating System | Electric Radiant Floor Heating System |
|---|---|
| More expensive to install | Less expensive to install |
| Requires more maintenance | Requires less maintenance |
| More energy-efficient | Less energy-efficient |
| Can be powered by gas, oil, or renewable energy | Can be powered by renewable energy |
Regardless of which type of radiant floor heating system you choose, it’s essential to consider factors like the size of the space you’re heating, your budget, and the level of maintenance required. With proper installation and maintenance, radiant floor heating systems can provide a reliable, energy-efficient, and comfortable heating solution for your home.
Planning and Preparation
Installing radiant floor heating is a significant home improvement project, and careful planning and preparation are crucial for a successful DIY installation. Here are some essential steps to take before getting started:
- Measure the area: The first step is to measure the area where you want to install radiant floor heating. This will give you an accurate estimate of the materials you need to purchase.
- Calculate the heating load: Next, you need to calculate the heating load for the room. This is the amount of heat needed to keep the room at a comfortable temperature. Factors such as insulation, window size and orientation, and ceiling height can affect the heating load.
- Select the appropriate materials: Once you have measured the area and calculated the heating load, it’s time to select the appropriate materials. The type of radiant floor heating system you choose will determine the materials you need, such as heating elements, tubing, or mats.
- Consider the subfloor and insulation: The subfloor and insulation play a crucial role in the efficiency of your radiant floor heating system. Ensure that the subfloor is clean and level and that you have installed adequate insulation to prevent heat loss.
By taking these steps, you can ensure that you have everything you need for a successful installation. Here are some additional tips to keep in mind:
- Consult with a professional: If you are unsure about any aspect of the installation process, it’s always a good idea to consult with a professional.
- Read the manufacturer’s instructions: Be sure to read the manufacturer’s instructions for the radiant floor heating system thoroughly before starting your DIY project.
- Take your time: Installing radiant floor heating is a time-consuming process, so be patient and take your time to ensure everything is done correctly.
Before you start your DIY radiant floor heating project, you’ll need to gather the necessary tools and materials. Here’s a comprehensive list:
| Tools | Materials |
|---|---|
| – Measuring tape – Utility knife – Chalk line – Staple gun – Drill – Mixing paddle – PEX tubing cutter – Radiant floor heating manifold |
– Radiant floor heating system – Insulation (if necessary) – Subfloor material – Pipe fittings (for hydronic systems) – Radiant floor heating thermostat – Electrical wiring (for electric systems) – Heat diffusion plates (if using PEX tubing) |
It’s important to note that the specific tools and materials needed may vary depending on the type of radiant floor heating system you choose to install.
When sourcing materials, it’s recommended to purchase from reputable suppliers to ensure quality. You may also consider alternative options to cut costs, such as using a different type of subfloor material or opting for a less expensive radiant floor heating system.
With all the necessary tools and materials in hand, you’ll be ready to start the installation process.
Installation Process
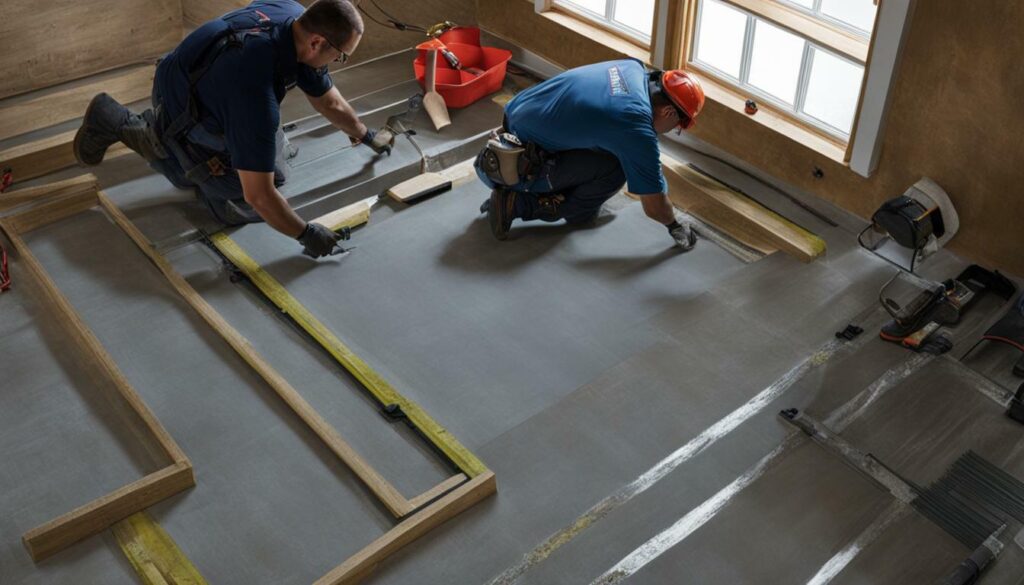
Now that you have completed your planning and preparation, it’s time to start the installation process for your DIY radiant floor heating. Depending on the type of system you chose, the installation process may vary. However, there are a few common steps to follow to ensure a successful installation.
Before starting, make sure to review the manufacturer’s instructions and safety guidelines for your specific system.
Step 1: Prepare the Subfloor
Ensure that the subfloor is clean, flat, and free of any debris. If installing on a concrete subfloor, make sure it’s fully cured and free of moisture. If installing on a wooden subfloor, make sure to install a moisture barrier.
Step 2: Install the Insulation
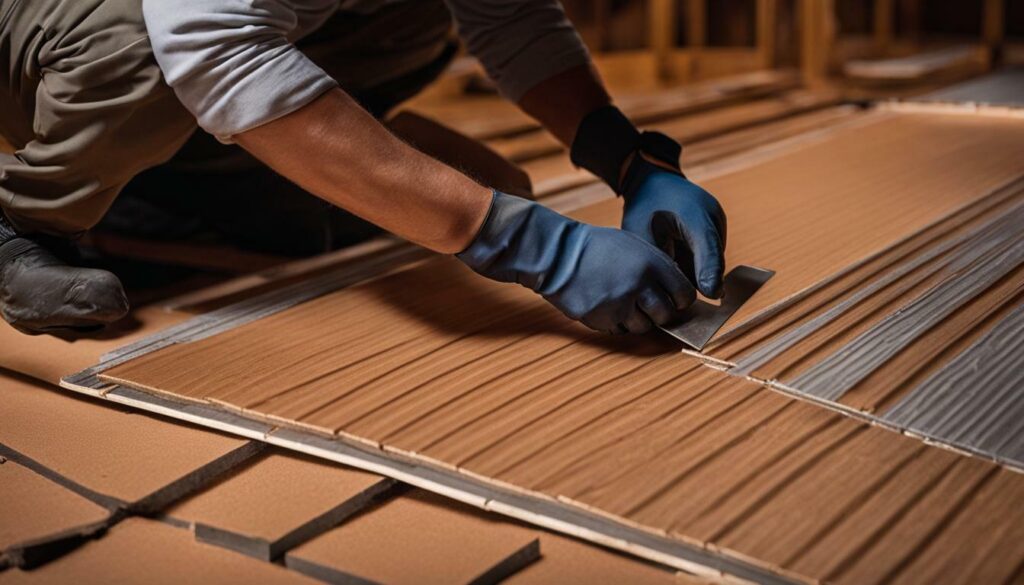
Lay down insulation on top of the subfloor to prevent heat loss. Use a utility knife to cut the insulation to the correct size and shape, making sure to cover the entire area where the heating system will be installed.
Step 3: Install the Heating Elements
Follow the manufacturer’s instructions to lay down the heating elements or tubing, ensuring they are evenly spaced and secured in place. If installing a hydronic system, connect the tubing to your boiler or water heater.
Step 4: Connect the Thermostat
Connect your thermostat according to the manufacturer’s instructions. Make sure to properly wire the thermostat and connect it to your heating system.
Step 5: Test the System
Before finishing the installation, test the system to ensure it’s working correctly. Turn on the thermostat and check for any leaks or electrical issues. Monitor the system for a few hours to ensure it’s heating evenly.
Step 6: Install the Flooring
After testing the system, you can now install your flooring of choice over the heating elements. Follow the manufacturer’s instructions for installation.

By following these steps, you can successfully install your DIY radiant floor heating system. Remember to take your time and carefully follow all instructions to ensure a safe and efficient installation.
Testing and Troubleshooting
Once you have completed the installation of your radiant floor heating system, it’s essential to test it thoroughly to make sure it works as intended. Testing your system will help you identify any issues that need fixing before they cause further problems.
To test your radiant floor heating installation, switch on the thermostat and wait for the system to warm up. Use a thermometer to check the floor temperature. You should feel a gentle warmth underfoot, but the temperature shouldn’t be too hot to touch.
If you notice any cold spots or uneven heating, there may be an issue with the system’s installation. Check the connections between the heating elements or tubing and ensure that they are properly secured. If the problem persists, consult a professional installer or electrician to help diagnose and resolve the issue.
It’s also important to be aware of common issues that can occur with radiant floor heating systems. One common problem is air bubbles in the tubing or heating elements, which can cause reduced heating output. To fix this issue, you can bleed the system by opening the air vent or using a special tool designed for this purpose.
Another issue that can occur is a damaged or broken heating element or tubing. Over time, pipes can become corroded or damaged due to wear and tear or improper installation. If you notice any leaks or other signs of damage, it’s essential to address the issue promptly to avoid further damage.
Overall, testing and troubleshooting your DIY radiant floor heating system is a crucial step for ensuring it functions correctly and provides optimal heating for your home. By following the tips provided in this guide and consulting with professionals when needed, you can enjoy the benefits of energy-efficient, comfortable heating in your home.
Before diving into a home improvement project, it’s essential to consider the costs involved. When it comes to DIY radiant floor heating, there are several factors that will contribute to the overall cost of the project.
| Factor | Cost Range |
|---|---|
| Materials | $3-$7 per square foot |
| Labor | $0 (DIY) – $5 per square foot |
| Energy Efficiency Savings | 10%-30% per year on heating costs |
The materials required for radiant floor heating, including the heating elements or tubing, insulation, and flooring, will typically cost between $3 and $7 per square foot. The cost of labor will depend on whether you choose to install the system yourself or hire a professional. If you opt for a DIY installation, you can save on labor costs entirely. However, if you choose to hire a professional, labor costs can range from $1 to $5 per square foot.
While the upfront cost of DIY radiant floor heating may seem high, it’s essential to consider the long-term energy efficiency savings. Radiant floor heating is known for its energy efficiency, with many homeowners reporting savings of 10% to 30% per year on heating costs.
Overall, the cost of DIY radiant floor heating will depend on several factors, including the size of the area to be heated, the type of system installed, and whether you opt for a DIY or professional installation. By considering these factors, you can determine the total cost of your project and decide whether the benefits of radiant floor heating are worth the investment.
Conclusion
In conclusion, radiant floor heating is a great investment for any homeowner looking to enhance their home’s comfort and energy efficiency. With DIY radiant floor heating, you can enjoy the warmth and coziness of homemade radiant floor heating while saving on energy costs.
The benefits of radiant floor heating are numerous, and this guide has provided you with all the information you need to get started. Whether you opt for a hydronic or electric system, understanding the installation process and selecting the appropriate materials is crucial for a successful DIY project.
By installing radiant floor heating in your home, you can look forward to lower energy bills, improved indoor air quality, and enhanced comfort. With the satisfaction of completing a home improvement project yourself, homemade radiant floor heating is a great way to add value to your home.
So go ahead and give DIY radiant floor heating a try. With careful planning, preparation, and installation, you can enjoy the many benefits of radiant floor heating while basking in the warmth of your homemade creation.
FAQ
What are the benefits of radiant floor heating?
Radiant floor heating provides enhanced comfort and energy efficiency and eliminates the need for bulky radiators or vents, creating a more aesthetically pleasing space.
How does radiant floor heating work?
Radiant floor heating uses electric heating elements or hot water tubes to heat the floor, radiating heat upward and warming the room from the ground up.
What types of radiant floor heating systems are available?
There are two main types of radiant floor heating systems: hydronic systems that use hot water and electric systems that use heating elements. Both have their advantages and considerations for installation.
What must I consider in the planning and preparation phase?
During the planning and preparation, you must measure the area, calculate the heating load, and select the appropriate materials for your radiant floor heating installation. It’s also important to consider any DIY tips that can help ensure a successful project.
What tools and materials do I need for a radiant floor heating installation?
You will need specific tools and materials for a radiant floor heating installation. A detailed list of everything required, alternative options, and sourcing tips can be found in this guide’s Tools and Materials Needed section.
How do I install radiant floor heating as a DIY project?
The installation process of radiant floor heating involves preparing the subfloor and laying the heating elements or tubing according to your chosen system. Detailed step-by-step instructions for hydronic and electric systems are in the Installation Process section.
How do I test and troubleshoot my radiant floor heating system?
After completing the installation, you should test your radiant floor heating system to ensure it’s working correctly. In the Testing and Troubleshooting section, you’ll find the necessary procedures and troubleshooting tips for common issues that may arise.
What factors contribute to the overall cost of DIY radiant floor heating?
When calculating the DIY radiant floor heating cost, you need to consider factors such as materials, labor, and potential energy efficiency savings. Understanding the cost implications can be found in the Calculating the Cost of DIY Radiant Floor Heating section.
What are the benefits of DIY radiant floor heating?
DIY radiant floor heating offers benefits such as enhanced comfort, energy efficiency, and the satisfaction of completing a home improvement project yourself. These benefits, along with the overall process, are discussed in the Conclusion section.


