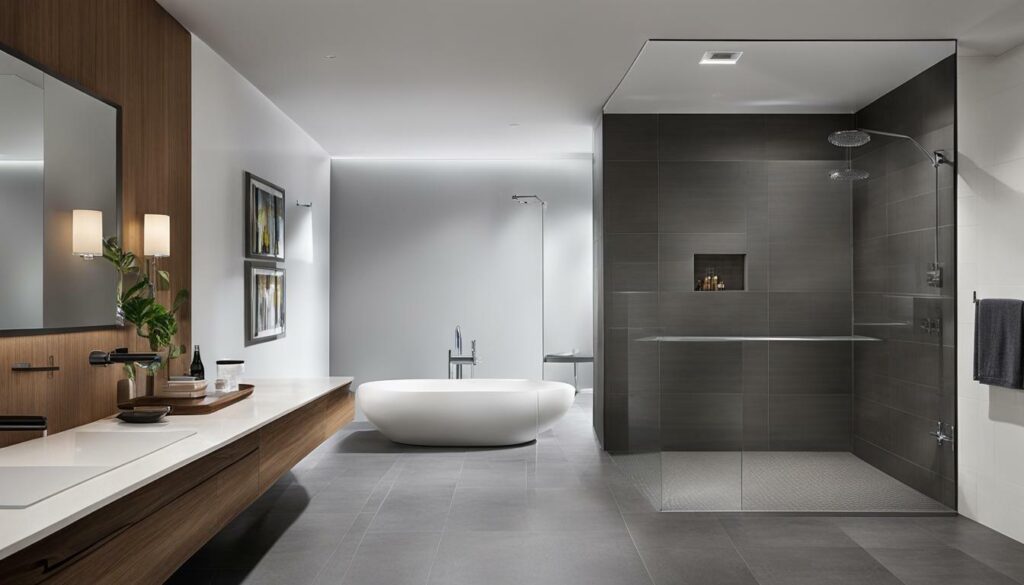
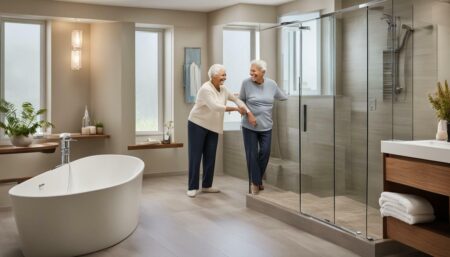
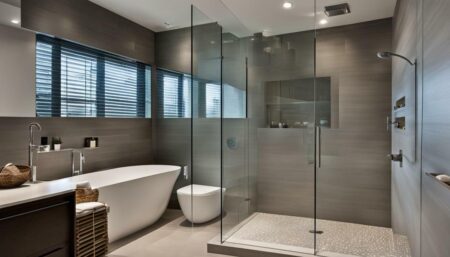
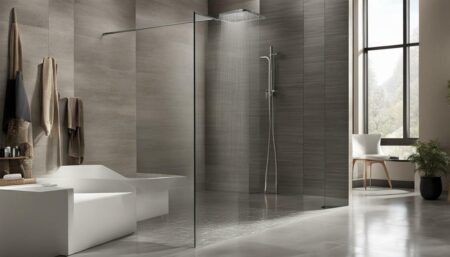
Curbless showers have become increasingly popular in recent years due to their sleek and modern appearance and accessibility for individuals with mobility issues. However, these showers can quickly become a nightmare for homeowners without proper waterproofing. This section will explore the various curbless shower waterproofing techniques used in the United States to ensure a leak-free shower space.
- Curbless shower construction requires specific waterproofing techniques to prevent water damage.
- Effective waterproofing methods and products are essential for ensuring a durable and watertight shower space.
- Proper preparation is crucial before undertaking a curbless shower construction project.
- Common challenges in curbless shower waterproofing can be overcome with expert tips and solutions.
- You can maintain a leak-free shower experience for years by following recommended practices and using high-quality products.
Importance of Proper Waterproofing in Curbless Showers
When it comes to designing a modern and visually stunning bathroom, curbless showers are a popular trend. They create a seamless and contemporary look and are ideal for aging in place, as they eliminate the need for step-over actions. However, a common problem with curbless showers is water damage caused by improper waterproofing, leading to costly repairs and health hazards. Therefore, it is essential to understand the importance of proper waterproofing in curbless showers.
Without proper waterproofing, water can seep through the tiles and grout, causing damage to the subfloor, walls, and ceilings. The moisture buildup can also lead to mold and mildew growth, which can cause respiratory problems. Moreover, if left unaddressed, water damage can weaken the structural integrity of the building, posing a safety risk to the occupants.
By ensuring proper waterproofing in the design and installation process, you can prevent water damage and create a safe and healthy shower environment. The key to preventing water damage in curbless showers is to use quality products and follow recommended installation practices.
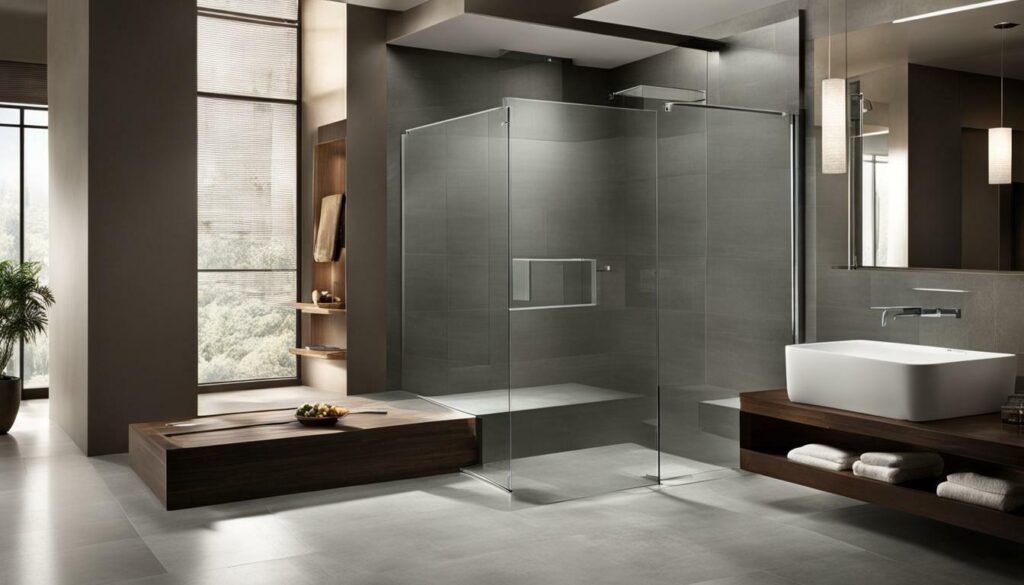
Proper waterproofing is critical to prevent water damage and ensure a durable and safe curbless shower.
Waterproofing Solutions for Curbless Showers
When it comes to curbless shower waterproofing, there are several solutions available. While some methods might work better for specific situations, following the best waterproofing practices for curbless showers is best. Here are some of the top-notch waterproofing solutions:
1. Liquid Waterproofing Membranes
Liquid waterproofing membranes are paint-on products that create a seamless barrier and bond directly to the substrate. They are quick-drying and easy to apply, making them an excellent choice for DIY projects. These products can be used on floors and walls and are perfect for curbless showers that require a waterproofing solution that can cover low spots.
2. Sheet Membranes
Sheet membranes are thin, flexible sheets that can be cut to size to fit any shower space. They are ideal for both floors and walls and are compatible with most substrates. They offer a long-lasting waterproofing solution that can withstand heavy traffic and is easy to install.
3. Cementitious Waterproofing
Cementitious waterproofing is a popular option for curbless shower waterproofing. It involves applying a cement-like material that adheres well to concrete, masonry, and other surfaces. Once applied, it creates a durable and seamless barrier that is resistant to water and moisture.
4. Moisture Barriers
Moisture barriers are designed to prevent water from seeping through your shower walls and into your subfloor. They are typically made of rubber or plastic and can be applied over any surface. These products are ideal for preventing mold and mildew growth.
5. Sealants
Sealants are an essential component of any curbless shower waterproofing project. They are used to seal joints, corners, and gaps that could allow water to penetrate the shower enclosure. They come in various forms, including liquid, spray, and caulk. Sealants are easy to apply, and their flexibility makes them ideal for curved or irregular surfaces.
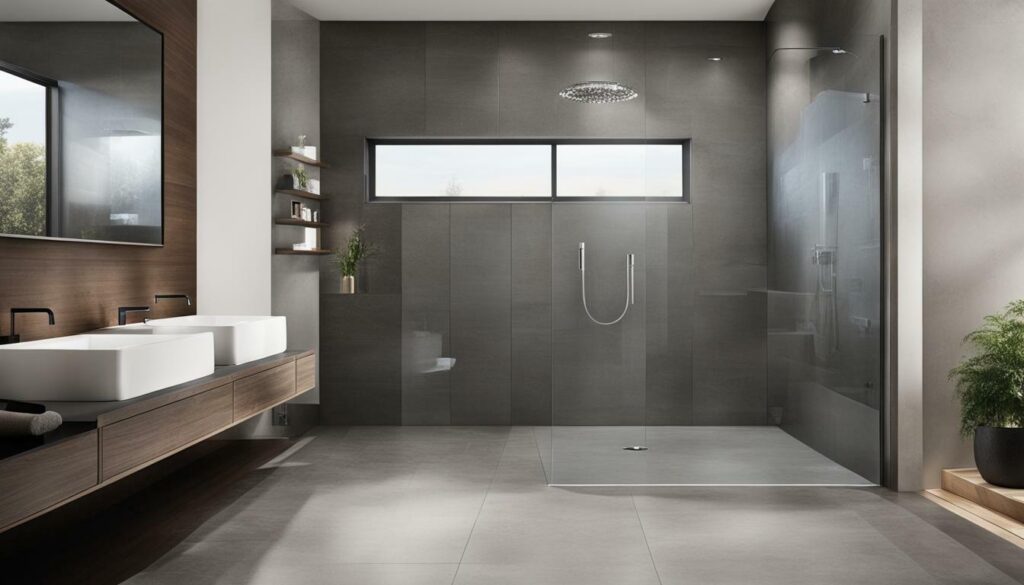
By following the best waterproofing practices and using high-quality products, you can ensure that your curbless shower remains waterproof for years to come. In the next section, we will provide a step-by-step guide on how to waterproof a curbless shower.
Step-by-Step Guide: How to Waterproof a Curbless Shower
Waterproofing a curbless shower requires careful planning and attention to detail. By following these step-by-step instructions, you can ensure a successful waterproofing project that will keep your shower space leak-free for years to come.
- Start by ensuring that the shower floor is sloped towards the drain. This will allow water to flow freely and prevent pooling. Use a level to check that the slope is consistent.
- Apply a layer of waterproofing membrane to the entire shower floor, extending up the walls by at least 6 inches. Use a paint roller or brush to ensure even coverage. Allow the membrane to dry completely before proceeding.
- Apply a layer of waterproof sealant around the perimeter of the shower floor, where the walls meet the floor. This will help to create a watertight seal and prevent water from seeping through gaps. Allow the sealant to dry completely.
- Apply a second layer of waterproofing membrane over the first, extending up the walls by at least 6 inches. Again, use a paint roller or brush to ensure even coverage. Allow the membrane to dry completely.
- Apply a layer of waterproof sealant to the entire shower floor and up the walls by at least 6 inches. This will provide added protection and help to create a watertight seal. Allow the sealant to dry completely.
- Install a waterproofing fabric over the entire shower floor, extending up the walls by at least 6 inches. This will provide an additional layer of protection and help to reinforce the waterproofing membrane and sealant layers.
- Apply a final layer of waterproofing membrane over the fabric, extending up the walls by at least 6 inches. Use a paint roller or brush to ensure even coverage. Allow the membrane to dry completely.
- Finally, install the tile or other finishing material over the waterproofing membrane using a suitable adhesive. Be sure to leave a gap between the tile and the drain to allow for proper drainage.
By following these steps and using high-quality waterproofing products, you can ensure that your curbless shower remains leak-free and enjoyable to use. Remember to consult with a professional if you have any questions or concerns.
There are several methods to choose from when it comes to waterproofing curbless showers. Each method has its pros and cons, so it’s crucial to understand them before deciding on the one that suits your needs best.
1. Liquid Membrane
A liquid membrane is a popular waterproofing method for curbless showers. It involves applying a liquid coating directly onto the surface, creating a seamless and watertight barrier. This method is easy to apply and can be used on a variety of surfaces, including concrete and wood. However, it can be more expensive than other methods and may require multiple coats.
2. Sheet Membrane
Sheet membranes are thin, flexible sheets that are applied to the shower floor and walls to create a waterproof barrier. This method is also popular because it provides excellent coverage and is easy to install. However, sheet membranes can be more expensive, and installation may require professional help.
3. Cementitious Coatings
Cementitious coatings are a cost-effective waterproofing method that involves applying a cement-based product onto the shower surface. This method is easy to apply and can be used on a range of surfaces. However, it may not be suitable for high-traffic areas and may require additional sealing to ensure complete waterproofing.
Polyurethane sealants are a popular choice for sealing joints and filling gaps in curbless showers. They create a strong and flexible bond that can withstand movement and prevent water from seeping through. However, they may not provide complete waterproofing on their own and may require additional waterproofing methods.
When choosing a waterproofing method for your curbless shower, consider the surface you are working with, the cost, and the level of protection required. It is also essential to follow the manufacturer’s instructions carefully and consider professional help if needed.
Waterproofing Products for Curbless Showers
Choosing the right waterproofing products is crucial to ensure a leak-free, curbless shower. The market is flooded with a variety of options, including membranes, sealants, and coatings. It’s essential to select the right product that suits your specific needs and provides reliable, long-lasting waterproofing.
One popular option for membrane systems is the Schluter®-KERDI system, which provides waterproofing and vapor management. The system includes a waterproof membrane, a reinforcing fleece, and an adhesive for quick and easy installation.
Another reliable option is the LATICRETE® Hydro Ban® waterproofing membrane. This liquid-applied membrane is a single-component formula that cures to a rubber-like texture and provides excellent flexibility and adhesion. It’s also ANSI A118.10-compliant and approved for use in steam rooms and steam showers.
When it comes to sealants, one of the most popular products is the silicone-based DAP® Kwik Seal Plus® Kitchen and Bath Adhesive Sealant. This sealant provides excellent flexibility, adhesion, and durability and can be used on various surfaces such as ceramic, glass, and porcelain.
If you’re looking for a coating that can provide waterproofing and slip-resistance, TEC® Skill Set™ Roll-On Tile & Stone Membrane is an excellent choice. This liquid-applied coating creates a seamless membrane that offers excellent waterproofing protection and enhances the durability of tile installations.
Remember, selecting the right waterproofing products is just as important as the installation process. Quality products will not only provide long-lasting waterproofing but also add value to your curbless shower space.
Preparing for Curbless Shower Construction and Waterproofing
Before starting the construction of your curbless shower, it is essential to ensure proper preparation for a successful installation and waterproofing. The first step is to choose the right location for the shower, considering factors such as drainage, accessibility, and safety.
Additionally, the shower floor must be sloped towards the drain to prevent water pooling. Using a pre-formed shower pan or creating a custom slope using a waterproof mortar bed is highly recommended.
When constructing the curbless shower, it is essential to ensure that the waterproofing membrane is installed correctly. The membrane should cover the entire shower area, including the walls and floor, and extend a minimum of 6 inches above the finished height of the curb. This will prevent water from seeping through the walls or floor and causing water damage.
Once the membrane is installed, ensure that all seams and corners are well sealed with the appropriate waterproofing material. This will further prevent water from penetrating the membrane and causing damage to the subfloor or walls.
Finally, ensure that all plumbing fixtures, such as the showerhead, are correctly installed and sealed to prevent leaks. A professional plumber’s services may be required to ensure proper installation and prevent future water damage.
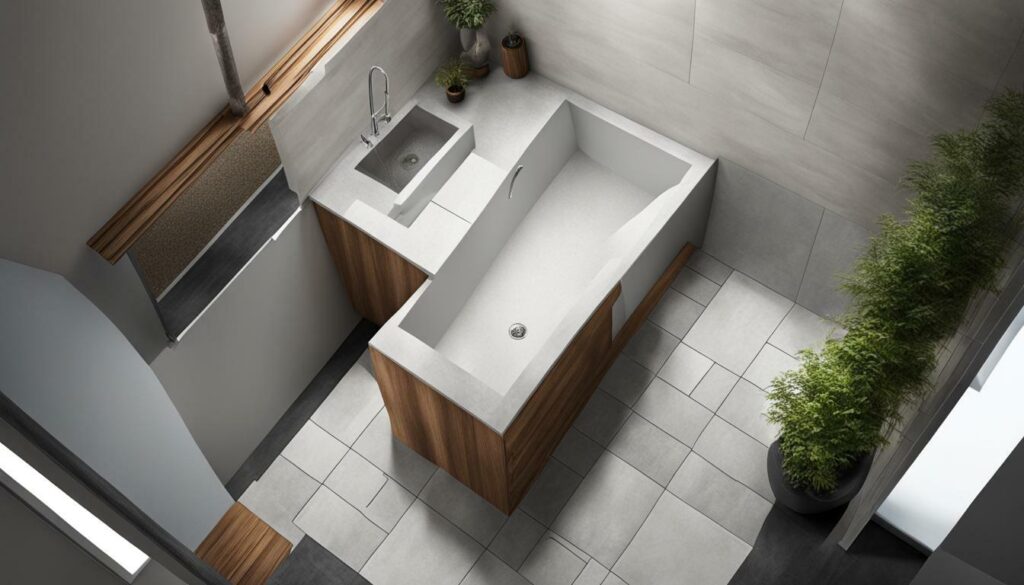
Example of a well-prepared curbless shower construction
Take a look at this curbless shower construction example by XYZ Construction. They ensured proper preparation by using a pre-formed shower pan, sloping the floor towards the drain, and installing a waterproofing membrane that covered the entire shower area.
|

|

|
|---|
As a result, the shower space is leak-free and easy to maintain, providing a comfortable and enjoyable shower experience for the homeowner.
Common Challenges in Curbless Shower Waterproofing
While waterproofing a curbless shower can provide numerous benefits, it can also present unique challenges. Understanding these challenges and how to overcome them can ensure a successful waterproofing project.
One of the most common challenges faced during curbless shower waterproofing is the slope of the floor. Without a proper slope towards the drain, water can pool in the shower, leading to leaks and water damage. To overcome this challenge, the floor must be properly sloped and constructed with high-quality materials.
Another challenge is the sealing of joints and corners. This is especially true for curbless showers, where there are no curbs or barriers to contain water. Properly sealing joints and corners is crucial to prevent water from escaping and causing damage. Using high-quality sealants and following recommended installation methods can alleviate this challenge.
Additionally, curbless showers are often located in tight spaces, making access to the plumbing and drain challenging. This can make repairs and maintenance difficult, leading to potential leaks and water damage. To address this challenge, it is essential to consider access points during the construction process and to install quality plumbing fixtures and drains that can withstand regular use.
Finally, curbless shower waterproofing also involves selecting the appropriate waterproofing materials and products. With a vast array of products available in the market, choosing the right one can be challenging. It is essential to conduct thorough research and select high-quality products that are compatible with the construction materials and environment.
By understanding these common challenges and taking steps to overcome them, you can ensure a successful curbless shower waterproofing project that will provide a durable and leak-free shower space.
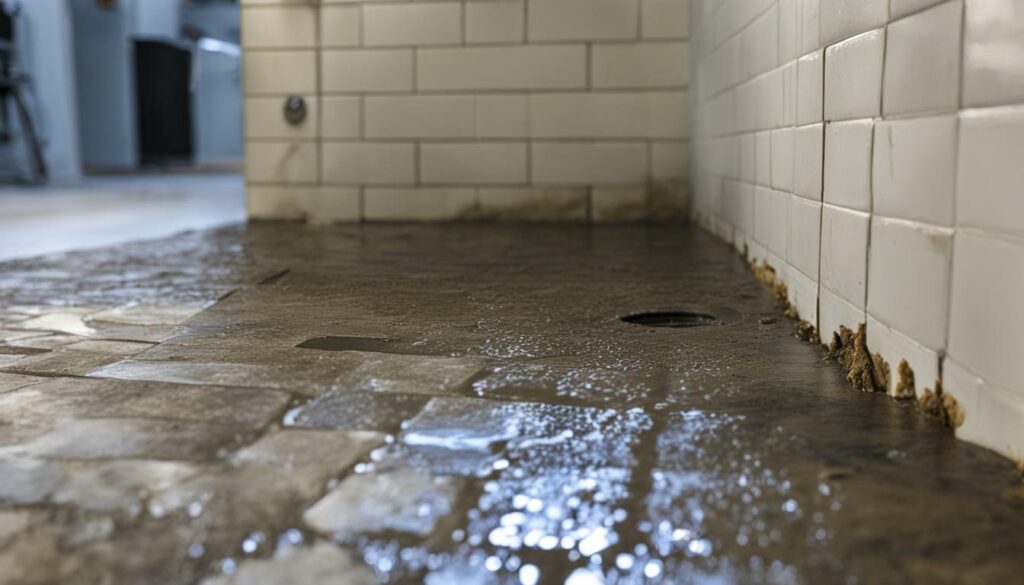
Effective curbless shower waterproofing techniques are essential to prevent water damage and maintain a leak-free shower space. Here are some expert tips to ensure long-lasting waterproofing in your curbless shower:
- Plan ahead: Proper planning is crucial to ensure a successful waterproofing installation. Take into account the shower’s size and location, the materials used, and the waterproofing products required for the job.
- Choose quality products: Investing in high-quality waterproofing products will pay off in the long run. Opt for proven and reliable brands that offer warranties and have a track record of success.
- Follow the manufacturer’s instructions: Be sure to read and follow the instructions provided with your waterproofing products, as each product may have specific requirements for installation and use.
- Use proper techniques: Applying waterproofing products properly is key to achieving a watertight seal. Take your time and follow the recommended techniques for your chosen products.
- Perform regular maintenance: Regular maintenance is essential to ensure long-lasting waterproofing in your curbless shower. Check for any signs of damage or wear and tear, and make any necessary repairs as soon as possible.
By following these expert tips, you can help ensure a durable and leak-free curbless shower for many years to come.
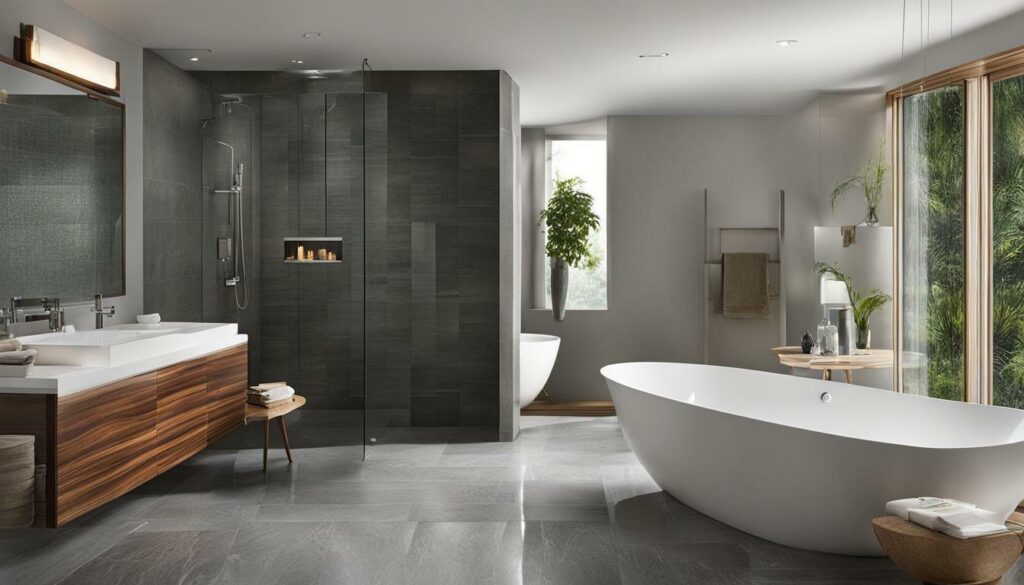
Proper curbless shower waterproofing protects your home from water damage, mold, and mildew. By understanding the different waterproofing techniques, products, and practices, you can ensure a leak-free shower space that is both functional and beautiful. Remember to follow the step-by-step guide for waterproofing your curbless shower and be prepared for any challenges that may arise. With expert tips and insight, you can achieve long-lasting curbless shower waterproofing.

