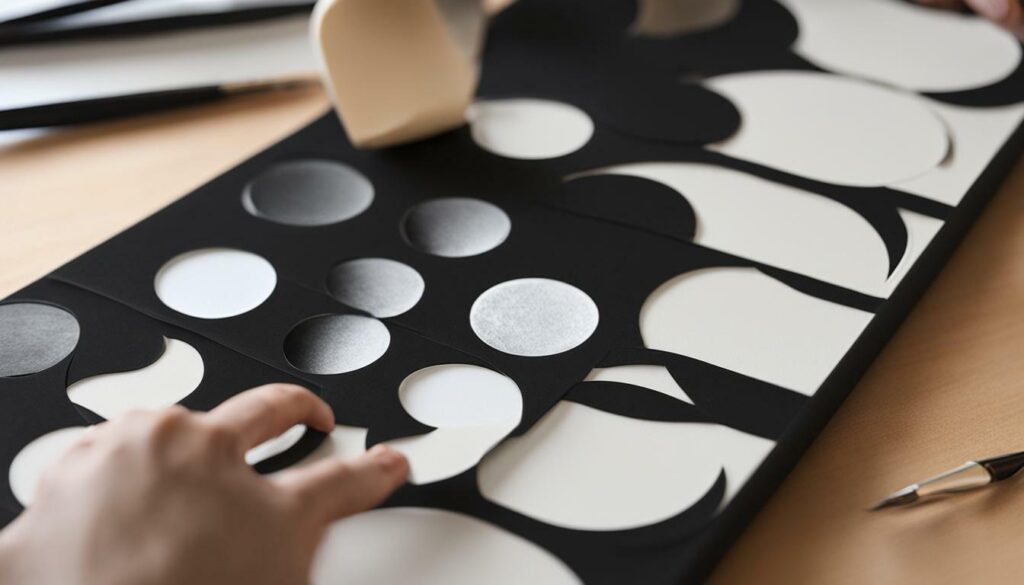
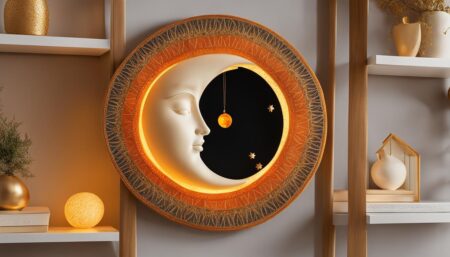
If you’re looking to add a touch of celestial magic to your home decor, creating your own moon phase wall art is an easy and fun DIY project to try. You don’t need to be an experienced crafter to achieve stunning results – with a few basic materials and our step-by-step tutorial, you’ll be on your way to creating a beautiful piece of wall art that will elevate any room in your home.
- Creating your own moon phase wall art is a fun and easy DIY project.
- You don’t need to be an experienced crafter to achieve stunning results.
- With a few basic materials and our tutorial, you can create wall art that will elevate any room in your home.
- Get creative and experiment with different designs to make your moon phase wall art truly your own.
- Once your wall art is complete, you can find other ways to incorporate moon phases into your home decor, like DIY mobiles and lunar-inspired candles.
Gathering Your Materials and Tools
Before you can begin creating your stunning moon phase wall art, it’s important to gather all the necessary materials and tools. Luckily, this project doesn’t require anything too fancy. Here’s what you’ll need:
- Black foam board: This will be the base for your moon phases. You can find it at most craft stores or online.
- White or metallic paint: You’ll use this to paint the moon phases. Choose a color that will stand out against the black foam board.
- Paintbrushes: You’ll need different sizes of paintbrushes for painting the different phases of the moon.
- Pencil: Use a pencil to sketch out your moon phases on the foam board before cutting them out.
- Scissors or craft knife: Use scissors or a craft knife to cut out your moon phases from the foam board.
- Ruler: A ruler will help you measure and cut out your moon phases accurately.
- Adhesive strips or hooks: These will be used to hang your completed moon phase wall art.
Once you have all your materials and tools assembled, you’re ready to start creating your moon phase wall art!
Now that you have some ideas for your moon phase wall art, it’s time to start sketching out your design. Grab a pencil and paper and begin roughing out the different phases of the moon that you want to include in your artwork.
Here are a few tips to keep in mind:
- Look up images of the moon to get a better understanding of the different phases and how they look.
- Use a protractor or circle template to ensure your moon phases are circular and uniform in size.
- Play around with different designs and layouts until you find a combination that you love!
Creating Your Stencils
Once you have your moon phases sketched out, it’s time to create your stencils. You can use tracing paper or thin cardstock to create durable and reusable stencils.
Place your sketch on top of the tracing paper or cardstock and use a sharp craft knife to carefully cut out the moon phases, following the lines of your design. You may want to use a cutting mat or cardboard underneath to protect your work surface.
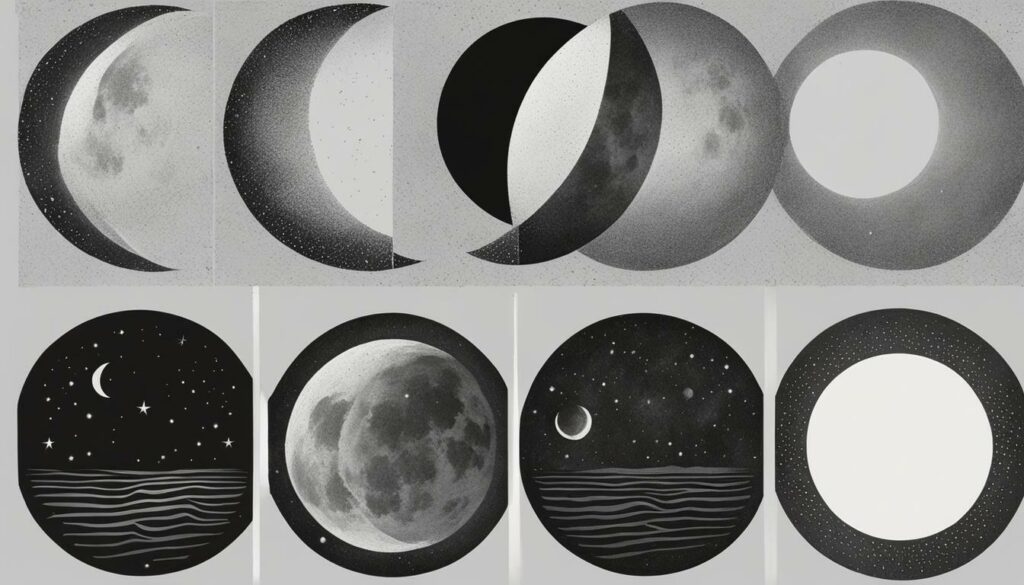
If you’re not confident in your drawing or cutting skills, don’t worry! You can find pre-made moon phase stencils online or at your local craft store.
Print out the designs or purchase pre-cut stencils and use them to trace onto your chosen material, whether paper, fabric, or wood. This will save you time and ensure that your moon phases are all uniform in size and shape.
Cutting Out Your Moon Phases
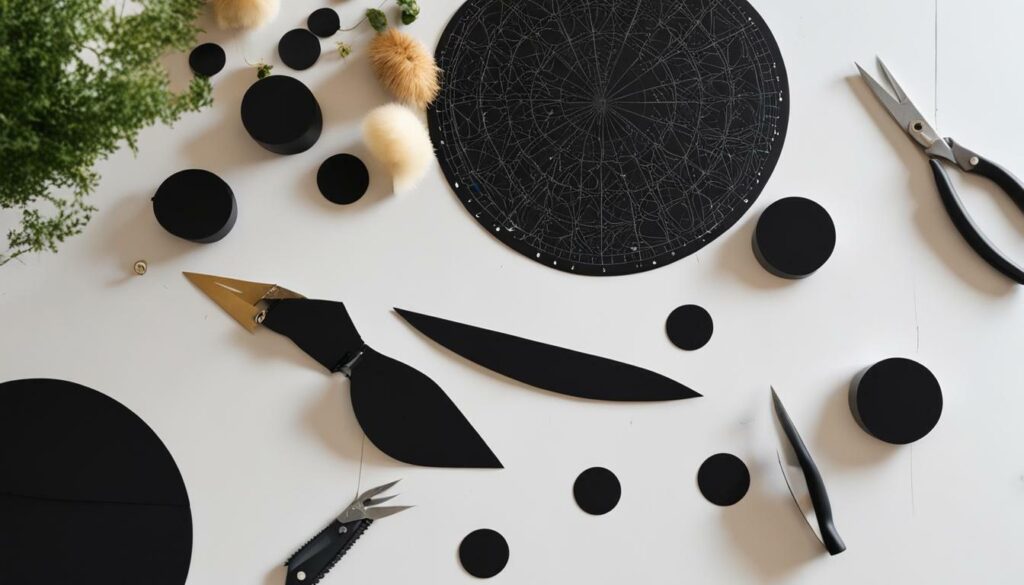
With your moon phase design sketched out in the previous step, it’s time to start cutting out your shapes. Here’s a step-by-step guide to help you ensure precision and accuracy:
- Place your moon phase design on top of your chosen material (such as cardstock, foam board, or wood).
- Using a pencil, trace the design onto the material.
- Carefully cut along the traced lines using scissors or a craft knife to create your moon phase shapes.
- If you’re using a craft knife, be sure to work on a cutting mat to protect your work surface.
- If your design includes intricate details or small shapes, use a pair of small scissors or a precision knife to cut them out.
- Once all of your moon phases are cut out, sand the edges lightly with sandpaper to smooth out any rough edges or splinters.
Remember to take your time and be patient during this step. Cutting out your moon phases accurately is key to achieving a polished final result.
Now that you have your moon phases cut out, it’s time to add some color and personal touches to take your DIY moon phase wall art to the next level. Painting your moon phases can be a fun and creative process, allowing you to experiment with different colors and designs to match your personal style. Here are some easy DIY moon phase wall art ideas to get you started:
- Metallic Paint: Add some shimmer and shine to your moon phases with metallic paint. Gold, silver, and bronze are popular choices that can give your wall art a sophisticated and elegant look.
- Ombré Effect: Create a gradient effect on your moon phases by blending different shades of the same color. This can add a subtle and unique touch to your wall art.
- Stenciling: Use stencils to add intricate patterns or designs to your moon phases. This can be a great way to add more detail and interest to your wall art.
After painting your moon phases, you can also decorate them with other elements such as glitter, stickers, or even photos. The possibilities are endless, so let your creativity run wild!
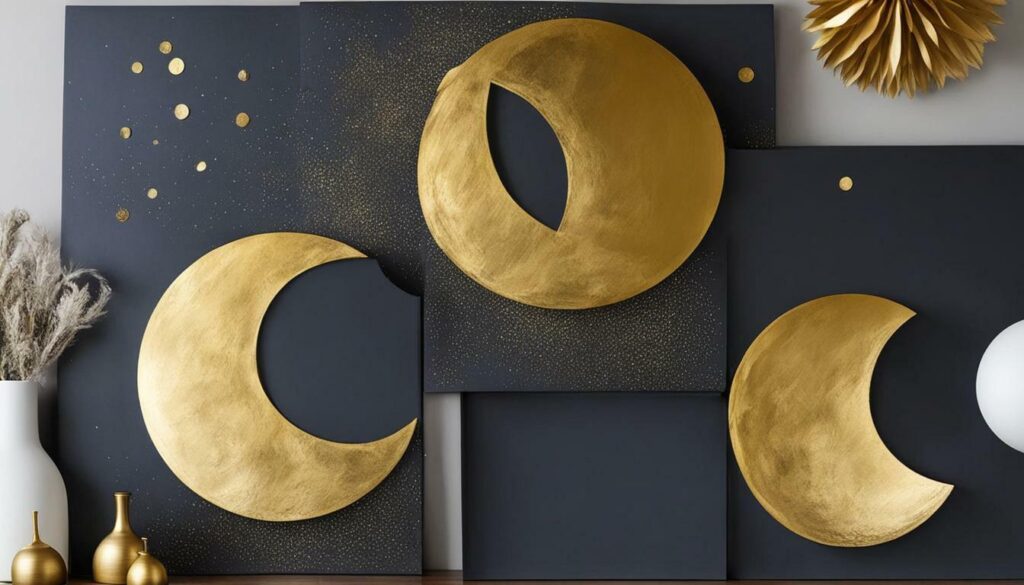
Pro Tip: Before painting or decorating your moon phases, make sure they are completely dry and free of any dust or debris to ensure the best results.
Assembling Your Moon Phase Wall Art
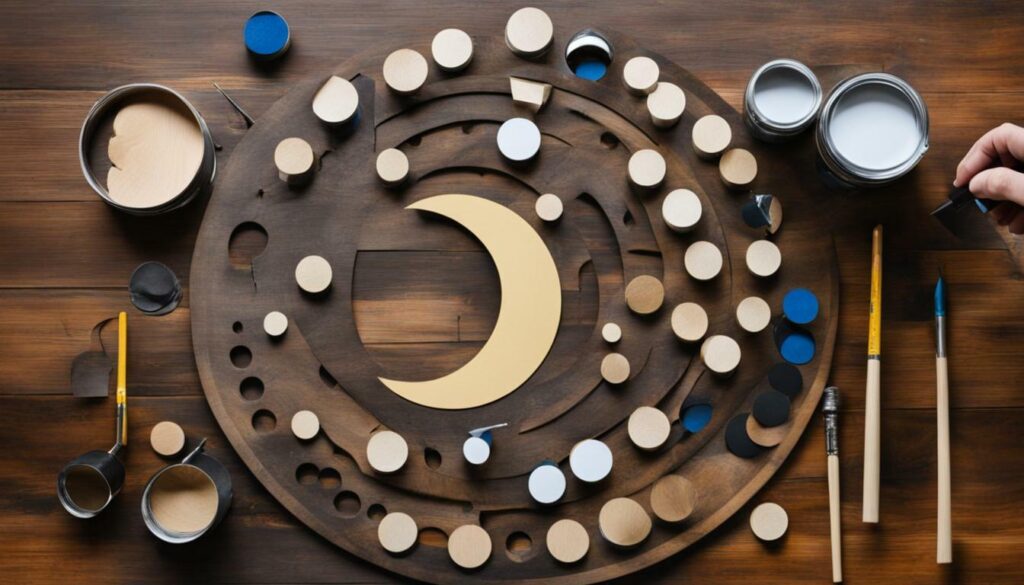
With your painted and decorated moon phases ready, it’s time to assemble your wall art. Lay out your phases in the order you want them to appear on the wall. Use a measuring tape to ensure your phases are evenly spaced. Once you have them placed where you want them, take a pencil and lightly mark the top and bottom of each phase on the wall.
Apply a small amount of adhesive or mounting tape to the back of each phase, and carefully align them with the pencil marks on the wall. Press each phase firmly in place, holding it for a few seconds to ensure it adheres properly. Continue until all phases are attached to the wall.
Alternatively, you can use small nails or screws to attach the phases to the wall. If using this method, be sure to pre-drill small holes to avoid cracking the phases.
Tip: If you’re concerned about damaging your wall, try using removable mounting tape or adhesive strips. These will allow you to easily remove your moon phase wall art without leaving any residue behind.
Hanging Your Moon Phase Wall Art
Now that you’ve completed your beautiful DIY moon phase wall art, it’s time to decide where and how to hang it. Here are some tips and ideas:
- Consider the placement of your wall art in the room. Will it be a centerpiece or an accent piece?
- Hang your moon phases in a pattern that complements your existing decor.
- Use a level to ensure your wall art is straight and balanced.
- If you’re feeling adventurous, try hanging your moon phases in a unique shape or pattern to create a standout display.
- Use removable adhesive hooks if you want to avoid damaging your walls, or use nails or screws for a more permanent installation.
Remember, your moon phase wall art should be a reflection of your personal style and creativity. Don’t be afraid to experiment and try new things!
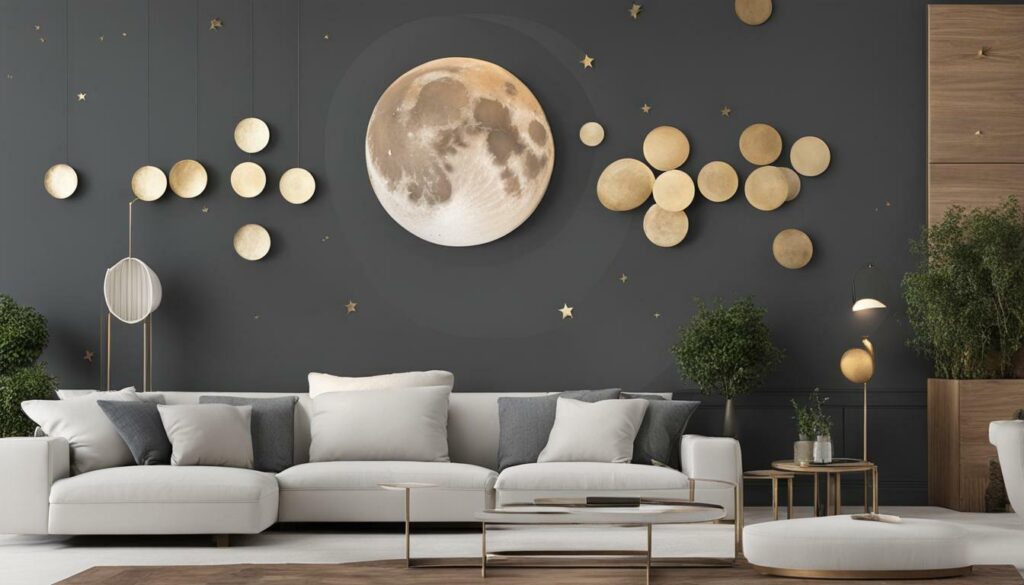
Are you eager to incorporate more celestial magic into your home beyond moon phase wall art? Here are some additional DIY decor ideas to try:
- Moon Phase Mobile: Create a whimsical mobile using wire, beads, and paper or fabric moon phases. Hang it near a window to catch the light and cast enchanting shadows. Check out this tutorial for inspiration.
- Lunar Candles: Add some moonlit ambiance to your space with lunar-inspired candles. Use a moon phase mold to create a unique shape, or paint and decorate plain candles with moon and star motifs. Here is a tutorial to get you started.
- Dreamy Bedroom: Create a tranquil sanctuary with dreamy moon-themed bedding, curtains, and wall decals. Add some cozy string lights for a starry night effect. Check out this tapestry for inspiration.
With these additional moon phase decor ideas, you can expand your celestial decor collection and create a truly magical space.
You’ve now completed your DIY moon phase wall art and have a beautiful celestial addition to your home decor. Remember that this is just one of many ways to bring the moon’s magic into your living space. Don’t be afraid to experiment with different designs, colors, and materials to make your moon phase decor unique to you.
The process may seem intimidating at first, but with a little patience and creativity, you can create a stunning piece of wall art that will impress your friends and family.
Whether you’re an experienced DIY enthusiast or a beginner, we hope this guide has helped show you how to make moon phase wall art. Remember to have fun, be creative, and enjoy the beauty of the moon phases on your walls.


