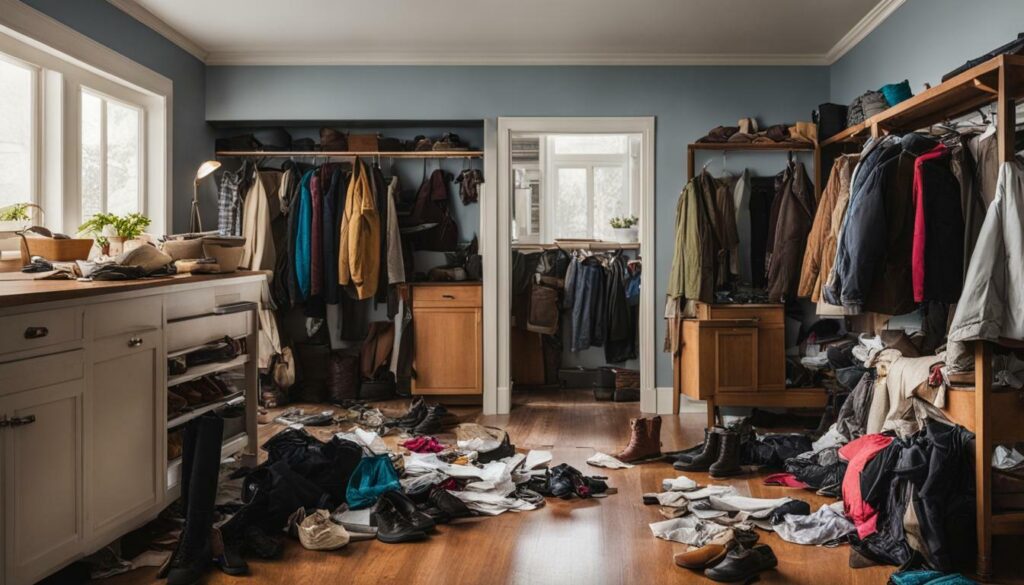
Are you looking to declutter and organize your home? Here are some helpful starting points to get you on the right track.
If you’re overwhelmed by the idea of organizing your entire home, it’s best to start small. Begin with one room or even just a specific area within a room. This will make the task more manageable and less daunting.
Once you’ve chosen where to begin, gather the necessary supplies. Boxes, garbage bags, and labels will be your best friends during the organizing process. Having these items on hand will make it easier to sort, categorize, and store your belongings.
Key Takeaways:
- Start small by focusing on one room or area at a time.
- Gather supplies, such as boxes and garbage bags, to help with sorting.
- Label your items to maintain organization and make it easier to find things later.
- Set realistic expectations and don’t try to do everything in one day.
- Involve family or friends to make the organizing process more enjoyable and efficient.
Remember, organizing your home is a journey, so be patient with yourself. By starting with these organizing tips for beginners, you’ll be well on your way to achieving a more organized and clutter-free living space.
Gather Supplies for Sorting Items
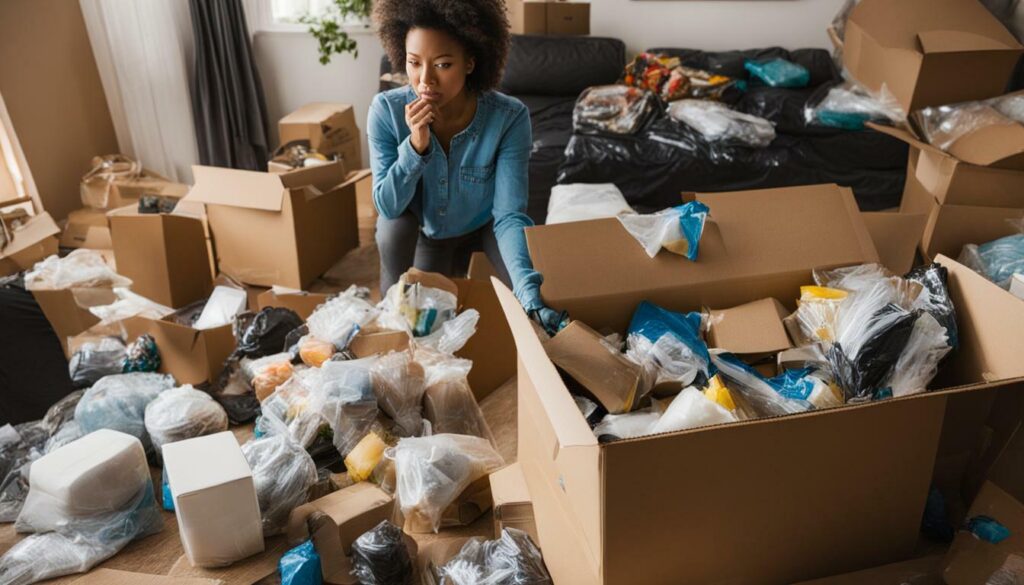
Before you begin organizing your home, it’s important to gather the necessary supplies to make the process easier and more efficient. Having the right tools at hand will help you stay focused and stay on track. Here are some home organization ideas and tips on what supplies you’ll need:
- Boxes: Use sturdy cardboard or plastic boxes to sort and store items. Label each box with its contents to make it easy to find things later on.
- Garbage bags: Have plenty of garbage bags on hand for items that you want to discard. Separate them into different bags for recyclables, donations, and trash.
- Labels and markers: Use labels and markers to mark boxes, containers, and shelves. This will help you identify the contents and maintain an organized system.
- Storage bins and containers: Invest in storage bins and containers to keep items neatly organized. Choose ones that are stackable and have lids to maximize space and protect your belongings.
- Shelving units and racks: Consider adding shelving units or racks to increase storage capacity. These can be used for books, shoes, or other items that need to be easily accessible.
Gathering these supplies beforehand will save you time and make the organizing process much smoother. With everything you need within reach, you can focus on decluttering and creating a more organized living space.
Remember, the key to successful home organization is having a system in place and being consistent. Take the time to sort through your belongings, get rid of items you no longer need, and find a dedicated place for each item. With the right supplies and a little effort, you’ll be on your way to a more organized and clutter-free home.
Gather Supplies for Sorting Items
| Supplies | Usage |
|---|---|
| Boxes | Sort and store items |
| Garbage bags | Discard unwanted items |
| Labels and markers | Mark boxes, containers, and shelves |
| Storage bins and containers | Organize and protect belongings |
| Shelving units and racks | Increase storage capacity |
Having these supplies readily available will streamline the organization process and ensure that everything has its place. So, gather your supplies, put on some music, and get ready to transform your living space into a clutter-free oasis.
Keep Organizing Sessions Short
To avoid feeling overwhelmed, it’s best to keep your organizing sessions short and manageable, ideally around 15 or 30 minutes at a time. Setting a specific time limit will help you stay focused and prevent exhaustion. Remember, Rome wasn’t built in a day, and neither will your organized home. Break down your organizing tasks into smaller chunks, tackling one area or category at a time. This approach will not only make the process more achievable but also ensure that you maintain your motivation throughout.
A great way to structure your short organizing sessions is to create a checklist or to-do list. This will help you prioritize which areas or tasks to work on during each session. You can use a simple notebook or a digital app to keep track of your progress. By checking off completed tasks, you’ll be able to see your accomplishments and feel a sense of satisfaction, which will keep you motivated to continue organizing your home.
Benefits of Short Organizing Sessions:
- Prevent exhaustion and overwhelm
- Maintain focus and motivation
- Achievable and manageable goals
- Track progress and feel a sense of accomplishment
Remember, the goal is not to rush through the organizing process but to break it down into smaller, more manageable tasks. By keeping your sessions short, you’ll be able to maintain your energy, stay motivated, and avoid feeling overwhelmed. So, grab your supplies, set a timer, and start organizing your home one small step at a time!
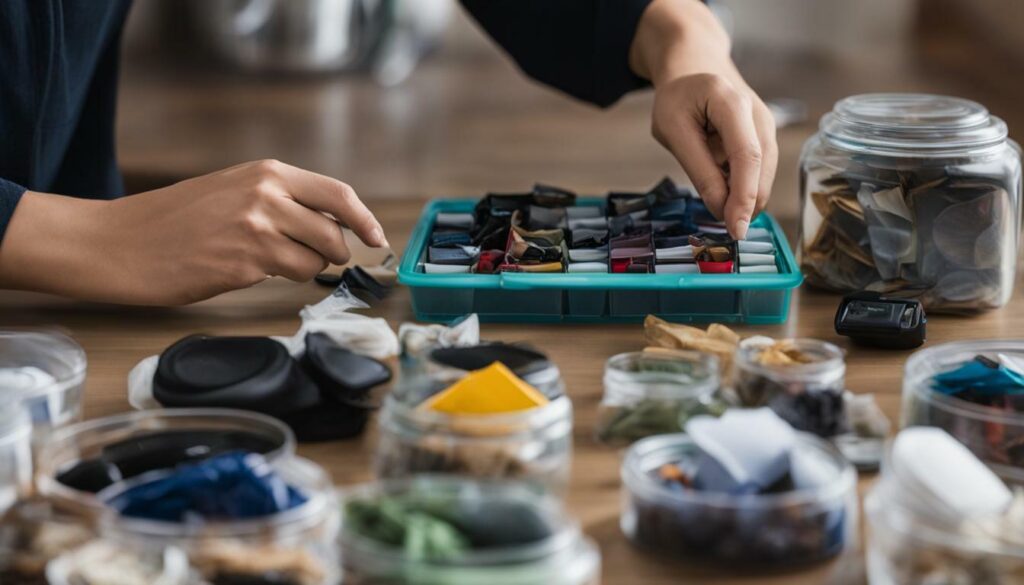
When starting your home organizing journey, it’s important to manage your expectations and focus on the initial task of sorting and categorizing items. Decluttering your home can be overwhelming, so it’s crucial to take it one step at a time. Begin by going through each room and identifying items that you no longer need or use. Create separate piles for items to donate, discard, or keep. This process will help you gain clarity and create a solid foundation for organizing your living space.
To make the sorting process easier, consider using a table to create a visual representation of your belongings. Group similar items together and assign them to specific categories. This will not only help you stay organized during the decluttering process but also provide a clear roadmap for organizing your home.
Organizing Categories
| Category | Examples |
|---|---|
| Clothing | Tops, bottoms, dresses, accessories |
| Home Decor | Artwork, decorative items, candles |
| Electronics | Phones, tablets, chargers, headphones |
| Books | Novels, self-help books, cookbooks |
| Documents | Financial papers, important documents, receipts |
Remember that the goal of sorting is to create a more organized and functional living space. By focusing on this initial step, you’ll be able to reduce clutter and have a clearer vision of how to best arrange your belongings. Don’t rush the process, take your time, and enjoy the journey of transforming your home into a tidy and harmonious environment.

Once you have completed the sorting process, you can move on to the next phase of fine-tuning the organization. Remember to keep in mind your overall vision for each space and consider efficient home storage solutions that will help maximize the use of your available space. With these organization hacks and a bit of dedication, you’ll be well on your way to creating a clutter-free and organized home.
Make it Enjoyable with Music or Help from a Friend
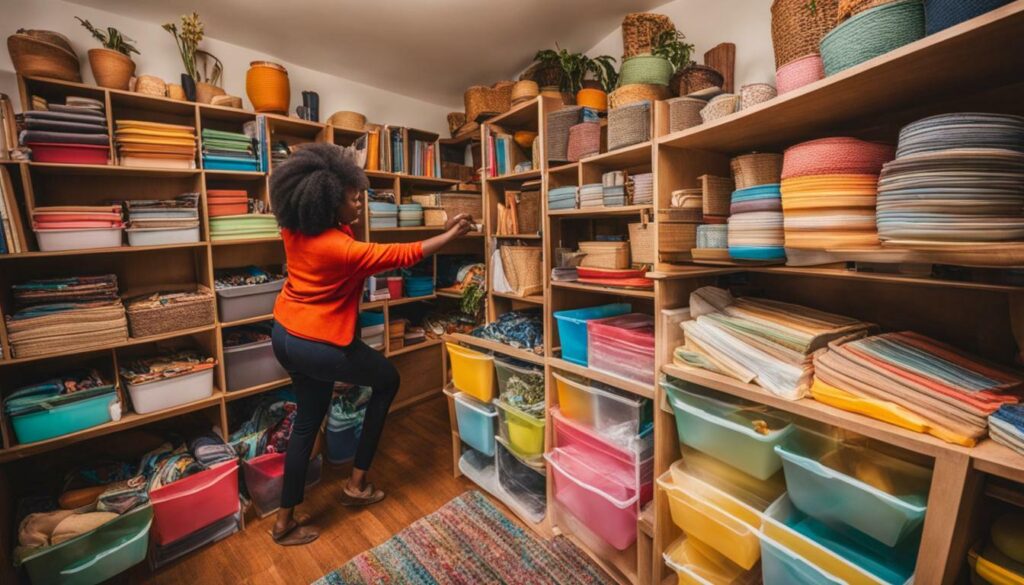
Organizing your home can be a fun and rewarding experience, so why not make it even more enjoyable by playing your favorite music or asking a friend to join you? Music has a way of lifting our spirits and energizing us, making the organizing process feel less like a chore and more like a dance party. Create a playlist of upbeat tunes that will keep you motivated and in a positive mindset as you tackle each organizing task. Sing along, dance around, and let the music bring joy to your organizing journey.
If you prefer a more social approach, enlist the help of a friend. Not only will you have someone to chat and laugh with, but they can also provide fresh perspectives and ideas on how to organize your home. Plus, having someone by your side can make the process go faster and feel less overwhelming. Just make sure you choose a friend who is equally enthusiastic about organizing or else it might turn into more socializing than organizing!
Benefits of Music and a Friend
- Music can boost your mood, making the organizing process more enjoyable and less tedious.
- A friend can provide support, fresh insights, and help keep you motivated throughout the process.
- Having someone to share the experience with can make organizing feel less overwhelming and more fun.
- Playing music and enlisting a friend’s help can make the process go faster, allowing you to see progress sooner.
“Organizing is what you do before you do something so that when you do it, it is not all mixed up.” – A.A. Milne
So, whether you choose to jam out to your favorite tunes or invite a friend along for the organizing ride, remember to have fun and enjoy the process. Let the music fill your space and bring a sense of rhythm to your organizing efforts. And don’t forget to thank your friend with a well-deserved treat or a heartfelt gesture of gratitude. Happy organizing!
Start with Small Projects for a Sense of Accomplishment
Starting with small organizing projects can help you build momentum and give you a sense of accomplishment, propelling you forward on your home organizing journey. Whether it’s tackling a cluttered drawer, organizing your closet, or decluttering a bookshelf, starting small allows you to see immediate progress and stay motivated. Plus, completing these smaller projects will create a sense of satisfaction and encourage you to take on larger organizing tasks.
One effective strategy is to break down larger areas into smaller sections. For example, if you’re organizing a room, you can start with one corner or one type of item at a time. This approach prevents overwhelm and makes the task more manageable. It also allows you to allocate time and energy to each section, ensuring that you don’t rush through the process and compromise the quality of your organization.
As you complete these small projects, make sure to celebrate your achievements. Take a moment to appreciate the progress you’ve made and the positive impact it has on your space. Reward yourself with a cup of tea or a few minutes of relaxation before moving on to the next task. By acknowledging your efforts, you’ll feel motivated to continue organizing and transforming your home into a clutter-free and harmonious environment.
Table: Examples of Small Organizing Projects
| Area | Project |
|---|---|
| Kitchen | Organize spice rack |
| Living room | Declutter and arrange coffee table |
| Bathroom | Sort and organize medicine cabinet |
| Bedroom | Organize bedside table |
By starting small and gradually working your way through these projects, you’ll not only create a sense of accomplishment but also develop efficient organizing habits that will benefit you in the long run. Remember, every small step forward counts, and before you know it, your entire home will be beautifully organized.
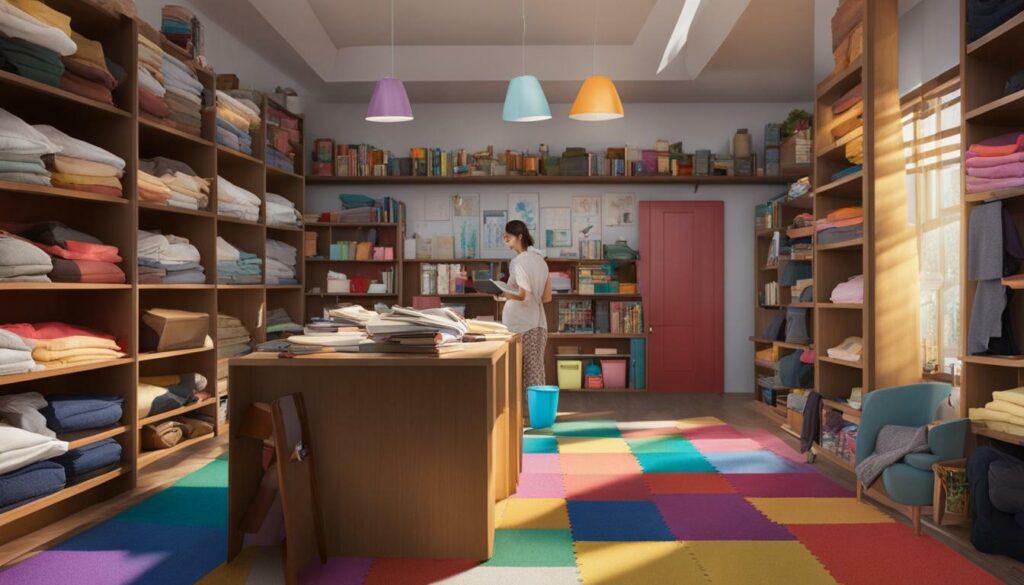
Setting deadlines for yourself can be a powerful motivator when it comes to organizing your home, keeping you focused and on track. Without a timeline, it’s easy to let the organizing process drag on indefinitely, leading to procrastination and a lack of progress. By setting specific deadlines for each organizing task, you create a sense of urgency and accountability that can help you stay motivated.
To effectively set deadlines, break down your organizing project into smaller, manageable tasks. For example, if you’re organizing your closet, you could have a deadline to sort through and categorize all your clothes within two days, followed by a deadline to donate or discard unwanted items within a week. Having clear and realistic deadlines allows you to measure your progress and provides a sense of accomplishment as you complete each task.
It’s important to remember that deadlines should be flexible and adaptable to your individual circumstances. If unexpected events or responsibilities arise, be willing to adjust your deadlines accordingly. The key is to maintain a balance between pushing yourself to make progress and allowing for flexibility in order to avoid feeling overwhelmed or discouraged.
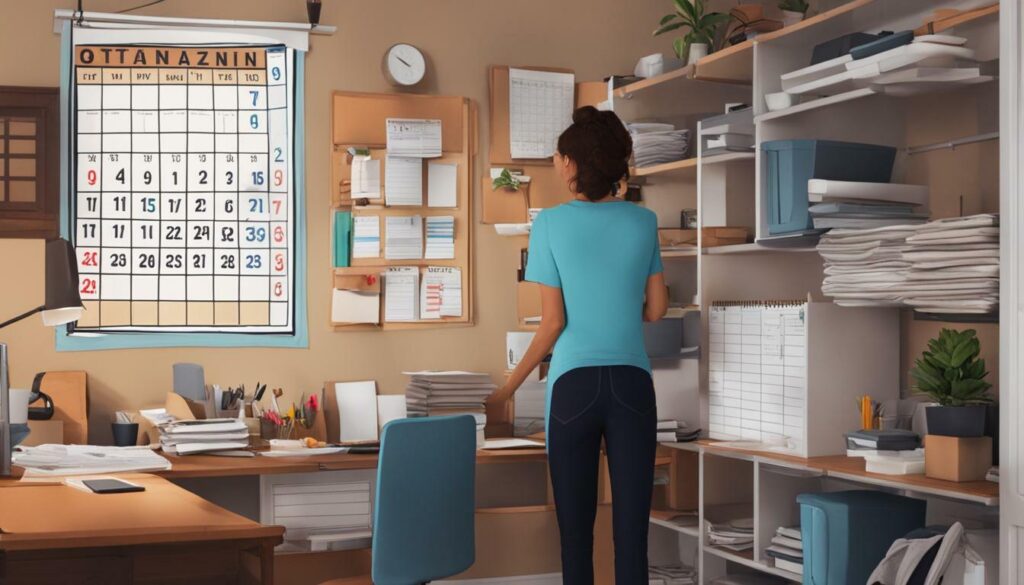
| Task | Deadline |
|---|---|
| Sort and categorize clothes | Within 2 days |
| Donate or discard unwanted items | Within 1 week |
| Organize shoes and accessories | Within 3 days |
| Clean and declutter shelves | Within 2 days |
By creating a schedule and setting deadlines for each organizing task, you can maintain momentum and ensure that your home organization project progresses smoothly. Remember to celebrate your achievements along the way, no matter how small, as this will help to keep you motivated and inspired to continue transforming your living space into a more organized and functional environment.
Remove Donated or Discarded Items
To truly complete the home organizing process, it’s essential to remove donated or discarded items from your living space, creating a clutter-free environment. Take a moment to assess each item you’ve sorted and decide whether it’s worth keeping or if it’s time to let it go. If an item no longer serves a purpose or brings you joy, it’s best to part ways with it.
Creating designated areas for donation and trash will help streamline the process. Use boxes or bags labeled “Donate” and “Trash” to separate the items accordingly. This way, you’ll have a clear visual representation of the progress you’re making as the boxes fill up. Plus, it will be easier to transport the donated items to their new homes later on.
| Donate | Trash |
|---|---|
| Unused clothing and accessories | Broken or irreparable items |
| Duplicate or unloved household items | Expired or unused medications |
| Books you’ve already read or don’t plan to read | Worn-out or stained clothing |
Remember, donating items can not only declutter your home but also make a positive impact on others. Research local charities or organizations that accept donations and ensure that your items are in good condition before handing them over. As for the trash, dispose of it responsibly following your city’s guidelines to minimize any environmental impact.
By removing donated or discarded items, you’ll create a space that feels lighter and more organized. As you complete this step, take a moment to appreciate the progress you’ve made in transforming your living space into a clutter-free haven.
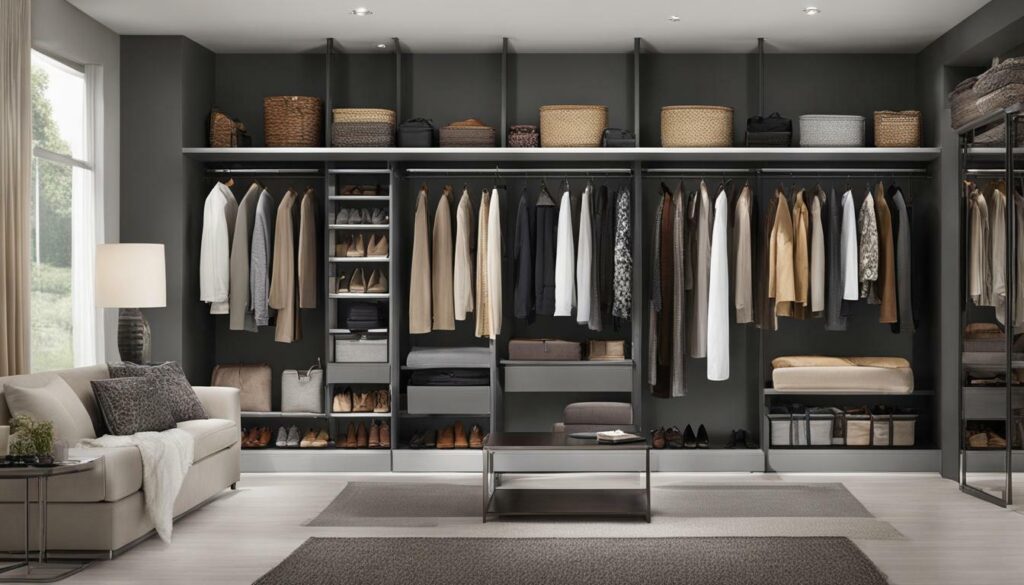
Organizing your home doesn’t have to be overwhelming; by following these starting points, you can jumpstart your journey to a neat and tidy living space.
If you’re looking to organize your home, here are some tips to get you started. First, gather supplies such as boxes and garbage bags for sorting items. Having the right tools on hand will make the process smoother and more efficient.
Next, keep your organizing sessions short, around 15 or 30 minutes, to avoid exhaustion. Breaking down the tasks into manageable chunks will help you stay focused and prevent burnout. Remember, slow and steady wins the race!
Manage your expectations and focus on sorting and categorizing items before fine-tuning the organization. It’s important to establish a foundation before diving into complex systems. Take your time and make thoughtful decisions about what to keep, donate, or discard.
Make the process more enjoyable by listening to music or enlisting the help of a friend. Music can uplift your spirits and keep you motivated. And having a friend join you can make the experience more fun and collaborative.
Start with small projects to gain a sense of accomplishment. Tackling one drawer or closet at a time will provide a quick win and boost your confidence. Set deadlines to stay motivated and avoid procrastination. Creating a timeline will hold you accountable and ensure progress is made.
Lastly, remember to remove donated or discarded items from your home to fully complete the organization process. This step is crucial in maintaining a clutter-free space and allowing for a fresh start.
By embracing these starting points and incorporating them into your home organizing journey, you’ll be well on your way to creating a harmonious and organized living environment.


