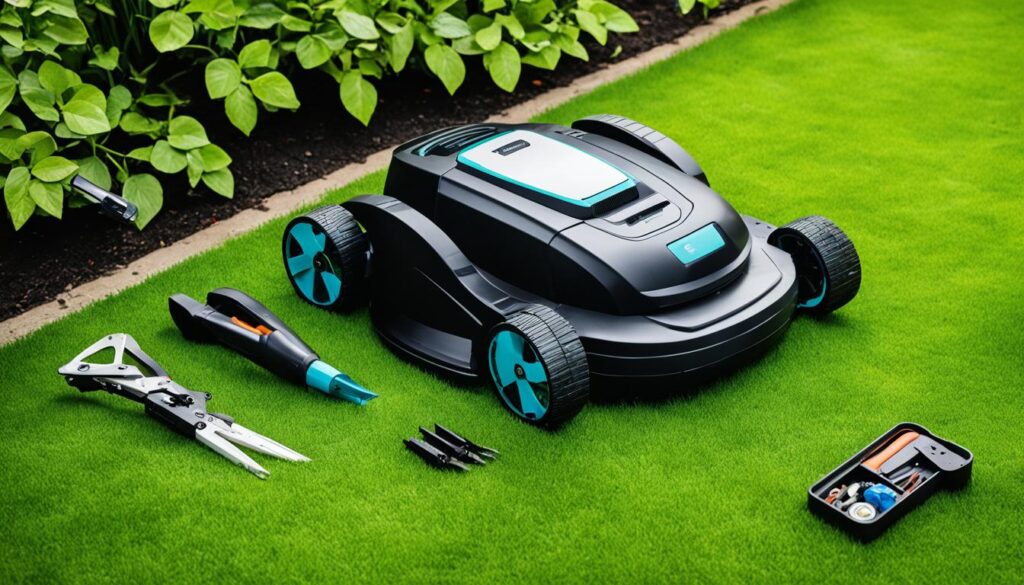
Robot lawn mowers offer convenience and efficiency in maintaining your lawn. However, like any technological device, they can encounter issues that affect their performance. In this guide, we will explore common problems with robot lawn mowers and provide troubleshooting tips to keep your mower running smoothly and your lawn looking its best.
Key Takeaways:
- Understanding common issues helps in troubleshooting robot lawn mowers effectively.
- Poor positioning status errors can arise due to connection loss with satellites, requiring careful planning of the mower’s location.
- Random backup and change of direction issues can be addressed by cleaning sensors and ensuring proper installation of the bumper.
- Troubles with Bluetooth and WiFi connectivity can be resolved through simple troubleshooting steps, ensuring a smooth connection.
- Repairing perimeter wire breaks involves identifying the source of damage and securely replacing the wire.
Poor Positioning Status Error

One common issue with robot lawn mowers is the “Poor positioning status” error. This error occurs when the mower loses connection with the satellites it uses to navigate. This can happen if the mower goes under an overhang, tree, or if the reference station and mower are not seeing the same satellites.
To avoid this issue, it’s important to plan ahead and consider the location of your mower and reference station. Additionally, moving the reference station or choosing a different type of robot mower may also help resolve this issue.
Troubleshooting Tips
- Ensure there are no obstructions such as overhanging branches or structures that may interfere with the mower’s satellite reception.
- Check that the reference station and mower are both using the same satellites for accurate positioning.
- Consider relocating the reference station to a higher point or finding a better position for improved satellite signal reception.
- If the issue persists, consider switching to a different type of robot mower that utilizes alternative positioning technologies.
“Proper positioning is crucial for the accurate navigation of robot lawn mowers. By addressing the ‘Poor positioning status’ error, you can ensure that your mower maintains precise control and effectively covers your lawn.”
Random Backup and Change of Direction
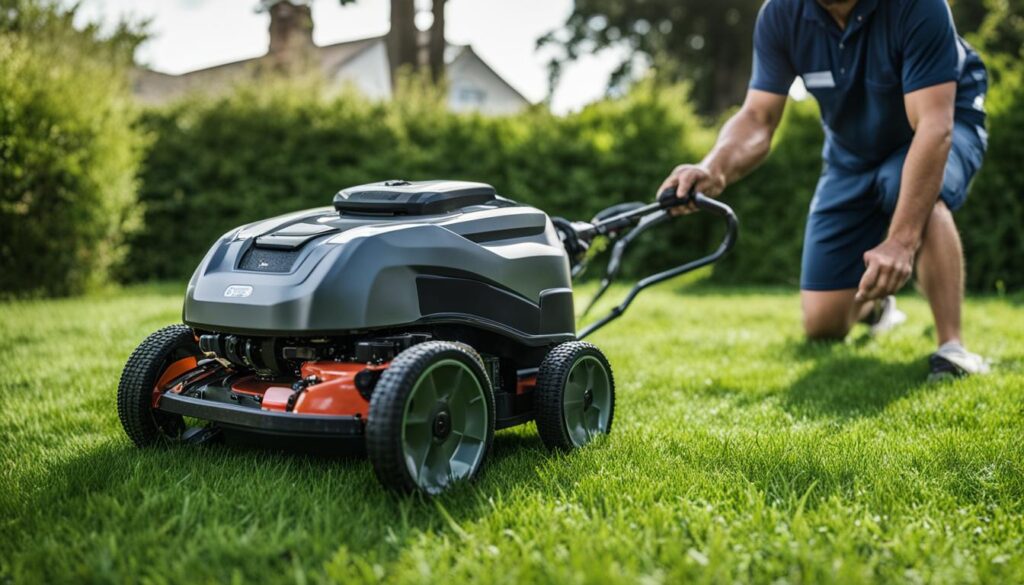
If you’re experiencing your robot lawn mower randomly backing up and changing direction, even when there are no obstacles in its path, don’t worry – you’re not alone. This issue is encountered by many robot lawn mower owners and can be frustrating. However, there are several potential causes and solutions to consider.
Sensitive obstacle-detection sensors are a common culprit behind this problem. These sensors can sometimes be triggered by small objects like long blades of grass or weeds, causing the mower to react unfavorably. To address this, start by cleaning the sensors to ensure they are free from any debris. Additionally, check if there are any adjustments that can be made to the object avoidance settings of your mower. By fine-tuning these settings, you may be able to reduce the occurrences of random backup and direction changes.
Another factor to consider is the bumper of your robot lawn mower. If the bumper is not properly attached or if moisture has seeped into the contacts, it can lead to unpredictable behavior. Ensure that the bumper is securely installed and free from any moisture or debris. This simple step can make a significant difference in resolving the issue.
Remember that each robot lawn mower may have its own unique setup and specifications. Always refer to the manufacturer’s instructions for specific troubleshooting steps and guidelines. By following these recommendations and implementing the suggested solutions, you can effectively troubleshoot and fix the random backup and change of direction problem with your robot lawn mower.
Troubles with Bluetooth Connectivity
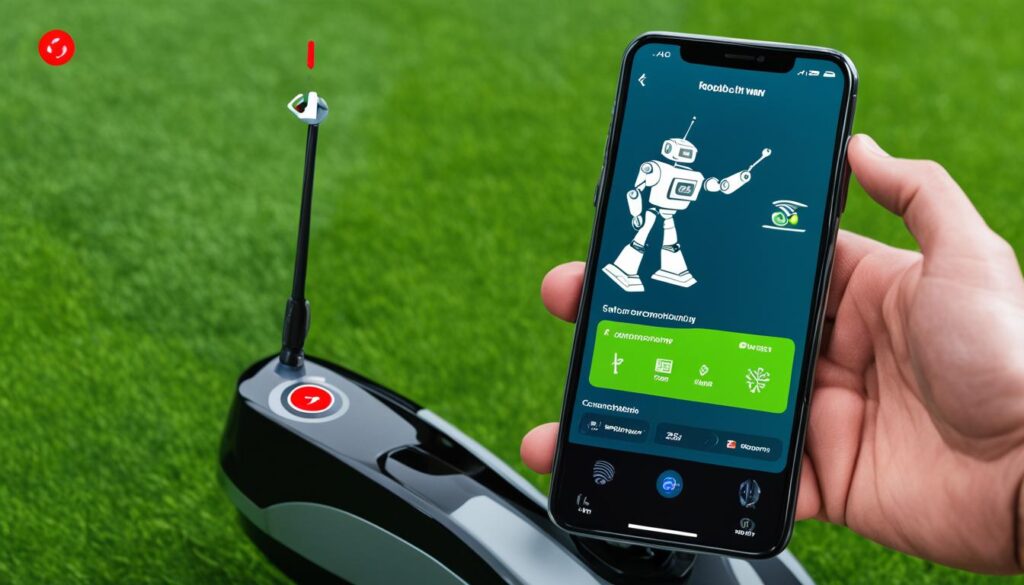
Many robot lawn mowers can be controlled through a mobile app via Bluetooth connectivity. However, some owners may experience difficulties in connecting their mower to the app. This can be caused by various factors, such as the mower not broadcasting a signal, other Bluetooth devices prioritizing connection over the mower, or simply a need to power off and on the mower. If these simple troubleshooting steps don’t work, a factory reset may be necessary. It’s important to note that a factory reset will erase all saved maps of your property.
If you’re facing troubles with Bluetooth connectivity, here are some steps you can take to troubleshoot the issue:
- Make sure the robot mower is powered on and within range of your mobile device.
- Check if other Bluetooth devices are interfering with the connection. Disable or move them away from the mower.
- Power cycle both your mobile device and the lawn mower. Turn them off, wait for a few seconds, and then turn them on again.
Note: Different robot lawn mower models may have slightly different troubleshooting steps. Consult the manufacturer’s documentation for your specific model if the issue persists.
If the problem persists, performing a factory reset can help resolve the Bluetooth connectivity issue. However, keep in mind that this will delete all the saved maps of your property. To perform a factory reset, follow these steps:
- Refer to your mower’s user manual to find the factory reset procedure for your specific model.
- Usually, you need to press and hold a combination of buttons for a certain duration to initiate the reset. The exact button combination and duration may vary across models.
- Once the reset is complete, set up the mower again using the manufacturer’s instructions.
By following these troubleshooting steps and consulting the manufacturer’s documentation, you can overcome Bluetooth connectivity issues with your robot lawn mower and regain control over its operation from your mobile device.
| Issue | Troubleshooting Steps |
|---|---|
| The mower is not broadcasting a signal | Check if the mower is powered on and within range. Ensure Bluetooth is enabled. |
| Other Bluetooth devices are prioritizing connection over the mower | Disable or move other Bluetooth devices away from the mower. |
| The mower and mobile device need to be power cycled | Turn off both devices, wait for a few seconds, and turn them on again. |
| A factory reset is required | Perform a factory reset according to the manufacturer’s instructions. |
WiFi Connection Problems
While Bluetooth connectivity is common for controlling robot lawn mowers, initial setup and certain features may require a WiFi connection. Owners may face issues in connecting their mower to WiFi, such as connecting to the wrong frequency band or security settings blocking the connection.
To troubleshoot these WiFi connection problems, try the following troubleshooting tips for robotic lawn mowers:
- Switch to the correct frequency band: Ensure that your mower is set to the appropriate WiFi frequency band. Some routers may operate on both 2.4GHz and 5GHz bands, so make sure to select the correct one.
- Adjust security settings: Check your router’s security settings and make sure they are not blocking the connection. If necessary, adjust the settings to allow your robot lawn mower to connect.
- Use a mobile hotspot: If you’re still unable to establish a WiFi connection, consider using a mobile hotspot from your smartphone. This can provide an alternative means of connecting your mower to the internet.
- Ensure no previous account bindings: Before attempting to connect your mower to WiFi, double-check that it is not already bound to another account. This can prevent a smooth connection process, so unlink it if necessary.
“Proper WiFi connection is crucial for the initial setup and some advanced features of your robot lawn mower. By following these troubleshooting tips, you can overcome common WiFi connection problems and ensure seamless operation of your mower.”
| Common WiFi Connection Problems | Troubleshooting Tips |
|---|---|
| Connecting to the wrong frequency band | Switch to the correct frequency band |
| Security settings blocking the connection | Adjust security settings |
| Unable to connect to WiFi | Use a mobile hotspot |
| Already bound to another account | Ensure no previous account bindings |
Repairing Perimeter Wire Breaks
The perimeter wire is an essential component for guiding robot lawn mowers. In case of a break in the perimeter wire, it’s crucial to locate the source of the problem by inspecting the lawn for any visible damage or exposed wire. Once the break is identified, the wire needs to be removed and replaced. The damaged ends are trimmed, and the new wire is securely installed using a cable connector filled with silicone for protection. Regularly having extra perimeter wire on hand can be helpful for more extensive repairs in the future.
Step-by-Step Guide to Repairing Perimeter Wire Breaks
- Inspect the lawn for any signs of damage or exposed wire.
- Identify and mark the location of the wire break.
- Using wire cutters, remove the damaged section of the wire.
- Trim the ends of the remaining wire to ensure a clean connection.
- Prepare the new wire by stripping off the insulation from the ends.
- Insert the stripped ends of the old wire into one end of a cable connector.
- Insert the stripped ends of the new wire into the other end of the cable connector.
- Secure the cable connector with a waterproof silicone sealant.
- Bury the repaired section of the wire underground or secure it to the ground using landscaping staples.
- Test the repaired perimeter wire by running the robot mower along its boundary.
By following these troubleshooting steps, you can effectively repair perimeter wire breaks and ensure that your robot lawn mower continues to navigate your yard accurately, providing you with a well-maintained lawn with minimal effort.
Troubleshooting a Dead Robot on the Wire
If you frequently find your robot lawn mower dead on the wire in various places, it’s likely experiencing issues with docking properly. This can be frustrating, but fortunately, there are troubleshooting steps you can take to address the problem.
The inability to dock properly can occur due to two main reasons: positioning issues of the base and wire or mechanical problems. Let’s explore some solutions to help prevent your mower from dying on the wire:
Check and Adjust Base and Wire Position
Start by ensuring that the base of your robot lawn mower is positioned correctly. Check that it is placed in an open area without any obstructions that may interfere with the docking process. If necessary, adjust the position of the base to provide a clear path for the mower to dock.
Next, examine the wire that guides your mower. Make sure it is properly installed and securely fixed along the perimeter of your lawn. Check for any loose or damaged sections of the wire and address them accordingly. Straighten any kinks or loops in the wire to ensure a smooth docking process.
Ensure Sufficient Straight Wire in Front of the Base
For successful docking, it’s essential to have enough straight wire in front of the base. This allows the mower to align itself properly and connect with the charging dock. Make sure there is at least a few feet of straight wire ahead of the base to facilitate a reliable docking process.
Address Mechanical Issues
If checking the positioning and wire don’t resolve the problem, it’s possible that there are mechanical issues with your robot lawn mower. Inspect the mower for any visible damage or signs of wear and tear. Pay attention to the wheels, sensors, and docking connectors. Clean any dirt or debris that may be interfering with the mower’s functionality. If necessary, consult the manufacturer’s instructions or contact customer support for further assistance.
By following these troubleshooting steps, you can improve the docking performance of your robot lawn mower and minimize the chances of finding it dead on the wire. Remember to regularly maintain and inspect your mower to ensure optimal performance.
Note: The image above is for illustrative purposes only and may not directly depict the specific issues discussed in this section.
Robot Not Charging or Turning On
If you’re facing issues with your robot lawn mower not charging properly or failing to turn on, there could be several factors contributing to the problem. It’s important to troubleshoot these issues to ensure your robotic mower is up and running smoothly. Here are some troubleshooting tips for fixing common problems:
1. Check for Blown Fuses
If your robot mower is not charging or turning on, it’s possible that there may be blown fuses on the motherboard. Inspect the fuses and replace any that are damaged or burned out.
2. Ensure Proper Cable Connections
Disconnected cables can prevent your robot mower from charging or powering on. Check all the connections, including the power cable and charging dock, to make sure they are securely plugged in.
3. Address Keypad Issues
Malfunctioning keypads can also cause charging and power problems. Clean the keypad surface and check for any stuck or unresponsive buttons. If necessary, refer to the manufacturer’s manual for keypad troubleshooting steps.
4. Test Battery Voltage
If your robot mower is not charging or turning on, it could be due to a faulty battery. Use a voltmeter to test the battery voltage. If the voltage is consistently low or zero, it may be time to replace the battery.
5. Seek Professional Assistance
If the troubleshooting steps mentioned above don’t resolve the issue, it may be necessary to seek assistance from a professional robot mower repair service. They can diagnose more complex problems and provide the appropriate solutions.
Remember to follow the manufacturer’s instructions and guidelines throughout the troubleshooting process. By addressing charging and power issues, you can ensure that your robot lawn mower is always ready to keep your lawn looking pristine with minimal effort.
Pro Tip: Regular maintenance and cleaning can help prevent charging and power problems. Keep your robot lawn mower clean and free from debris to ensure optimal performance.
| Problem | Possible Causes | Troubleshooting Steps |
|---|---|---|
| Robot not charging | Blown fuses, disconnected cables | Check and replace blown fuses, ensure proper cable connections |
| Robot not turning on | Issues with keypad, battery failure | Address keypad issues, test battery voltage |
Conclusion
Troubleshooting your robot lawn mower doesn’t have to be a daunting task. With patience, attention to detail, and a systematic approach, you can successfully resolve common issues and keep your mower running smoothly.
Start by addressing problems related to positioning, obstacle detection, and connectivity. Double-check the location of your mower and reference station to avoid ‘Poor positioning status’ errors. Clean the sensors and ensure the bumper is properly installed to prevent random backup and changes in direction.
If you encounter Bluetooth or WiFi connectivity problems, try restarting the mower or adjusting the frequency band. Don’t forget to consult the manufacturer’s instructions for specific troubleshooting steps.
For wire breaks, carefully inspect your lawn and replace the damaged wire using cable connectors filled with silicone for protection. And if your robot mower is not charging or turning on, check the fuses, cables, keypad, and battery voltage.
Remember, if you ever feel stuck or unsure, it’s always a good idea to seek professional assistance. By following these troubleshooting steps, you can effectively fix common issues, maintain your robot lawn mower, and enjoy a beautifully manicured lawn with minimal effort.
FAQ
What is the “Poor Positioning Status” error in robot lawn mowers?
The “Poor Positioning Status” error occurs when the mower loses connection with the satellites it uses to navigate. This can happen if the mower goes under an overhang, tree, or if the reference station and mower are not seeing the same satellites. Planning the location of your mower and reference station, moving the reference station, or choosing a different type of robot mower can help resolve this issue.
Why does my robot lawn mower randomly back up and change direction?
This issue can be caused by sensitive obstacle-detection sensors that can be triggered by small objects like long blades of grass or weeds. Additionally, an improperly attached bumper or moisture in the contacts can cause the mower to behave unpredictably. Cleaning the sensors, adjusting the object avoidance settings, and ensuring the bumper is properly installed can help resolve this issue.
How can I troubleshoot connectivity issues with my robot lawn mower’s mobile app?
If you’re having difficulty connecting your robot mower to the app, it may be due to factors such as the mower not broadcasting a signal, other Bluetooth devices prioritizing connection over the mower, or a need to power off and on the mower. Trying these simple troubleshooting steps, such as powering off and on the mower, or performing a factory reset if necessary, can help resolve the issue. It’s important to note that a factory reset will erase all saved maps of your property.
What should I do if I’m having trouble connecting my robot lawn mower to WiFi?
Issues with connecting the mower to WiFi can include connecting to the wrong frequency band or security settings blocking the connection. Switching to the correct frequency band, adjusting security settings, or using a mobile hotspot can help establish the WiFi connection. Additionally, ensuring that the mower is not already bound to another account is important for smooth operation.
How can I repair a break in the perimeter wire of my robot lawn mower?
To repair a break in the perimeter wire, start by inspecting the lawn for any visible damage or exposed wire. Once the break is identified, remove and replace the damaged wire. Trim the damaged ends and securely install the new wire using a cable connector filled with silicone for protection. Having extra perimeter wire on hand is helpful for more extensive repairs in the future.
Why does my robot lawn mower keep dying on the wire?
If your robot lawn mower repeatedly dies on the wire, it may be due to positioning issues of the base and wire or mechanical problems. Checking and adjusting the base and wire position, ensuring sufficient straight wire in front of the base, and addressing any mechanical issues can help prevent the mower from dying on the wire.
What should I do if my robot lawn mower is not charging properly or fails to turn on?
Various factors can cause a robot lawn mower to not charge properly or fail to turn on, including blown fuses on the motherboard, disconnected cables, issues with the keypad or charging system, or battery failure. Troubleshooting steps include checking and replacing fuses if necessary, ensuring proper cable connections, addressing keypad issues, and testing battery voltage. Seeking assistance from a professional may be necessary for more complex issues.
How do I troubleshoot robot lawn mowers?
Troubleshooting robot lawn mowers requires patience, attention to detail, and a systematic approach to identifying and resolving common issues. By following the steps outlined in this guide, you can effectively address problems related to positioning, obstacle detection, connectivity, wire breaks, docking, and charging. Remember to consult the manufacturer’s instructions and seek professional assistance if needed.


