Welcome to our ultimate beginner’s guide to sous vide cooking! If you’re new to this revolutionary cooking technique, we’re here to help you dive in and discover the wonders of sous vide.
Sous vide is a cooking technique that involves placing food in an air-tight bag and submerging it in a temperature-controlled water bath. It is a foolproof method to cook food to perfection every time.
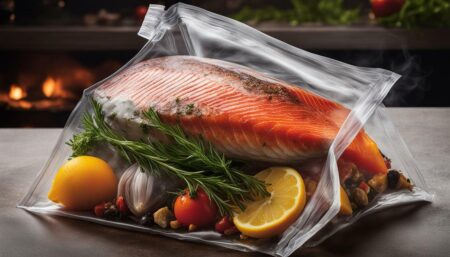
The process of cooking sous vide is simple, requiring you to package your ingredients in an air-tight bag or container. There are two common methods for packaging: vacuum sealing and the water displacement method. While vacuum sealing is convenient, it is not mandatory for sous vide cooking. The water displacement method, which involves using Ziploc bags, is an easy and affordable alternative.
Temperature and time are critical factors in sous vide cooking. The temperature of the water bath determines the doneness of the food, while the time determines the tenderness.
Searing is an essential step to achieve a brown, crispy crust on the food. Immersion circulators and Cambro containers are recommended equipment for sous vide cooking.
Now that you have an overview of sous vide basics, it’s time to explore the different aspects of sous vide cooking. In the following sections, we will delve into various topics such as packaging methods, temperature and time guidelines, searing techniques, equipment recommendations, and a variety of beginner-friendly sous vide recipes.
Whether you’re a seasoned cook looking to enhance your culinary skills or a beginner eager to try something new, this guide has got you covered. Get ready to elevate your cooking game with the art of sous vide!
What is Sous Vide Cooking?
Sous vide cooking is a method that involves sealing your food in a bag and cooking it in a temperature-controlled water bath, resulting in perfectly cooked meals every time. This technique is gaining popularity among beginners and experienced cooks alike due to its ability to deliver consistent and precise results.
When cooking sous vide, the first step is to package your ingredients in an air-tight bag or container. There are two common methods for packaging: vacuum sealing and the water displacement method. Vacuum sealing is a convenient option that removes all air from the bag, ensuring proper heat transfer and preventing food from coming into contact with the water. However, if you don’t have a vacuum sealer, don’t worry! The water displacement method, which involves using Ziploc bags, is an easy and affordable alternative. Simply submerge the bag in the water bath, allowing the water pressure to push out the air, and seal the bag.
Temperature and time are critical factors in sous vide cooking. The temperature of the water bath determines the doneness of the food, while the time determines the tenderness. To achieve the desired results, it’s important to follow recommended cooking temperatures and times for different types of food. Searing is another essential step in sous vide cooking, as it adds a beautiful brown crust to the food. After cooking sous vide, pat your food dry and sear it in a hot pan or use a kitchen torch for a quick finish.
To make the most of sous vide cooking, it’s recommended to invest in a few key pieces of equipment. An immersion circulator is a device that attaches to a pot or container, regulating the water temperature and ensuring even cooking. Cambro containers, with their excellent insulation properties, are also popular for sous vide cooking as they help maintain a stable water temperature throughout the cooking process. These tools will help you achieve consistent results and elevate your sous vide cooking experience.
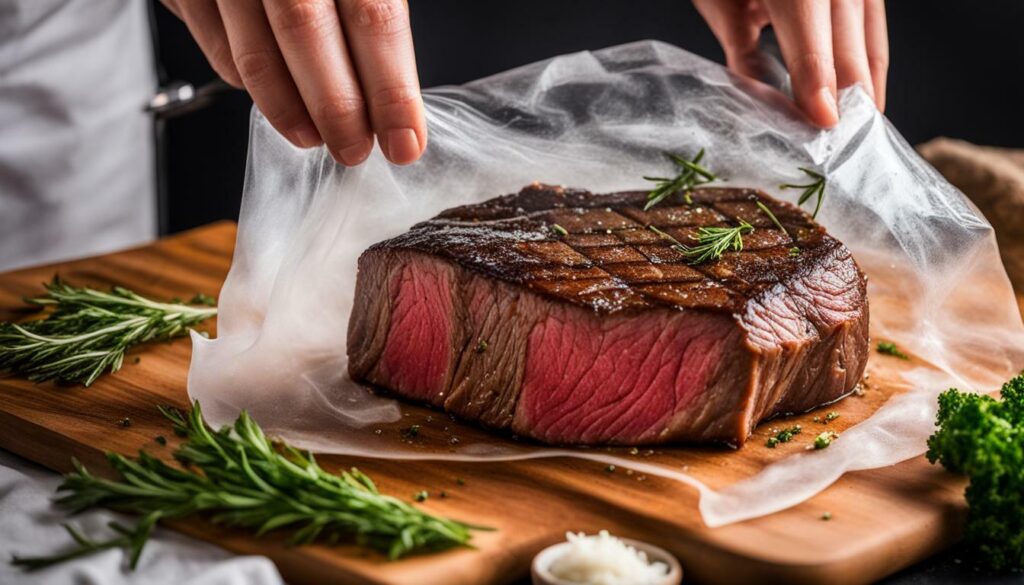
- Start with simple recipes and gradually experiment with more complex dishes.
- Ensure your ingredients are properly seasoned before sealing them in the bag.
- Label your bags with the cooking temperature and time to keep track of each meal.
- Allow your food to rest for a few minutes after cooking to allow the juices to redistribute.
- Take food safety measures by not leaving cooked food at room temperature for too long.
Mastering the art of sous vide cooking may take some practice, but with the right techniques and equipment, you’ll be able to create restaurant-quality meals in the comfort of your own kitchen. So why not give it a try and experience the amazing flavors and textures that sous vide cooking has to offer?
Packaging Methods for Sous Vide Cooking
When it comes to packaging your ingredients for sous vide cooking, there are two common methods to choose from: vacuum sealing and the water displacement method. While vacuum sealing is a popular choice for its convenience, it is not necessary for beginners. The water displacement method, on the other hand, is a cost-effective and easy alternative that delivers equally satisfying results.
The vacuum sealing method involves using a vacuum sealer machine to remove all the air from the bag before sealing it. This creates an airtight environment, ensuring that the food cooks evenly and retains its natural flavors. However, if you don’t have a vacuum sealer, don’t fret. The water displacement method is just as effective and requires no special equipment.
To use the water displacement method, simply place the food and any desired flavorings or seasonings in a Ziploc bag and partially seal it. Slowly lower the bag into a container of water, allowing the water pressure to push out the air from the bag. Once most of the air is removed, seal the bag completely. This method creates a tight seal and allows the food to cook evenly in the sous vide water bath.
Comparison of Packaging Methods
| Method | Pros | Cons |
|---|---|---|
| Vacuum Sealing | – Creates an airtight seal for even cooking – Retains flavors and juices – Can be used for long-term storage |
– Requires a vacuum sealer machine – Added cost for vacuum sealing bags |
| Water Displacement | – No special equipment required – Cost-effective method – Easy and accessible for beginners |
– Can be slightly messier than vacuum sealing – Ziploc bags may not be suitable for long-term storage |
Both packaging methods are suitable for beginners and will result in delicious sous vide dishes. Choose the one that best fits your needs and equipment availability. Whichever method you choose, always ensure that your ingredients are properly sealed to prevent any water from entering the bag during the cooking process.
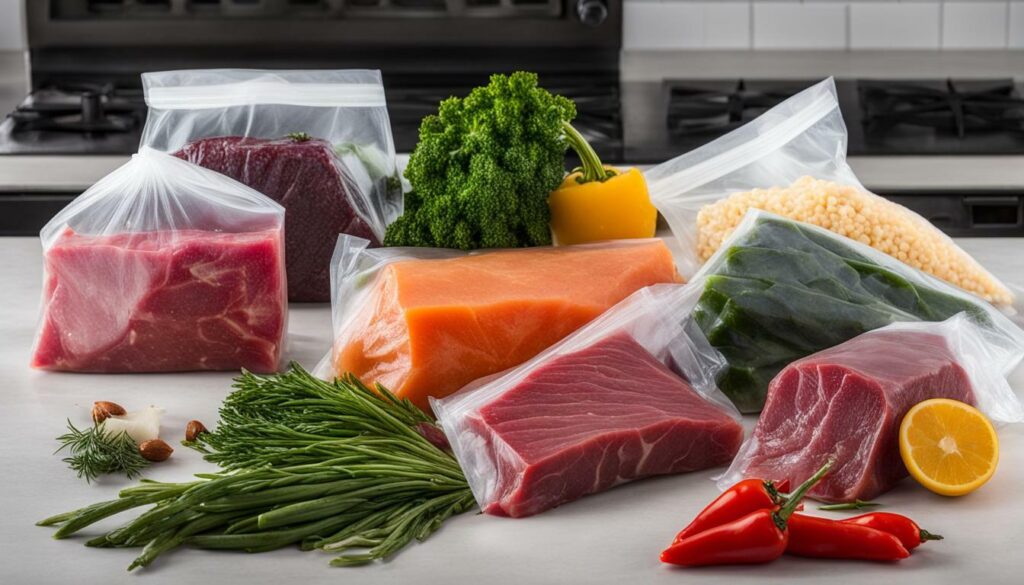
When it comes to packaging your ingredients for sous vide cooking, it’s important to create a tight seal to prevent any water from entering the bag. This guarantees consistent and flavorful results every time. Whether you opt for vacuum sealing or the water displacement method, both techniques offer excellent options for achieving culinary perfection at home.
Temperature and Time in Sous Vide Cooking
Achieving the perfect doneness and tenderness in sous vide cooking relies on understanding the ideal temperature and cooking times for different types of food. The temperature of the water bath will determine how well-cooked your ingredients become, while the cooking time affects the texture and tenderness. With precise control over these variables, you can consistently produce restaurant-quality meals in your own kitchen.
To get started, it’s important to know the recommended temperature ranges for different types of food. For example, a medium-rare steak typically requires a water bath temperature of around 130°F (54°C), while chicken breast is best cooked at 145°F (63°C) to ensure it reaches a safe internal temperature. Seafood like salmon can be cooked to a tender and moist consistency at 125°F (52°C). These are just a few examples, so it’s always a good idea to consult sous vide recipes or temperature guides specific to the ingredients you’re cooking.
Cooking times can vary depending on the thickness and size of your ingredients. As a general rule, sous vide cooking takes longer than traditional methods due to the lower temperatures used. For instance, a 1-inch thick steak may require around 1 to 2 hours in the water bath, while a whole chicken breast could take 1.5 to 2 hours. The beauty of sous vide cooking is that you have a wide window of time in which your food can be perfectly cooked without risk of overcooking, so there’s no need to stress about precise timing.
| Food | Temperature | Cooking Time |
|---|---|---|
| Steak (medium-rare) | 130°F (54°C) | 1-2 hours |
| Chicken Breast | 145°F (63°C) | 1.5-2 hours |
| Salmon | 125°F (52°C) | 30-45 minutes |
Remember, these times and temperatures are just starting points. Sous vide cooking offers flexibility, allowing you to adjust the cooking time to your preference for doneness and tenderness. Experiment with different combinations to find the perfect balance for your taste. With practice, you’ll become more confident in your ability to create delicious sous vide meals.
Searing is a crucial step to elevate your sous vide dishes by adding a delicious brown, crispy crust. Let’s explore the art of searing in sous vide cooking and discover some easy recipes to get started.
When it comes to searing, there are a few key factors to keep in mind. First, make sure that your meat or vegetables are patted dry before searing. Moisture on the surface can hinder the browning process. Second, use a high heat cooking method like pan-searing or grilling to achieve the desired results. Finally, remember to season your food with salt and pepper before searing to enhance the flavors.
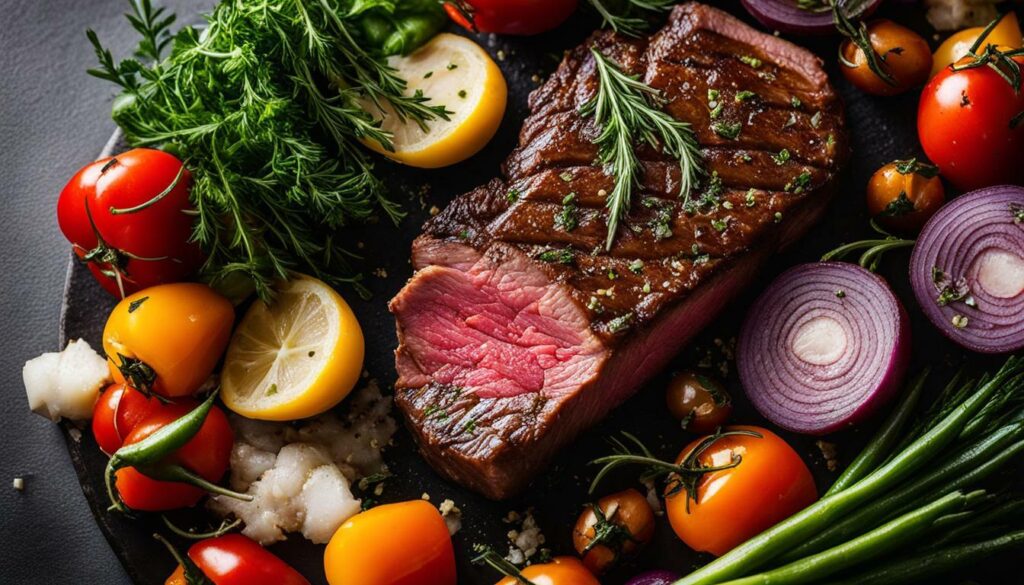
One easy and delicious recipe to try is sous vide steak with a garlic herb butter. After cooking your steak sous vide to your desired temperature, pat it dry and then sear it in a hot skillet with melted butter, garlic, and herbs. The result is a perfectly tender and juicy steak with a flavorful crust.
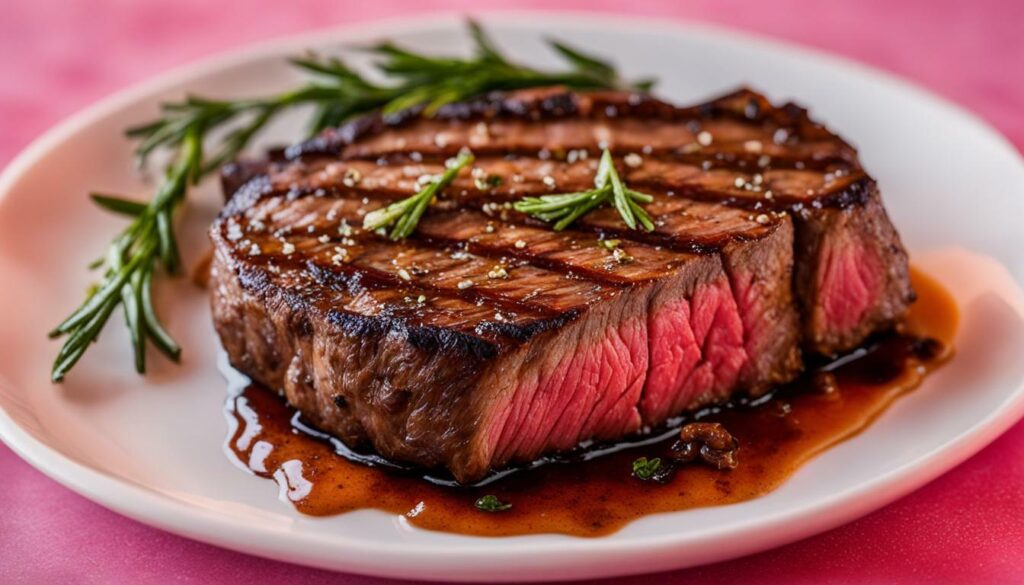
| Ingredients | Instructions |
|---|---|
| 1 sous vide cooked steak | 1. Pat the steak dry with paper towels. |
| 2 tablespoons butter | 2. Heat a skillet over high heat and melt the butter. |
| 2 cloves garlic, minced | 3. Add the minced garlic to the skillet and cook for 1 minute. |
| 1 tablespoon fresh herbs (such as thyme or rosemary), chopped | 4. Stir in the chopped herbs and cook for an additional 30 seconds. |
| Salt and pepper to taste | 5. Season the steak with salt and pepper on both sides. |
| 6. Place the steak in the skillet and sear for 1-2 minutes per side. | |
| 7. Remove the steak from the skillet and let it rest for a few minutes before slicing and serving. |
Equipment for Sous Vide Cooking
To get started with sous vide cooking, it’s helpful to have the right equipment that ensures precise temperature control throughout the cooking process. Let’s explore the essential tools you’ll need.
1. Immersion Circulator: An immersion circulator is the heart of sous vide cooking. This device attaches to a container filled with water and circulates and heats the water to maintain a consistent temperature. Look for models that offer accurate temperature control and easy-to-use interfaces.
2. Sous Vide Container: A sous vide container is a large, heat-resistant vessel that holds the water bath for cooking. These containers are designed to provide insulation and stabilize the temperature during long cooking sessions. Cambro containers, which are made from durable and non-reactive materials, are popular choices among sous vide enthusiasts.
3. Vacuum Sealer: While not essential for beginners, a vacuum sealer can be a convenient tool for packaging food for sous vide cooking. It removes air from the bag, ensuring better heat transfer and reducing the risk of freezer burn. However, if you don’t have a vacuum sealer, don’t worry. The water displacement method using Ziploc bags is a simple and affordable alternative.
| Essential Sous Vide Equipment: | Recommended Brands: |
|---|---|
| Immersion Circulator | Anova, Joule, ChefSteps |
| Sous Vide Container | Cambro |
| Vacuum Sealer | FoodSaver, Weston |
With the right equipment in your kitchen, you’ll be ready to dive into the wonderful world of sous vide cooking. Experiment with different recipes and discover the joy of perfectly cooked meals every time.
“Sous vide cooking has revolutionized the way I prepare meals at home. The precise temperature control ensures that my dishes are always cooked to perfection.” – Emily, Home Cook
“Investing in a quality immersion circulator and container has made sous vide cooking a breeze. I love how tender and flavorful the results are.” – John, Sous Vide Enthusiast
Quick Tips:
- When using a vacuum sealer, make sure to choose bags that are specifically designed for sous vide cooking to ensure they can withstand the high temperatures.
- For the water displacement method, simply submerge the bag with the food into a pot of water, allowing the water pressure to push out the air. Seal the bag and you’re ready to cook!
- Keep an eye on the water level in your sous vide container, as evaporation can occur during long cooking times. Add hot water as needed to maintain the desired level.
Now that you know the essential equipment for sous vide cooking, it’s time to gather your supplies and embark on your culinary journey. Get ready to elevate your cooking skills and impress your family and friends with restaurant-quality meals from your own kitchen.
Sous Vide Steak Recipes for Beginners
If you’re looking to impress with a perfectly cooked steak, sous vide is the way to go. Here are some beginner-friendly sous vide steak recipes that are sure to delight your taste buds.
1. Sous Vide Ribeye Steak
Ingredients:
- 1 ribeye steak
- Salt and pepper to taste
Instructions:
- Preheat the water bath to 129°F (54°C) for medium-rare.
- Season the ribeye steak with salt and pepper.
- Vacuum seal the steak or use the water displacement method with a Ziploc bag.
- Place the sealed steak in the water bath and cook for 2 hours.
- Remove the steak from the bag, pat it dry, and sear it in a hot skillet or grill for a minute on each side.
- Serve and enjoy!
2. Sous Vide Filet Mignon
Ingredients:
- 1 filet mignon steak
- Salt and pepper to taste
Instructions:
- Preheat the water bath to 130°F (54°C) for medium-rare.
- Season the filet mignon steak with salt and pepper.
- Vacuum seal the steak or use the water displacement method with a Ziploc bag.
- Place the sealed steak in the water bath and cook for 1 hour.
- Remove the steak from the bag, pat it dry, and sear it in a hot skillet or grill for a minute on each side.
- Serve and enjoy!
3. Sous Vide Sirloin Steak
Ingredients:
- 1 sirloin steak
- Salt and pepper to taste
- Garlic powder (optional)
- Rosemary sprigs (optional)
Instructions:
- Preheat the water bath to 130°F (54°C) for medium-rare.
- Season the sirloin steak with salt, pepper, garlic powder, and rosemary sprigs (optional).
- Vacuum seal the steak or use the water displacement method with a Ziploc bag.
- Place the sealed steak in the water bath and cook for 2 hours.
- Remove the steak from the bag, pat it dry, and sear it in a hot skillet or grill for a minute on each side.
- Serve and enjoy!
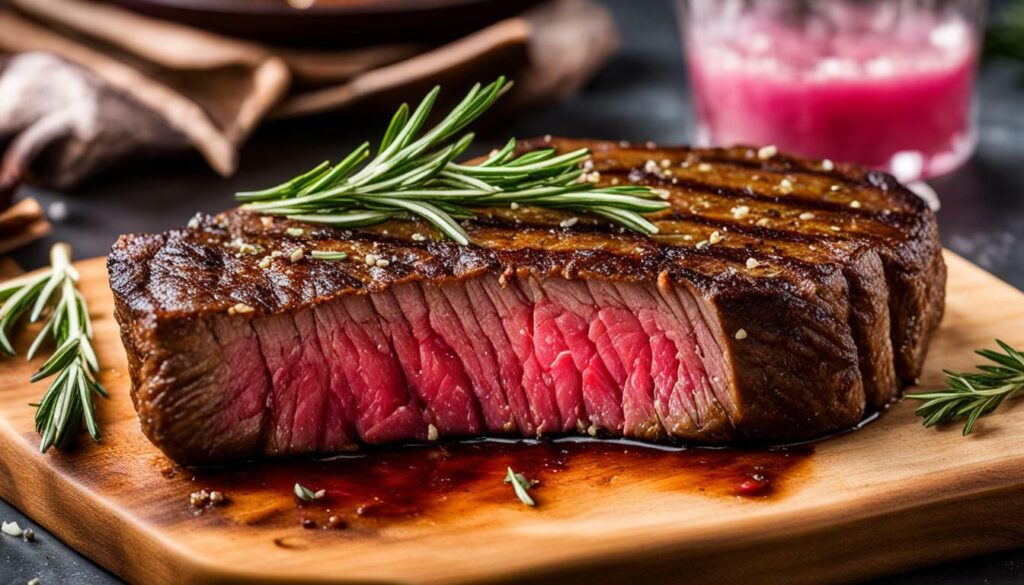
| Steak Cut | Water Bath Temperature | Cooking Time |
|---|---|---|
| Ribeye | 129°F (54°C) | 2 hours |
| Filet Mignon | 130°F (54°C) | 1 hour |
| Sirloin | 130°F (54°C) | 2 hours |
Sous Vide Chicken Recipes for Beginners
Sous vide cooking is a game-changer when it comes to chicken, guaranteeing moist and flavorful results. Let’s explore some delicious sous vide chicken recipes perfect for beginners.
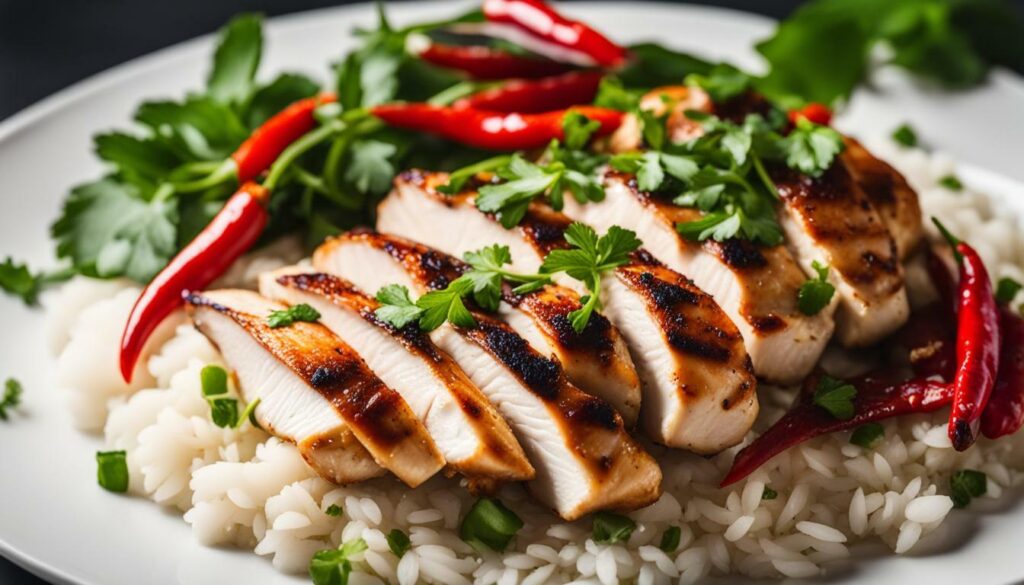
1. Sous Vide Lemon Herb Chicken: This recipe is a crowd-pleaser with its bright and zesty flavors. Simply season chicken breasts with salt, pepper, fresh herbs, and lemon zest. Place them in a vacuum-sealed bag or a Ziploc bag using the water displacement method. Cook at 145°F (63°C) for 1 hour, then finish by searing in a hot skillet for a crispy exterior.
2. Sous Vide Teriyaki Chicken Thighs: For a savory and slightly sweet dish, try this recipe. Marinate chicken thighs in a mixture of soy sauce, ginger, garlic, and brown sugar. Vacuum-seal or use the water displacement method to package the chicken. Cook at 165°F (74°C) for 2 to 3 hours. Finish by glazing with teriyaki sauce and broiling in the oven for a caramelized exterior.
3. Sous Vide Buffalo Chicken Wings: Elevate your game-day snacks with these tender and juicy wings. Season chicken wings with salt, pepper, and garlic powder. Vacuum-seal or use the water displacement method to package the wings. Cook at 165°F (74°C) for 2 hours. Finish by tossing the wings in buffalo sauce and broiling for a few minutes until crispy.
| Recipe | Temperature (°F) | Cooking Time |
|---|---|---|
| Lemon Herb Chicken | 145°F | 1 hour |
| Teriyaki Chicken Thighs | 165°F | 2 to 3 hours |
| Buffalo Chicken Wings | 165°F | 2 hours |
These sous vide chicken recipes are just the beginning. Experiment with different marinades, spices, and cooking times to create your own flavorful variations. With sous vide cooking, you’ll enjoy tender and succulent chicken every time.
Summary
Sous vide cooking is a foolproof method for achieving perfectly cooked chicken. Try the Sous Vide Lemon Herb Chicken, Sous Vide Teriyaki Chicken Thighs, and Sous Vide Buffalo Chicken Wings recipes for delicious results. Customize the flavors and cooking times to your preference and enjoy tender and flavorful chicken dishes with ease.
From delicate fish fillets to succulent shrimp, sous vide is an excellent technique for achieving restaurant-quality seafood dishes at home. Let’s dive into some beginner-friendly sous vide fish and seafood recipes.
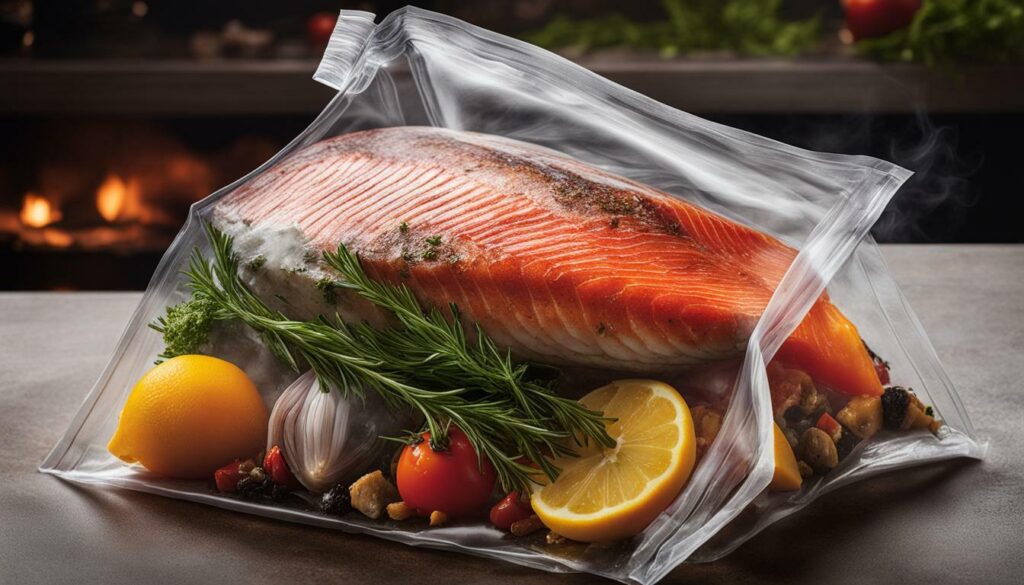
Sous Vide Salmon: Start with a fresh salmon fillet seasoned with salt, pepper, and your choice of herbs like dill or thyme. Place the seasoned fillet in a vacuum-sealed bag or a Ziploc bag using the water displacement method. Set your immersion circulator to 130°F (54°C) for medium-rare tenderness, and cook the salmon for 45 minutes. After sous vide cooking, sear the salmon in a hot skillet for a minute on each side to create a beautifully caramelized crust.
Sous Vide Shrimp: For perfectly cooked, tender shrimp, season peeled and deveined shrimp with salt, pepper, and a squeeze of lemon juice. Place the seasoned shrimp in a vacuum-sealed bag or Ziploc bag using the water displacement method. Set your immersion circulator to 140°F (60°C) and cook the shrimp for 20-25 minutes. Once done, remove the shrimp from the bag and quickly sear them in a hot skillet with butter and garlic for a burst of flavor.
Sous Vide Scallops: Season fresh scallops with salt and pepper. Place them in a vacuum-sealed bag or Ziploc bag using the water displacement method. Set your immersion circulator to 120°F (49°C) for tender and buttery scallops. Cook the scallops for 30 minutes. After sous vide cooking, sear the scallops in a hot skillet with a drizzle of olive oil for a golden crust. Serve them with a garnish of fresh herbs or a squeeze of lemon juice.
| Recipe | Temperature | Cooking Time |
|---|---|---|
| Sous Vide Salmon | 130°F (54°C) | 45 minutes |
| Sous Vide Shrimp | 140°F (60°C) | 20-25 minutes |
| Sous Vide Scallops | 120°F (49°C) | 30 minutes |
With sous vide cooking, you can achieve perfectly tender and flavorful fish and seafood dishes every time. Whether you’re a beginner or an experienced home cook, these recipes will elevate your culinary skills and impress your guests. So grab your immersion circulator, try out these beginner-friendly sous vide fish and seafood recipes, and enjoy the taste of restaurant-quality meals in the comfort of your own home.
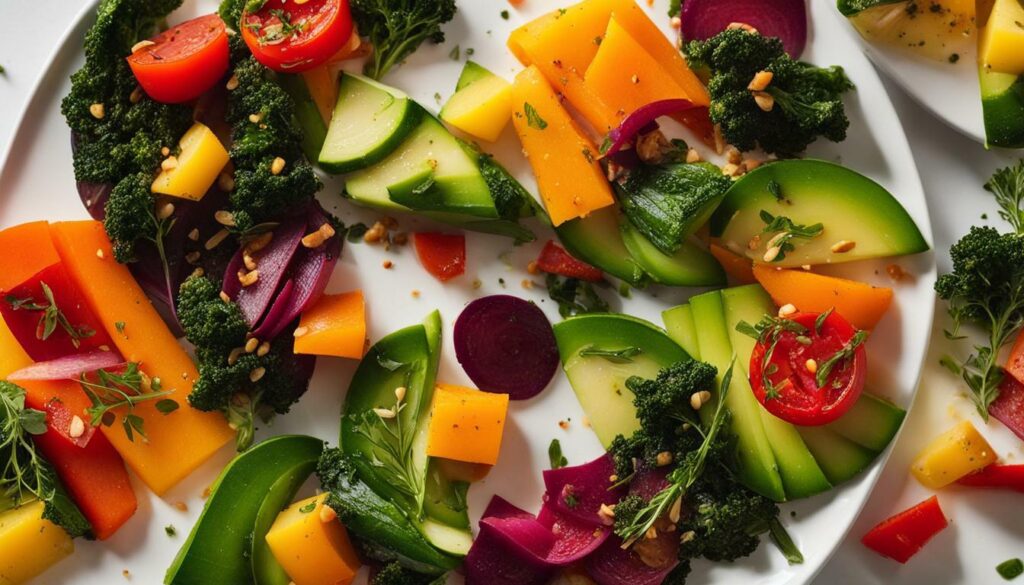
Sous vide cooking isn’t limited to meats and seafood – it’s also a fantastic way to elevate the flavors and textures of your favorite vegetables. Here are some quick and easy sous vide vegetable recipes to try.
1. Sous Vide Carrots: Start by peeling and trimming the carrots. Place them in a Ziploc bag and add olive oil, salt, and pepper. Seal the bag using the water displacement method, ensuring all the air is removed. Set your sous vide machine to 185°F (85°C) and cook the carrots for 45 minutes. Once they’re done, transfer the carrots to a hot skillet with butter and sear until they’re nicely caramelized on the outside. Serve as a side dish or add them to salads and grain bowls.
2. Sous Vide Asparagus: Trim the woody ends of the asparagus and place them in a Ziploc bag with butter, garlic, salt, and pepper. Seal the bag using the water displacement method. Set your sous vide machine to 185°F (85°C) and cook the asparagus for 15 minutes. After cooking, shock the asparagus in an ice bath to stop the cooking process and preserve their vibrant green color. Serve as a side dish or add them to omelets and pasta dishes.
3. Sous Vide Brussels Sprouts: Clean and trim the Brussels sprouts, then cut them in half. Place them in a Ziploc bag with olive oil, balsamic vinegar, salt, and pepper. Seal the bag using the water displacement method. Set your sous vide machine to 185°F (85°C) and cook the Brussels sprouts for 1 hour. Once cooked, transfer them to a hot skillet with butter and cook for a few minutes until they’re nicely browned. Serve as a side dish or add them to stir-fries and grain bowls.
| Vegetable | Temperature | Cooking Time |
|---|---|---|
| Carrots | 185°F (85°C) | 45 minutes |
| Asparagus | 185°F (85°C) | 15 minutes |
| Brussels Sprouts | 185°F (85°C) | 1 hour |
Sous vide cooking allows you to achieve perfectly cooked vegetables with minimal effort. The precise temperature control ensures that the vegetables are cooked evenly and retain their natural flavors and nutrients. So why not give these sous vide vegetable recipes a try and experience a whole new level of taste and texture?
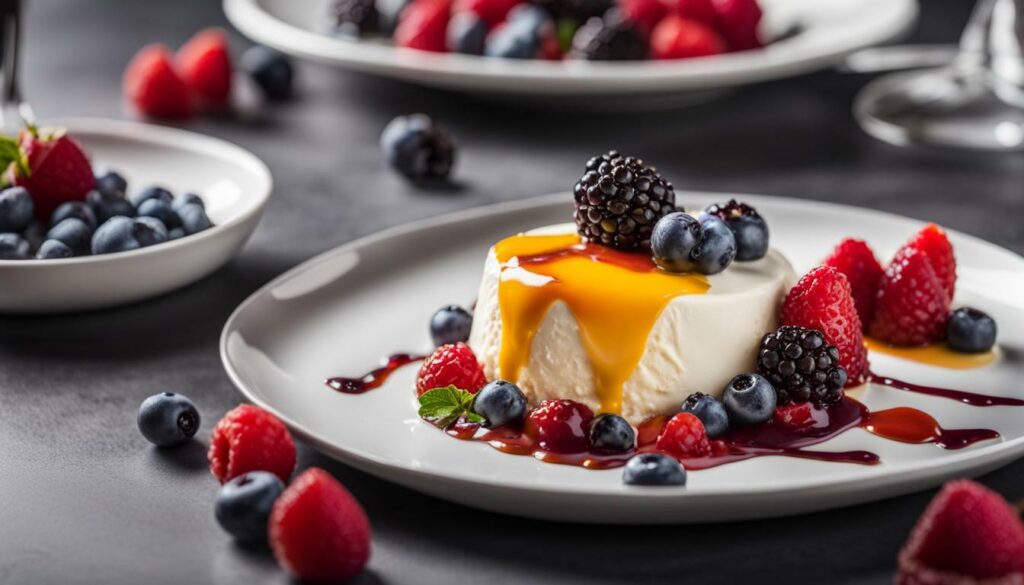
Sous vide cooking isn’t just for savory dishes – it can also work wonders for creating delectable desserts. Let’s explore some beginner-friendly sous vide dessert recipes that will satisfy your sweet tooth.
1. Crème Brûlée: This classic French dessert becomes even more decadent when cooked sous vide. The low and slow cooking method ensures a smooth and creamy custard with the perfect caramelized sugar topping. Serve it with fresh berries for an added burst of flavor.
2. Chocolate Lava Cake: Indulge in a rich and molten chocolate lava cake that’s cooked to perfection with sous vide. The sous vide technique ensures that the center of the cake remains gooey while the outer layer is perfectly baked. Top it with a scoop of vanilla ice cream for the ultimate dessert experience.
3. Fruit Compote: Enhance the natural sweetness of your favorite fruits by cooking them sous vide. Whether it’s a mixed berry compote or a spiced apple compote, this technique helps to intensify the flavors and create a luscious topping for ice cream, yogurt, or pancakes.
| Dessert | Preparation Time | Cooking Time | Serving |
|---|---|---|---|
| Crème Brûlée | 10 minutes | 1 hour | 4 |
| Chocolate Lava Cake | 15 minutes | 45 minutes | 2 |
| Fruit Compote | 10 minutes | 1 hour | 4 |
With sous vide, you can take your dessert game to the next level. These beginner-friendly recipes are just the beginning of your sweet sous vide journey. So dust off your immersion circulator, gather your ingredients, and get ready to impress your friends and family with these easy and delicious desserts.
As with any cooking technique, it’s crucial to prioritize safety when preparing food using the sous vide method. Here are some important safety tips to keep in mind.
- Proper handling of raw ingredients: When handling raw meats, poultry, or seafood for sous vide cooking, it’s essential to follow good food safety practices. Make sure to wash your hands thoroughly before and after handling raw ingredients to prevent cross-contamination.
- Maintaining proper food storage temperatures: Sous vide cooking often involves cooking food at lower temperatures for longer periods. To ensure food safety, it’s important to store perishable ingredients in the refrigerator at or below 40°F (4°C) until they are ready to be cooked.
- Preventing cross-contamination: When using the sous vide method, it’s essential to keep raw and cooked foods separate to avoid cross-contamination. Use separate cutting boards, utensils, and containers for raw and cooked ingredients. Clean and sanitize all equipment thoroughly before and after use.
- Monitoring water bath temperature: To maintain food safety, it’s crucial to monitor the temperature of the water bath throughout the cooking process. Use a reliable sous vide cooker or immersion circulator to maintain precise temperature control and ensure that the water reaches and maintains the desired temperature.
- Properly cooling and storing leftovers: After cooking sous vide, cool leftover food quickly and store it in airtight containers in the refrigerator. Use leftovers within a safe time frame, typically within 3-4 days, to ensure optimal freshness and food safety.
Remember, while sous vide cooking offers many advantages, it’s important to practice proper food safety measures to prevent any potential risks. By following these safety tips, you can enjoy the delicious results of sous vide cooking with peace of mind.
Troubleshooting Common Sous Vide Issues
Although sous vide cooking is relatively foolproof, beginners may encounter some challenges along the way. Here are some common issues and troubleshooting tips to help you navigate through them.
Issue 1: Overcooked or Undercooked Food
A common issue in sous vide cooking is achieving the desired level of doneness. If your food is overcooked or undercooked, it’s likely due to incorrect temperature settings or cooking times. To troubleshoot this issue, make sure you are following the recommended cooking temperatures and times for your specific recipe. You can find these guidelines in sous vide cookbooks or online resources.
Additionally, invest in a reliable sous vide immersion circulator or water bath to ensure precise temperature control. Test the accuracy of your equipment by using a food thermometer to measure the water temperature during cooking. Adjust the temperature or cooking time accordingly if needed.
Issue 2: Insufficient Searing
Searing is an important step to enhance the flavor and appearance of sous vide-cooked food. If your sear is not satisfying, it may be due to inadequate drying of the food before searing. Properly pat dry the food with paper towels to remove excess moisture before searing. This will ensure a better caramelization and crust formation.
Additionally, use a high-heat oil, such as grapeseed or avocado oil, for searing. Heat the oil in a hot skillet or grill pan until it shimmers, then carefully place the food in the pan and sear for a short time on each side until a golden brown crust forms.
Issue 3: Floating Bags
If your sous vide bags float to the surface of the water bath, it can disrupt the cooking process and result in unevenly cooked food. To prevent this issue, use the water displacement method to remove the air from the bag before sealing it. Submerge the bag with the food in the water bath up to the zipper, allowing the water pressure to push out most of the air. Then, carefully seal the bag just above the water level.
Alternatively, use sous vide weights or clips to secure the bags and keep them submerged during cooking. These accessories can help maintain even heat distribution and ensure consistent results.
| Issue | Troubleshooting Tips |
|---|---|
| Overcooked or Undercooked Food | Follow recommended cooking temperatures and times. Test equipment accuracy with a thermometer. |
| Insufficient Searing | Pat food dry before searing. Use high-heat oil and ensure a hot skillet or grill pan. |
| Floating Bags | Use the water displacement method. Consider using weights or clips to keep bags submerged. |
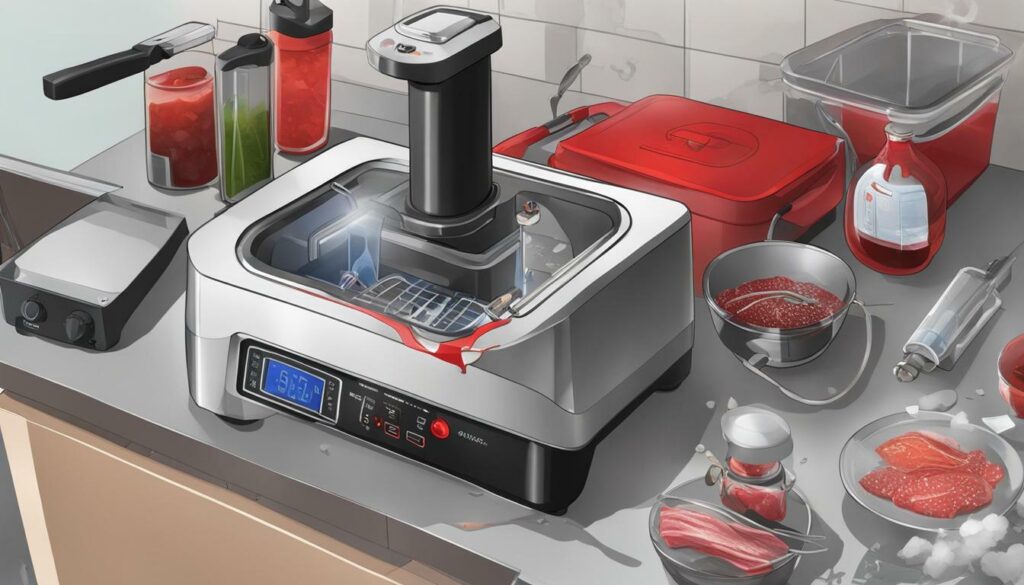
Remember, practice makes perfect, so don’t be discouraged if you encounter challenges along the way. With time and experience, you’ll become more comfortable with sous vide cooking and achieve consistently delicious results. Happy cooking!
Conclusion
Congratulations! You’ve reached the end of our ultimate beginner’s guide to sous vide cooking. We hope this comprehensive guide has provided you with the knowledge and confidence to embark on your sous vide cooking journey. With sous vide, you can now cook your food to perfection every time, achieving amazing flavors and textures.
Sous vide is a cooking technique where food is sealed in an air-tight bag and cooked in a temperature-controlled water bath. It offers a foolproof way to cook your ingredients just the way you like them, ensuring consistent results every time. By understanding the importance of temperature and time, you can achieve precisely cooked food with the desired tenderness.
When it comes to packaging your ingredients, there are two common methods: vacuum sealing and the water displacement method. While vacuum sealing is convenient, it’s not mandatory for sous vide cooking. The water displacement method, using Ziploc bags, is an easy and affordable alternative that works just as effectively.
To enhance the flavors and presentation of your sous vide creations, don’t forget the crucial step of searing. Searing helps achieve a brown, crispy crust that adds depth and texture to your food. With the right equipment, such as immersion circulators and Cambro containers, you can maintain precise temperature control throughout the cooking process.
Now that you have a solid understanding of the basics, it’s time to put your knowledge to the test. Explore the world of sous vide cooking with our beginner-friendly recipes for steak, chicken, fish, seafood, vegetables, and even desserts. Get creative and experiment with different flavors and ingredients, and enjoy the amazing results that sous vide cooking can offer.


