Welcome to our comprehensive guide on efficient robot lawn mower zoning. As technology continues to advance, lawn care automation has become increasingly popular among homeowners. With a robot lawn mower, you can enjoy smart yard maintenance without the hassle of manual mowing. One essential aspect of maximizing the benefits of a robot lawn mower is proper zoning.
Efficient robot lawn mower zoning involves setting up and maintaining the perimeter wire that guides the mower’s movement. By following the right techniques, you can ensure seamless operation and a well-maintained yard. In this article, we will share valuable tips and tricks to help you achieve efficient robot lawn mower zoning, saving you time and effort in the process.
Key Takeaways:
- Setting up and maintaining the perimeter wire is crucial for efficient robot lawn mower zoning.
- Lay the wire on top of the grass instead of burying it for easy adjustments and flexibility.
- Use waterproof wire splice connectors and durable terminal connectors to minimize maintenance and repairs.
- Have a perimeter wire emergency kit with spare parts for easy replacements.
- Plan the installation carefully, considering the layout of your yard and the desired mowing areas.
Robot Lawn Mower Perimeter Wire Installation

Properly installing the perimeter wire for your robot lawn mower is essential for efficient and effective operation. By following these installation tips, you can ensure a hassle-free mowing experience.
- Lay the wire on top of the grass: Rather than burying the wire, it is recommended to lay it on top of the grass. This allows for easy adjustments and movement if needed.
- Strategically place the return wire: Install the return wire in a location where the mower can easily find its way back to the charging station. This ensures a smooth and reliable return process.
- Use a different color for the return wire: To distinguish the return wire from the main wire, consider using a different color. This visual differentiation makes it easier to identify and troubleshoot any issues.
- Vary the starting point: Occasionally starting the mower from the end of the return wire can help prevent wear and tear on the main wire. This distributes the usage more evenly.
- Install a switch for flexibility: If needed, install a switch that allows you to toggle between the return wire and main wire. This provides additional flexibility in managing and controlling the mower’s movement.
Following these tips will ensure a successful robot lawn mower perimeter wire installation, allowing your mower to navigate your yard effortlessly.
Quote
“Properly laying and installing the perimeter wire on top of the grass will make adjustments and maintenance easier in the future.” – Lawn Care Experts
Lawn Mower Perimeter Wire Maintenance
Proper maintenance of your lawn mower’s perimeter wire is crucial to ensure uninterrupted operation and effective performance. Regular inspections and precautions can help you avoid potential wire damage and breakdowns. Here are some essential tips to keep in mind:
Be Mindful of Potential Wire Damage
Inspect the perimeter wire regularly for any signs of wear, such as cuts, frayed ends, or exposed wires. Address these issues promptly to prevent further damage and potential wire breaks.
Choose Recommended Wire Connectors
Invest in high-quality wire connectors that are specifically designed for lawn mower perimeter wire maintenance. These connectors are durable and provide excellent waterproofing, protecting the wire from moisture-related damage.
Replace Unreliable Connectors
If you notice that the current connectors are unreliable or prone to loosening, consider replacing them with more dependable options. Secure connectors will ensure a stable connection and minimize the risk of wire disruptions.
Incorporate Self-Stripping Connectors
Self-stripping connectors are a convenient choice for detecting wire breaks. These connectors feature a built-in mechanism that automatically strips the wire insulation upon connection. This allows for easy identification of any potential wire breaks.
Keep a Perimeter Wire Emergency Kit
It’s always wise to have a perimeter wire emergency kit on hand. This kit should include spare connectors, wire splice options, and other essential parts for quick and easy replacements, ensuring your lawn mower can continue its operation without delay.
| Essential Perimeter Wire Maintenance Tips | Benefits |
|---|---|
| Regular inspections for wire damage | Prevent wire breaks and malfunctions |
| Use recommended wire connectors | Ensure durability and waterproofing |
| Replace unreliable connectors | Minimize wire disruptions |
| Incorporate self-stripping connectors | Easily detect wire breaks |
| Keep a perimeter wire emergency kit | Quick and easy replacements |
Remember to also check that the plugs on the charging station are properly connected, as loose connections can lead to charging issues. By following these maintenance tips, you can ensure your lawn mower’s perimeter wire remains in optimal condition for efficient and hassle-free yard maintenance.
DIY Robot Mower Installation
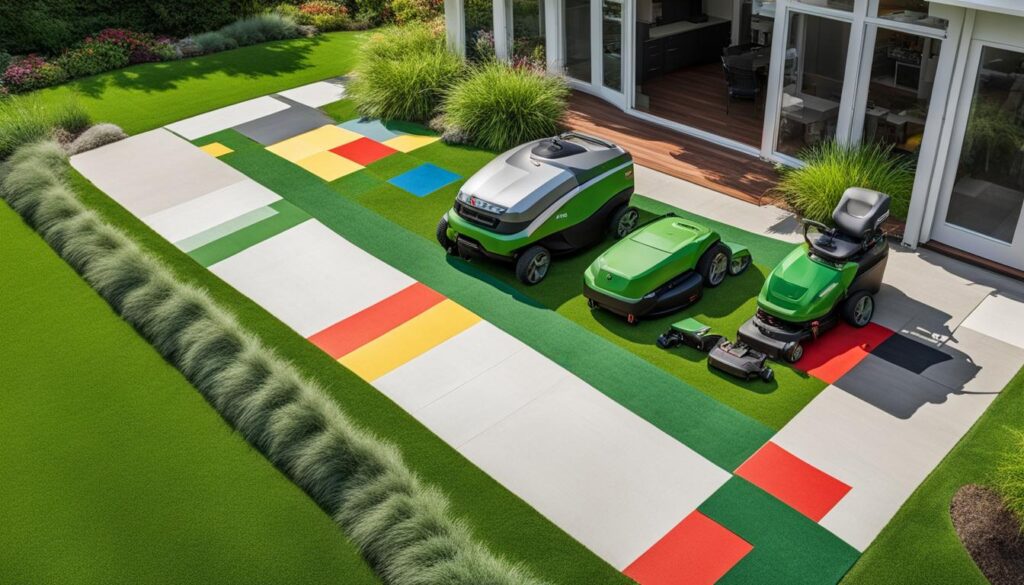
Installing a robot mower in your yard can be a rewarding and convenient experience. With the help of online videos and user manuals, the installation process can be done easily, even for beginners. However, it’s important to follow the proper steps and prepare your yard adequately for a successful installation.
The first step in the DIY robot mower installation is selecting the right robot mower for your specific lawn size and requirements. Consider factors such as the size of your yard, the type of terrain, and any special features you may need, such as navigation for slopes or obstacles. Research different models and compare their specifications to find the one that best fits your needs.
Before you start the installation process, it’s crucial to thoroughly read the installation manual provided by the manufacturer. This will ensure you have a clear understanding of the steps involved and any specific requirements for your chosen robot mower.
Creating a sketch or using a Google Maps image of your yard can help you plan the installation more effectively. Mark the desired location for the charging station, considering factors such as easy access to a power outlet and a shaded area for optimal performance. Also, take into account the length of the power cable to ensure it can reach the nearest power source.
In addition to the robot mower itself, ensure that you have enough perimeter wire and pegs for the installation. The perimeter wire is essential for defining the mowing area, and the pegs are used to secure it in place. Carefully plan the installation of the perimeter wire, considering the distance from lawn edges and any potential obstacles in your yard.
If you have any island gardens or “no go” zones within your lawn area, it’s important to install boundary wire around them to prevent the robot mower from venturing into these areas. This additional wire will help create a clear boundary for the mower’s operation.
| DIY Robot Mower Installation Checklist |
|---|
| 1. Select the right robot mower for your lawn size and requirements. |
| 2. Thoroughly read the installation manual provided by the manufacturer. |
| 3. Create a sketch or use a Google Maps image to plan the installation. |
| 4. Position the charging station in a shaded area or purchase a cover for it. |
| 5. Consider the length of the power cable for convenient access to a power outlet. |
| 6. Ensure you have enough perimeter wire and pegs for the installation. |
| 7. Plan the installation of the perimeter wire, considering the distance from lawn edges and obstacles. |
| 8. Install boundary wire around any island gardens or “no go” zones within the lawn area. |
Planning the Installation
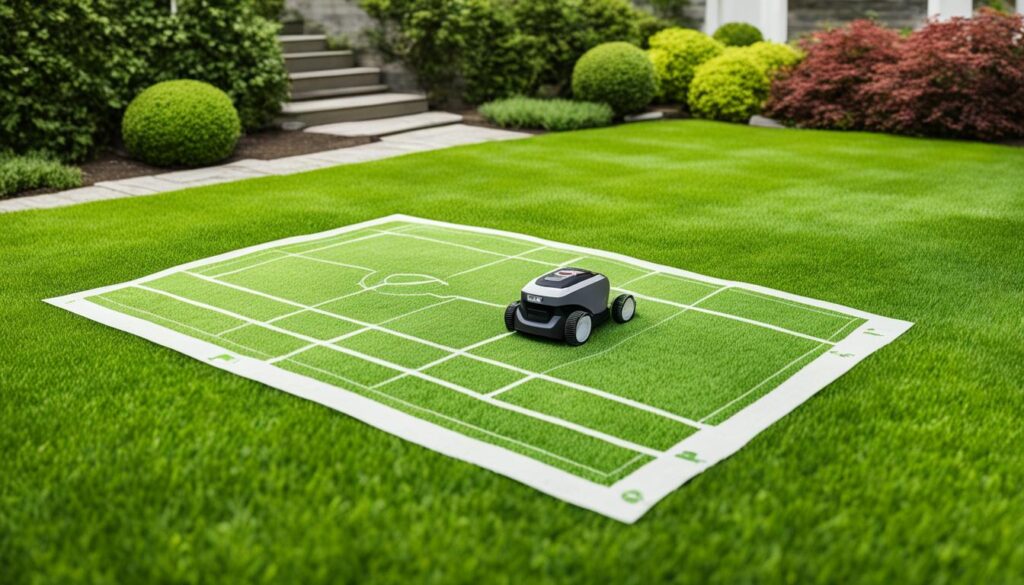
When it comes to installing a robot mower, proper planning is key to ensure a smooth and efficient process. By considering the layout of your yard and the desired mowing areas, you can make informed decisions about positioning the charging station and placing the perimeter wire.
First and foremost, take into account the position of the charging station. It is important to place it in a shaded area to protect the mower from direct sunlight and potential damage. If a shaded spot is not available, you can purchase a cover specifically designed for the charging station to provide the necessary protection.
When positioning the charging station, make sure to leave enough straight perimeter wire in front of it for proper docking. This allows the mower to easily return to the charging station when needed, ensuring uninterrupted operation.
Before installing the charging station, prepare the ground underneath it by ensuring it is level and flat. This provides stability and ensures that the mower can dock properly without any issues.
To determine the distance between the edge of the lawn and the perimeter wire, refer to the specifications of your robot mower model. Each model may have different requirements, so it is important to follow the manufacturer’s guidelines for optimal performance.
When planning the placement of the perimeter wire, consider installing corners in a radius shape. This allows for better maneuverability and ensures that the mower can efficiently navigate around your yard.
For driveways or paths that need to be crossed by the perimeter wire, it is essential to use the correct method to maintain the wire’s integrity. This can include utilizing existing expansion strips or cutting a line and laying the wire in it.
Lastly, connect the perimeter wire to the charging station according to the model’s requirements. This step is crucial to ensure that the charging station and the perimeter wire are properly synced, enabling the mower to navigate its designated mowing areas seamlessly.
Example Diagram:
| Mowing Area | Charging Station | Perimeter Wire |
|---|---|---|
Setting up Multiple Areas for Mowing
When it comes to mowing multiple areas with a robot mower, it’s essential to distinguish between the main area, adjoining area, and separate area in your yard. By using the right functions and techniques, you can efficiently maintain all parts of your lawn and ensure a uniform cut.
One approach is to utilize functions like multi-zone or remote start points, which allow you to mow adjoining areas without any interruptions. This feature enables your robot mower to seamlessly transition from one zone to another, ensuring thorough coverage.
To facilitate the mowing process in different areas, it’s advisable to lay boundary wire and guide wire. The boundary wire serves as a virtual fence, defining the limits of each area, while the guide wire helps the robot mower navigate through the connected zones.
Once you have set up the boundary and guide wires, it’s time to establish remote start points and determine the percentage of mowing for each zone. This ensures that the robot mower dedicates the right amount of time to each area, based on its size and specific needs.
Some robot mowers even offer a convenient lawn coverage function, which allows for the simultaneous mowing of multiple areas. With this feature, you can easily manage different sections of your lawn without any manual intervention.
Guide wires can be especially useful when leading the robot mower through separate areas. By strategically placing and connecting guide wires, you can ensure that the mower efficiently navigates through each zone, minimizing any unnecessary backtracking.
It’s important to choose a robot mower model that has the capabilities to handle multiple areas. Look for features like multi-zone compatibility and remote start points, which will greatly assist in managing and maintaining different sections of your yard.
In summary, by properly setting up multiple areas for mowing and utilizing the right functions and techniques, you can ensure that your robot mower effectively maintains your main area, adjoining area, and separate area, resulting in a well-groomed and beautiful lawn throughout.
Selecting a Robot Mower for Multiple Areas
When it comes to mowing multiple areas in your yard, selecting the right robot mower is crucial. You need a model that has the capabilities to handle different zones and provide efficient lawn coverage. Here are some factors to consider when choosing a suitable robot mower for multiple areas:
- Capabilities: Look for robot mower models that offer functions like multi-zone mowing, lawn coverage, or remote start points. These features allow the mower to navigate and mow different areas effectively.
- Number of Zones: Determine how many additional zones or areas a mower can handle. Some models can accommodate multiple zones, allowing you to divide your yard into different sections.
- Surface and Slope Navigation: Ensure that the selected model can navigate various surfaces and slopes in the areas you want to mow. This is especially important if your yard has uneven terrain or different types of grass.
- Capacity and Coverage: Pay attention to the capacity and coverage of the mower. Make sure it can handle the size of your multiple areas and provide efficient mowing without requiring frequent recharging.
- Power Cable Length: Check the length of the power cable provided with the mower. It should be long enough to reach the different areas without any issues.
- Perimeter Wire Availability: If you need additional perimeter wire for installation, ensure that it is available for purchase. Having enough wire allows you to set up the boundaries for each area conveniently.
- Shaded Location: Consider purchasing a cover or garage for the mower if the charging station is not in a shaded location. Keeping the mower protected from the elements can prolong its lifespan.
With these considerations in mind, you can confidently select a robot mower that is suitable for mowing multiple areas in your yard. Take advantage of the available features and functions to automate your lawn care and enjoy a beautifully maintained yard.
| Factors to Consider | Robot Mower Model A | Robot Mower Model B | Robot Mower Model C |
|---|---|---|---|
| Capabilities | Multi-zone mowing, lawn coverage, remote start points | Lawn coverage, remote start points | Multi-zone mowing |
| Number of Zones | Up to 5 zones | Up to 3 zones | Up to 4 zones |
| Surface and Slope Navigation | Handles various surfaces and slopes | Handles gentle slopes | Handles moderate slopes |
| Capacity and Coverage | Handles up to 0.5 acres | Handles up to 0.3 acres | Handles up to 0.4 acres |
| Power Cable Length | 30 feet | 25 feet | 35 feet |
| Perimeter Wire Availability | Available | Available | Available |
| Shaded Location | Requires purchase of cover | Requires purchase of cover | Charging station is in shaded location |
Creating a Plan for Multiple Area Installation
When installing a robot lawn mower for multiple areas, proper planning is crucial to ensure efficient and effective mowing. By drawing a sketch or using Google Maps, you can visualize your yard and design the installation accordingly. Here are some essential steps to consider:
- Draw a sketch or print out a Google Maps image of your yard to get an overview of the space.
- Mark the position of the charging station on the plan. This allows you to determine the best location for easy access and optimal coverage.
- Designate the paths for the perimeter wire that will separate different areas. Consider the distances from the edges of each area to ensure accurate wire placement.
- Pay attention to areas where the mower needs to turn around corners. Ensure there is enough clearance for the mower to maneuver smoothly.
- Make sure the charging station has enough straight wire in front of it. This ensures the mower can dock properly for charging.
- Prepare the ground under the charging station to be stable and level. A flat surface provides a solid foundation for the mower’s docking process.
- Use pegs to mark the distances required for the perimeter wire on each edge of the lawn. This helps ensure accurate wire placement and a well-defined boundary.
- Install corners in a radius shape for better maneuverability. This allows the mower to navigate corners smoothly without getting stuck or damaging the wire.
By following these steps and creating a detailed plan for your multiple area installation, you can optimize the performance of your robot lawn mower and achieve a beautifully manicured yard.
Managing Separate Areas in the Yard
When it comes to managing separate areas in your yard with a robot mower, proper planning and installation are key. By identifying separate zones that cannot be accessed from the main area, you can ensure efficient mowing and a well-maintained yard.
One effective way to manage separate areas is by using a boundary wire to enclose these zones and create a closed loop. By laying the wire around obstacles within these separate areas, you can prevent the mower from entering them and ensure that it focuses on the main area.
It’s important to ensure that the wires around obstacles are close enough to prevent the mower from recognizing them as separate areas. This will allow the mower to navigate around obstacles while staying within the designated zone.
When planning the perimeter wire installation, be sure to include and avoid specific areas within the yard as needed. This strategic installation will help guide the robot mower and ensure that it stays within the desired boundaries.
If you need specialized solutions for managing separate areas, don’t hesitate to reach out to the manufacturer for advice and guidance. They can provide valuable insights and recommendations based on their expertise.
Lastly, consider the number of zones and open loops that a robot mower can handle. Some models are capable of managing multiple areas with efficient obstacle avoidance and closed-loop navigation, making them ideal for yards with complex layouts.
Robot Mower Zone Management Features
| Robot Mower Model | Number of Zones | Obstacle Avoidance | Closed-Loop Navigation |
|---|---|---|---|
| LawnMaster MR900 | 3 | Yes | Yes |
| Greenworks Robotic Lawn Mower | 2 | Yes | Yes |
| WORX WR150 Landroid | 4 | Yes | Yes |
By effectively managing separate areas in your yard with a robot mower, you can achieve a well-maintained and manicured lawn while ensuring that each zone receives the attention it needs.
Conclusion
Efficiently zoning your lawn for a robot lawn mower is the key to achieving a perfectly manicured yard with minimal effort. By following proper installation and maintenance procedures for the perimeter wire, you can ensure that your robot mower operates smoothly and efficiently.
When setting up the perimeter wire, use the appropriate connectors and wire splices for durability and waterproofing. It’s essential to plan the installation carefully and mark the distances on your lawn accurately to achieve precise wire placement. Selecting a robot mower model that can handle multiple areas and offers features like multi-zone or remote start points will further enhance your lawn care automation experience.
Take advantage of functions like lawn coverage or guide wires to efficiently mow different areas of your yard. Proper positioning of the charging station and ensuring the correct connection of wires are crucial for seamless operation. Regularly inspect and maintain the perimeter wire for any damages or breaks to avoid interruptions in the robot mower’s functioning.
By following these tips and tricks for efficient robot lawn mower zoning, you can enjoy the convenience and benefits of a smart yard maintenance system. Sit back, relax, and let your robot lawn mower transform your yard maintenance experience into a hassle-free and enjoyable activity.
FAQ
What is robot lawn mower zoning?
Robot lawn mower zoning is the process of setting up and maintaining a perimeter wire to define the boundaries and specific areas for the robot mower to operate within.
Should I bury the perimeter wire for my robot lawn mower?
No, it is recommended to lay the wire on top of the grass instead of burying it. This allows for easy adjustments and movement if needed.
How do I install the return wire for the robot mower?
To install the return wire, position it strategically in a location that will guide the mower back to the charging station. It is also advisable to use a switch between the return wire and the main wire for flexibility.
What type of connectors should I use for the perimeter wire?
It is recommended to use waterproof wire splice connectors for maintenance and repairs. Additionally, replace unreliable terminal connectors with more durable options.
Do I need to have spare parts for the perimeter wire?
Yes, it is advisable to have a perimeter wire emergency kit with spare parts such as connectors for easy replacements in case of wire damage or breaks.
How can I detect wire breaks in the perimeter wire?
For wire break detection, you can incorporate self-stripping connectors or consider the length of the flying wire. These methods make it easier to identify breaks in the perimeter wire.
How can I efficiently set up multiple areas for mowing with a robot mower?
Utilize guide wires to lead the robot mower through different areas and set remote start points for efficient mowing. Features like multi-zone or remote start points can also be used to mow adjoining areas.
How do I plan the installation of the robot mower?
To plan the installation, create a sketch or use a Google Maps image of your yard. Determine the position of the charging station and mark the paths for the perimeter wire, considering distances from the edges of each area.
What should I consider when selecting a robot mower for multiple areas?
When selecting a robot mower for multiple areas, consider the model’s abilities to handle different surfaces and slopes. Look for features like multi-zone, lawn coverage, or remote start points for efficient mowing.
How should I manage separate areas in my yard with a robot mower?
To manage separate areas, utilize the boundary wire to enclose these areas and create a closed loop. Lay the wire around obstacles within separate areas to prevent the mower from entering. Proper planning and avoiding wire entanglement is crucial.
What are the benefits of efficient robot lawn mower zoning?
Efficient robot lawn mower zoning leads to a perfectly manicured yard with minimal effort. It allows for customized mowing in different areas, increased coverage, and convenient yard maintenance.


