In today’s world of ready-to-wear clothing, sewing has become a lost skill. However, many people still value the art of creating their own garments and accessories. One essential skill you need to have is sewing buttonholes. Whether you’re starting your sewing journey or want to improve your current skills, this buttonhole sewing guide is the perfect resource for you.
With this comprehensive guide, you’ll learn everything you need to know about sewing buttonholes. We’ll help you master various buttonhole sewing techniques and stitching methods, both by hand and machine. We’ll also provide you with tips, tricks, and troubleshooting techniques to help you achieve professional results.
So, this guide has got you covered whether you’re creating a new garment or adding buttons to an existing one. Learn how to sew buttonholes like a pro with our step-by-step instructions and expert tips.
- Our buttonhole sewing guide provides comprehensive instructions for both hand-sewn and machine-sewn buttonholes.
- Learn the basic buttonhole sewing techniques, stitching methods, and the necessary equipment.
- Discover tips and tricks for troubleshooting and finishing your buttonholes to achieve professional results.
- Explore creative buttonhole variations and techniques to add a personalized touch to your garments.
- Use our list of essential buttonhole sewing accessories to enhance your sewing experience and achieve better results.
Understanding Buttonhole Basics
Before you start sewing buttonholes, it’s essential to have a basic understanding of buttonhole sewing techniques and stitching methods. There are a few different ways to sew a buttonhole, and the method you choose will depend on the fabric you’re using and the buttonhole style you want to create.
One popular method is the keyhole buttonhole, which is typically used on thicker fabrics. To create a keyhole buttonhole, you’ll need to mark the placement of the buttonhole on your fabric and then sew around the perimeter of the marked area.
Another common method is the bound buttonhole, which is a more complex technique that involves creating a bound edge around the buttonhole. This type of buttonhole is often used on high-end garments for a polished and professional look.
Regardless of the method you choose, there are a few key tools you’ll need for buttonhole sewing, including a sharp pair of scissors, a seam ripper, and a buttonhole cutter. You’ll also need a sewing machine with a buttonhole stitch setting if you plan on using a machine to sew your buttonholes.
To get started with buttonhole sewing, follow our step-by-step buttonhole sewing tutorial to learn the basics of creating flawless buttonholes.
Note: It’s important to practice buttonhole stitching methods to master the technique. Don’t be discouraged if your first attempts aren’t perfect!
Hand Sewing Buttonholes
Hand-sewn buttonholes can add a touch of artistry to your garments. To get started, you’ll need a few basic supplies, such as a sharp needle, scissors, and thread that matches your fabric.
First, mark the position and size of your buttonholes on your fabric using a tailor’s chalk or a disappearing ink pen. Cut small slits in the fabric at each end of the buttonhole, then use a blanket stitch to secure the edges and create a sturdy foundation.
Next, use a whip stitch to work the buttonhole. Start at one end of the slit, take a small stitch across the end of the slit, and then take a small stitch back into the same hole. Sew back and forth across the end, gradually filling in the gap with parallel stitches.
Continue in this way until the entire buttonhole is filled in with parallel stitches. Finally, secure the end of the thread by taking a few backstitches over the last stitch.
With practice, you can achieve professional-looking hand-sewn buttonholes. Keep in mind that different fabrics may require different stitching techniques, so don’t be afraid to experiment until you find the best method for your project.
For more tips and tricks on creating hand-sewn buttonholes, check out our buttonhole sewing tutorial here.
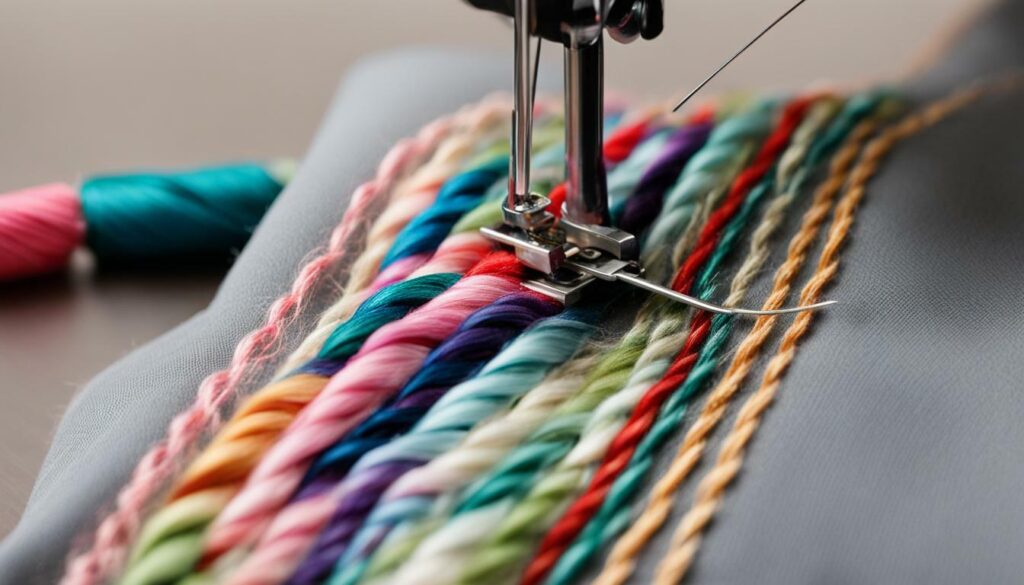
Machine sewing buttonholes provide a faster and more convenient option for many sewers. Here’s a step-by-step guide to help you create perfect buttonholes:
- Start by marking the buttonhole placement on your fabric. Use a fabric marker or chalk to make clear and accurate markings.
- Choose the appropriate buttonhole stitch on your sewing machine. Most modern machines have a built-in buttonhole stitch, but you can also use a zigzag stitch or a satin stitch for a decorative effect.
- Sew the first side of the buttonhole. Begin stitching at one end of the marked line and sew until you reach the other end. Keep your stitches straight and even.
- Stop the machine at the end of the first side and pivot the fabric. Lower the needle into the fabric and lift the presser foot. Turn the fabric 90 degrees to prepare for sewing the second side of the buttonhole.
- Sew the second side of the buttonhole. Begin stitching at the end of the first side and sew until you reach the other end. Keep your stitches straight and even.
- Stop the machine at the end of the second side and lift the needle and presser foot. Cut the threads and remove the fabric from the machine.
Here are some tips to help you achieve perfect machine-sewn buttonholes:
- Practice on scrap fabric before sewing the buttonholes on your garment.
- Use the same fabric and interfacing that you will be using on your garment to ensure consistent results.
- Stabilize your fabric with interfacing or stabilizer if necessary, especially if you’re working with a lightweight or stretchy material.
- Use a sharp, new needle to avoid uneven stitches or fabric puckering.
- Adjust the stitch length and width according to your fabric type and thickness.
- Use a seam ripper to open the buttonhole after sewing it.
Troubleshooting Common Buttonhole Issues
Even the most experienced sewists encounter difficulties when creating buttonholes. Here are some common buttonhole sewing techniques and tips to help you troubleshoot:
- Uneven Stitches: If you notice uneven stitches in your buttonhole, adjust your sewing machine’s tension or stitch length settings. You can also try using a stabilizer to prevent puckering.
- Fabric Puckering: Fabric can sometimes pucker when sewing buttonholes. To prevent this, place a piece of tissue paper or interfacing over the fabric before sewing. You can also adjust the stitch density or use a larger needle.
- Buttonhole Size: If your buttonhole is too small or too big, adjust your stitch width and length settings accordingly. You can also mark the buttonhole size more accurately with a template or ruler.
Don’t get discouraged if you encounter any of these issues. Troubleshooting common buttonhole problems is all part of the sewing process, and with practice and experience, you’ll be able to create professional-looking buttonholes.
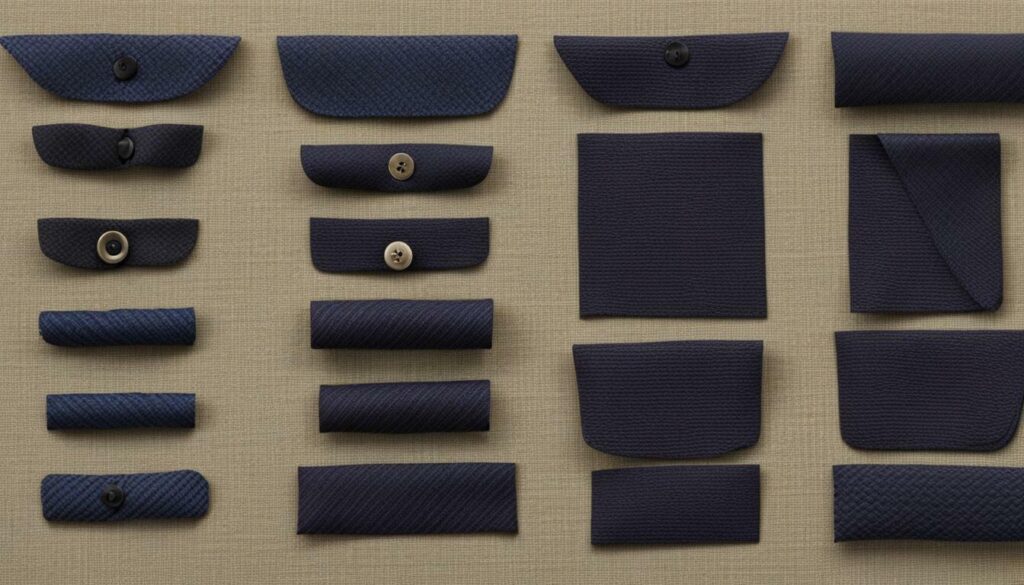
Creating buttonholes is only the first step; ensuring their durability is equally important. To reinforce the buttonhole, apply a small piece of fusible interfacing to the back, covering the buttonhole. This will prevent fraying and ensure the buttonhole maintains its shape through wear and tear.
You can also choose to finish the buttonhole with a bar tack, a tight series of stitches at the end of the buttonhole that reinforces the fabric. To create a bar tack, make a stitch at the end of the buttonhole and turn your fabric 90 degrees. Lower your needle again and sew a few stitches in place, then carefully turn the fabric again for the next bar tack. Repeat until you reach the other end of the buttonhole.
Another option is to sew a bound buttonhole. This technique involves sewing a separate piece of fabric to the garment to create a beautiful and durable buttonhole. To create a bound buttonhole, follow these steps:
- Trace the shape of the buttonhole onto your fabric
- Cut out the traced shape, leaving a seam allowance of 1/2 inch on all sides
- Pin the cut-out piece to the garment and sew along the traced line
- Cut a slit in the garment fabric to reveal the buttonhole
- Tuck the seam allowance on the cut-out piece to the back of the garment and secure with tiny hand stitches
Finishing the buttonhole provides durability and a polished look, ensuring your garment will last wear after wear.
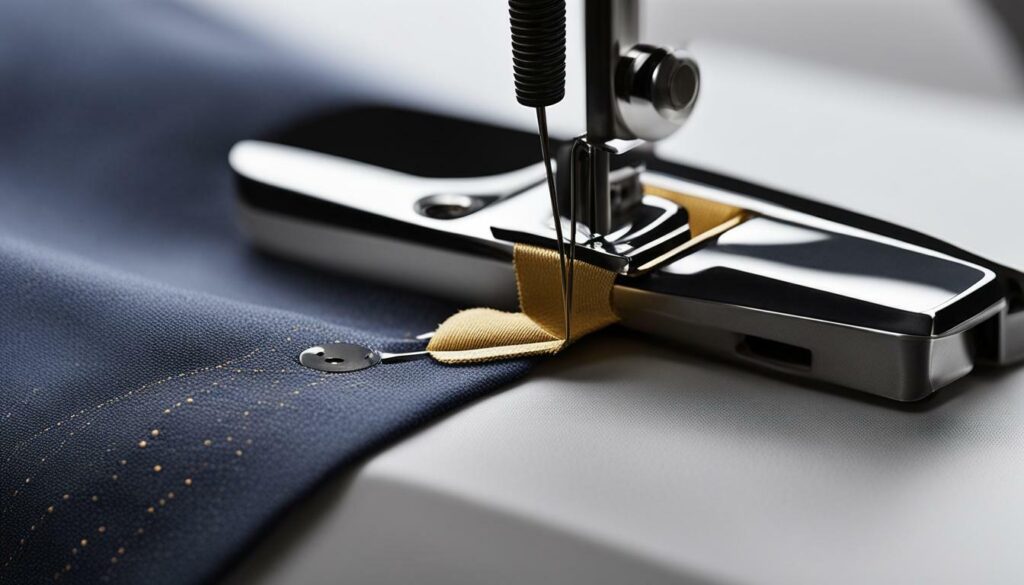
Creative Buttonhole Variations
Buttonholes don’t have to be basic stitches. Once you have mastered the basic buttonhole sewing techniques, you can incorporate decorative stitches and techniques to add a personalized touch to your garments. Experimenting with different variations can elevate your buttonhole sewing skills and make your garments stand out.
One creative technique is the keyhole buttonhole. This buttonhole has a circular end, which allows it to be fastened with a button or a snap. Another variation is the bound buttonhole, which is encased in fabric and is suitable for more formal garments. The whipstitch buttonhole is another option, where you stitch around the hole with a contrasting thread, creating a unique look.
By adding different textures, colors, and patterns to your buttonholes, you can create stunning garments that are truly one-of-a-kind. Be creative and have fun exploring different techniques!
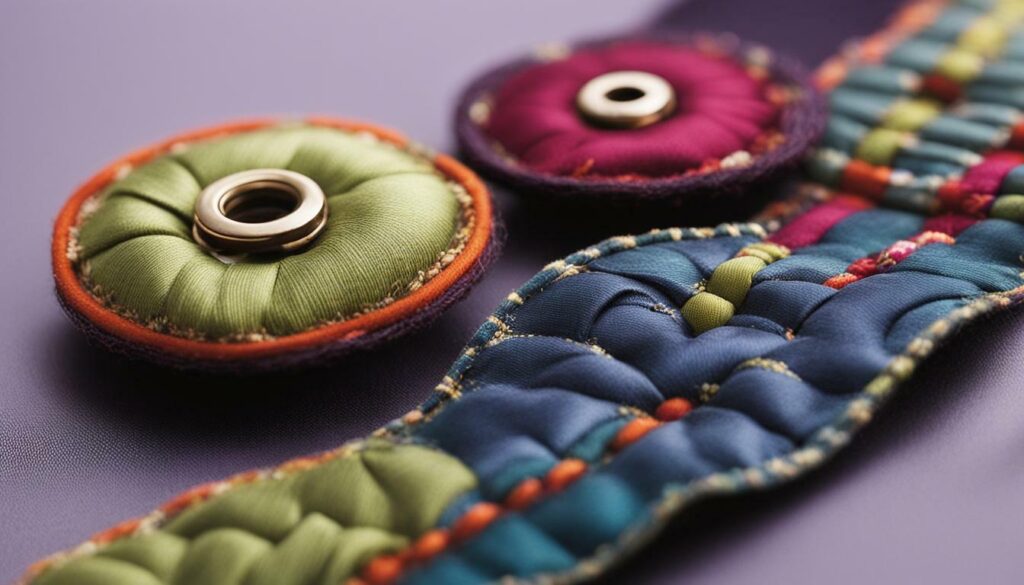
Creating flawless buttonholes requires attention to detail and practice. Here are some expert tips to help you achieve success in your buttonhole sewing:
- Choose the right thread: Select a thread that matches the weight and color of your fabric to create a cohesive look.
- Mark your fabric accurately: Use fabric chalk or a water-soluble pen to mark the buttonhole placement and ensure even spacing.
- Test your buttonhole: Always test your buttonhole on a scrap piece of fabric to ensure the stitch length and tension are correct before sewing on your garment.
- Use the right foot: Make sure to use a buttonhole foot for your machine or a buttonhole cutter for hand-sewn buttonholes to create a clean, precise cut.
- Practice: The more buttonholes you create, the better you’ll become. Don’t be afraid to practice on scrap fabric until you feel confident in your skills.
With these tips, you’ll be able to tackle buttonhole sewing and achieve professional results every time.
Buttonhole Sewing Accessories
As with any sewing project, having the right tools and accessories can make all the difference in achieving professional results. Here are some essential buttonhole sewing accessories to consider:
- Buttonhole cutter: For crisp and clean buttonhole cuts, a buttonhole cutter can be used to slice through the fabric.
- Seam ripper: This tool is handy for removing any mistakes made while sewing buttonholes.
- Marking tools: To ensure accuracy in buttonhole placement, marking tools such as chalk, pens, or pencils are essential.
- Stabilizer: A stabilizer can prevent the fabric from puckering while sewing buttonholes.
- Specialized presser foot: Some sewing machines come with specialized presser feet for sewing buttonholes. If your machine does not have one, consider purchasing a buttonhole foot for professional-looking results.
- Thread snips: These small scissors are perfect for trimming threads after completing buttonholes.
These accessories can make your buttonhole sewing experience smoother, more efficient, and ultimately more successful in achieving professional buttonhole sewing.
Our comprehensive buttonhole sewing guide has equipped you with the knowledge and techniques needed to create flawless buttonholes. Whether you prefer hand sewing or using a machine, these step-by-step instructions and expert tips will assist you in achieving professional-looking results.
Don’t be afraid to get creative with your buttonhole sewing. Try out different stitching methods, or experiment with decorative stitches to add a personalized touch to your garments.
Tips for Success
To ensure success with your buttonhole sewing, remember to:
- Select the right thread and fabric for your project
- Mark your fabric accurately
- Practice on scraps before attempting buttonholes on your final garment
- Take your time and work meticulously
By following these tips and the techniques outlined in our buttonhole sewing guide, you’ll be well on your way to creating flawless buttonholes like a pro!
Buttonhole Sewing Accessories
If you’re serious about buttonhole sewing, investing in the right tools and accessories can significantly improve your sewing experience. Here are some must-have buttonhole sewing accessories:
- Buttonhole cutter or scissors
- Buttonhole foot for your sewing machine
- Fray Check or similar seam sealant
- Chalk or other marking tools
With these accessories, your buttonhole sewing will become even more precise and professional-looking.
Embark on your buttonhole sewing journey today with confidence, armed with our comprehensive buttonhole sewing guide!
FAQ
What is a buttonhole?
A buttonhole is a small opening or slit in fabric that is used to secure a button.
What are the different buttonhole sewing techniques?
There are various buttonhole sewing techniques, including hand sewing and machine sewing. Hand sewing involves creating buttonholes with a needle and thread, while machine sewing utilizes a sewing machine to stitch the buttonholes.
How do I sew a buttonhole by hand?
To sew a buttonhole by hand, you can use techniques such as the blanket stitch or the whip stitch. These stitches create a secure and decorative buttonhole.
How do I sew a buttonhole with a sewing machine?
To sew a buttonhole with a sewing machine, you will typically need to use the buttonhole foot attachment and select the appropriate stitch on your machine. Follow the machine’s instructions to set up the buttonhole function and stitch the buttonhole in a precise and controlled manner.
What are some common issues with buttonhole sewing?
Common issues with buttonhole sewing include uneven stitches, fabric puckering, or the buttonhole being too small or too large. These issues can be addressed by adjusting the tension on your sewing machine or practicing your hand-sewing technique.
How can I reinforce and finish my buttonholes?
To reinforce and finish buttonholes, you can use techniques such as applying fray check, sewing a bar tack at each end of the buttonhole, or adding a fabric backing. These techniques will enhance the durability and appearance of your buttonholes.
Are there alternative ways to sew buttonholes?
Yes, there are creative buttonhole variations that go beyond the traditional stitches. You can experiment with decorative stitches or incorporate personalized techniques to add a unique touch to your buttonholes.
What are some tips for successful buttonhole sewing?
Some tips for successful buttonhole sewing include using the right thread, marking your fabric accurately, practicing on scrap fabric before sewing on your garment, and taking your time to ensure precision.
Are there any specific accessories I need for buttonhole sewing?
While not essential, some useful buttonhole sewing accessories include a buttonhole foot attachment for your sewing machine, a fabric marker, and small scissors for trimming the threads.


