Are you interested in picking up a new hobby or looking to explore the world of embroidery? Cross-stitching is a wonderful craft that is both relaxing and rewarding. Whether you’re a complete beginner or have some experience with needlework, this guide will provide you with the essential knowledge and skills to start creating beautiful designs.
In this section, we’ll introduce you to the basics of cross-stitching and provide valuable techniques to start your cross-stitching journey. You’ll learn about the necessary tools and materials, key terminology, and beginner-friendly techniques to create neat and uniform stitches. Plus, we’ll share some easy cross-stitching patterns to inspire you and get you started on your first project.
- Cross-stitching is a relaxing and rewarding craft that anyone can learn.
- The basics of cross-stitching include understanding the necessary materials and terminology.
- Beginner-friendly techniques can help create neat and uniform stitches.
- There are many easy cross-stitching patterns available to inspire and help you practice.
- With this guide, you’ll have the essential knowledge to start your cross-stitching journey.
Getting Started with Cross-stitching
If you’re new to cross-stitching, don’t worry! This section will guide you through the process step-by-step so you can start creating beautiful designs in no time.
The first thing you need to do is gather your materials. You’ll need:
- A piece of Aida cloth (a popular choice for beginners) or any other type of cross-stitch fabric
- Cross-stitch threads in the colors of your choice
- Cross-stitch needles (they’re shorter and have a larger eye than regular sewing needles)
- A pair of scissors
- A cross-stitch pattern or design
Once you have your materials, it’s time to start cross-stitching! Here are the basic steps:
- Find the center of your fabric and mark it with a small X.
- Thread your needle with one of your cross-stitch threads (use a single strand for the best results).
- Starting from the back of the fabric, bring your needle up through the first hole and down through the second hole to create a diagonal stitch.
- Continue stitching in this way, following the pattern and filling in each stitch until you’ve completed the design.
That’s it! With a little practice, you’ll soon become an expert at cross-stitching.
Now that you know the basics of cross-stitching, it’s time to familiarize yourself with some of the essential terminology.
Understanding Cross-stitching Terminology
Some important terms you’ll encounter in cross-stitching include:
| Term | Definition |
|---|---|
| Cross-stitch fabric | The material on which you’ll stitch your design. Comes in various sizes, colors, and materials. |
| Aida cloth | A popular and beginner-friendly type of cross-stitch fabric with visible holes for easy counting and stitching. |
| Cross-stitch threads | Threads specifically designed for cross-stitching, made of six individual strands that can be separated for different effects. |
| Cross-stitch needles | Shorter and thicker needles with a larger eye than regular sewing needles, making it easier to thread the thicker cross-stitch threads. |
| Cross-stitch pattern | A design or chart that illustrates how the stitches should be made on the fabric to create a finished design. |
| Stitch count | The number of horizontal and vertical stitches in a design. It indicates the size of the finished project and helps you center your design on the fabric. |
Now that you’re familiar with the basics and terminology of cross-stitching, it’s time to learn some techniques. Keep reading to discover more in the next section.
Here’s a draft for Section 3 of the article:
Understanding Cross-stitching Techniques
Now that you have all the basic materials and terminology, it’s time to dive into the techniques of cross-stitching. There are many beginner-friendly cross-stitch techniques that you can use to create intricate and beautiful designs. Here are some of the most essential beginner cross-stitch techniques to help get you started:
- Creating Straight Lines: To create straight lines in cross-stitching, it’s important to maintain uniformity in your stitches. When stitching diagonal lines, work from the bottom left corner to the top right corner.
- Creating Neat Stitches: To create neat and uniform stitches, make sure you have the right tension on your thread. If your thread is too loose, your work will look messy and uneven.
- Tackling Curves and Corners: Cross-stitching may seem straightforward when stitching straight lines, but it can be tricky when it comes to curves and corners. One technique is to make multiple stitches per hole to create a smoother curve or corner.
- Adding Texture: Cross-stitching isn’t just about creating flat designs. You can add texture and dimension to your work by using different techniques such as French knots, backstitching, and long stitches.
By mastering these beginner cross-stitch techniques, you’ll be able to create impressive designs and take your cross-stitching to the next level. Practice different techniques on fabric scraps before working on your final project to build up your confidence and skills.
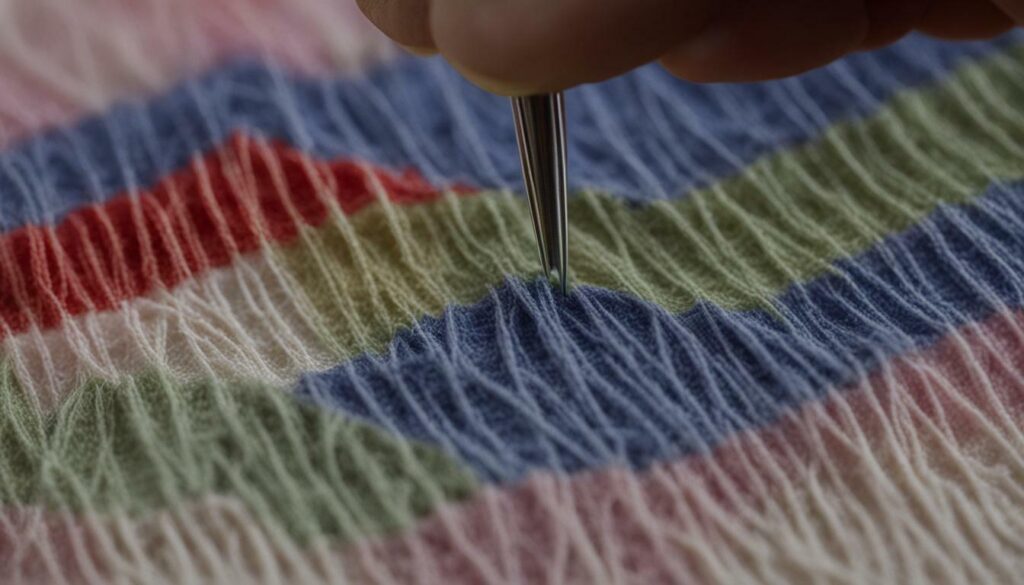
One of the best things about cross-stitching is the variety of patterns available to stitch. As a beginner, it’s important to start with easy cross-stitching patterns to build your skills and confidence. Here are some simple designs to get you started:
- Geometric shapes: Create a modern and minimalist design by stitching triangles, squares, or circles in different colors. This pattern is great for practicing neat and uniform stitches.
- Floral motifs: Add a touch of nature to your cross-stitching with flower patterns. Choose your favorite blooms, such as roses, daisies, or sunflowers, and experiment with different shades of thread. This pattern allows you to practice curved stitches and add depth.
- Animal designs: Have fun with cute animal patterns, such as cats, dogs, or birds. These designs are perfect for personalizing your projects with your favorite pets. This pattern allows you to practice different stitches and color combinations.
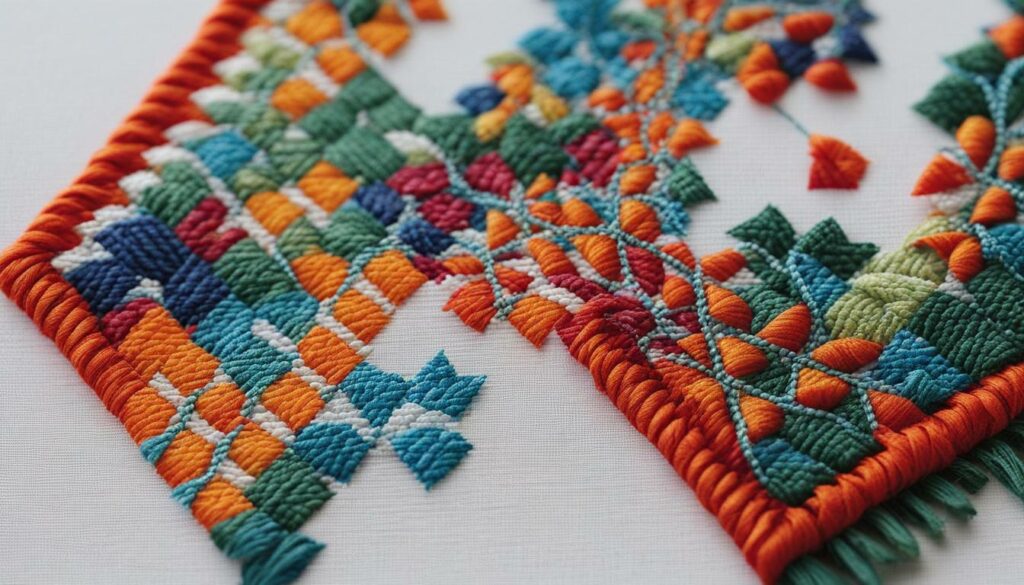
Remember, these easy cross-stitching patterns are just a starting point. Once you feel more comfortable with the basics, you can explore more complex designs and create your own unique patterns. The possibilities are endless!
Cross-Stitching Tips for Beginners
As a beginner in cross-stitching, it’s essential to learn a few tips and tricks to make your experience more enjoyable and successful. Here are some cross-stitching tips for beginners:
- Thread your needle efficiently: Use a needle threader to help you thread your needle faster and with less frustration.
- Prevent knots: To prevent knots in your thread as you stitch, make sure to use shorter strands of thread and avoid pulling the thread too tightly.
- Create straight lines: Keep your stitches straight by using a hoop or frame to hold your fabric taut.
- Keep your fabric clean: Wash your hands before stitching to prevent dirt and oils from transferring onto your fabric.
With these cross-stitching tips for beginners, you’ll be able to create neat and uniform stitches with ease.
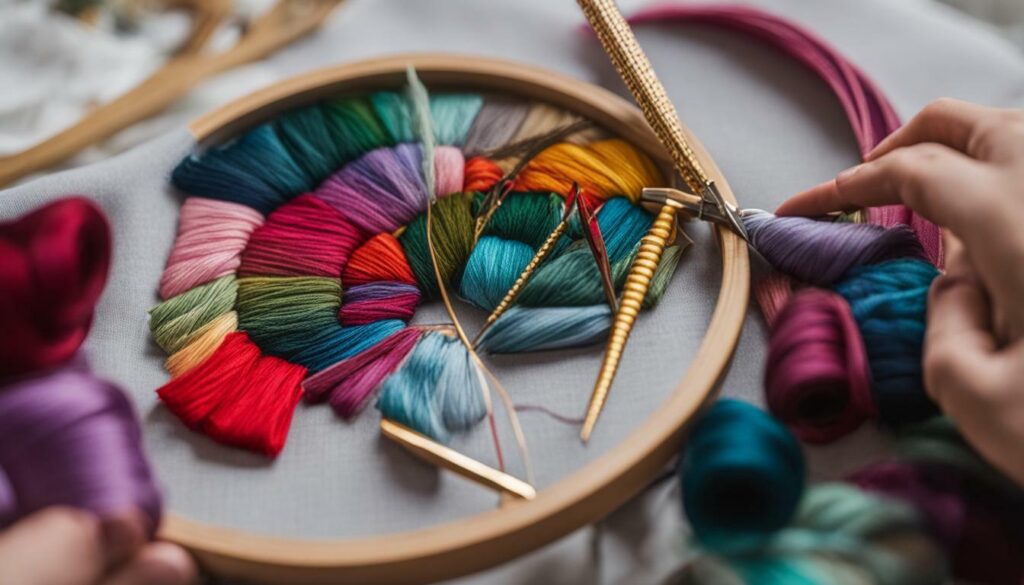
If you encounter any challenges during your cross-stitching journey, don’t get discouraged! Instead, refer to the troubleshooting section to discover solutions for common issues. With practice and patience, you’ll soon master the art of cross-stitching.
Adding Personalization to Your Cross-stitching Projects
Once you feel comfortable with the basics of cross-stitching, it’s time to add a personal touch to your projects. Here are a few tips to help you get started:
- Customize patterns: Many cross-stitch patterns can be customized to include initials, names, or personal messages. Choose a pattern that you like and modify it to suit your needs.
- Experiment with colors: Don’t be afraid to experiment with different color combinations and see how they work together. You might be surprised at the beautiful effects you can create.
- Use different fonts: Cross-stitch patterns can also be modified by changing the font of the text. Choose a font that you like and see how it looks in your design.
Remember, personalization is what makes cross-stitching so special. Make it your own and have fun with it!
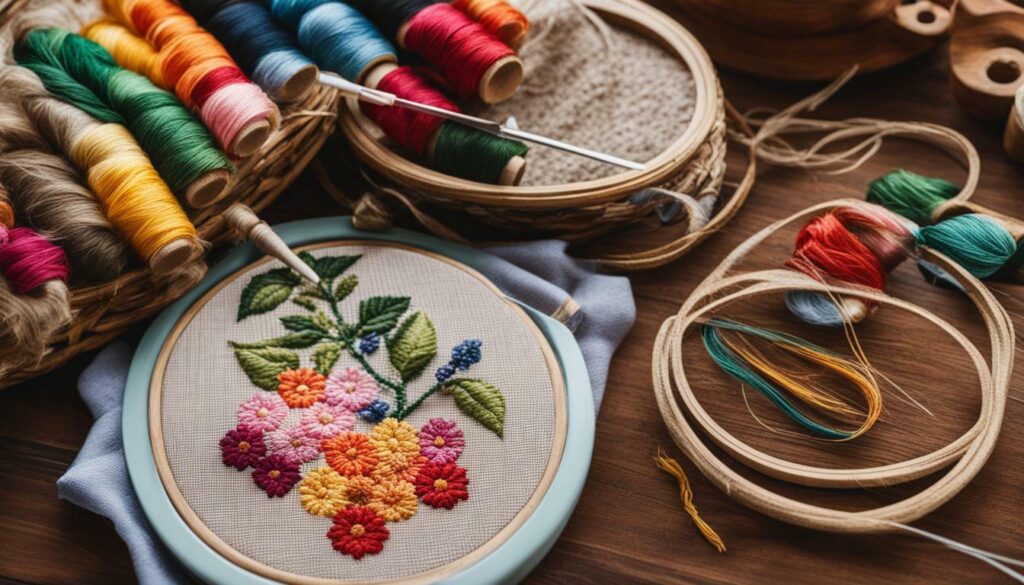
Adding personal touches to your cross-stitching projects is a great way to make them unique and meaningful. Whether you’re making a gift for a loved one or simply want to create something special for yourself, personalization is key. Use these tips to get started and let your creativity soar!
Cross-stitch Basics: Finishing and Displaying Your Cross-stitch Creations
Completing a cross-stitch project is a proud moment for any beginner, but it’s equally important to finish and display your creation properly. Here are some essential tips to ensure your cross-stitch masterpiece is displayed at its best:
Washing and Ironing Your Finished Piece
Before framing or displaying your cross-stitch, it’s important to wash your finished piece to remove any dirt or residue. Use lukewarm water and a mild soap, and gently rub the fabric. Rinse thoroughly and carefully remove excess water. To avoid damaging the fabric or the threads, never wring or twist your piece. Instead, roll it in a clean towel and gently press to remove excess water. Iron your piece on the backside, using a low heat setting to avoid damaging the threads. This will give your cross-stitch a neat and professional look.
Framing Your Cross-stitch
Choosing the right frame is key to showcasing your cross-stitch creation. Consider the size and style of your piece, as well as the decor of the room where it will be displayed. Visit your local craft store to find an appropriate frame, or have a custom frame made to fit your piece. Ensure the frame and matting are acid-free to prevent discoloration or fading over time. When framing your cross-stitch, leave some space around the edges to prevent the fabric from touching the glass. This will help maintain the quality of your cross-stitch for years to come.
If you prefer not to frame your cross-stitch, there are other creative ways to display your masterpiece. You can turn it into a decorative pillow, a wall hanging, or even a personalized gift for a loved one. Consider using a hoop or a decorative stand to showcase your piece in a unique and eye-catching way. The possibilities are endless, so let your creativity flow!
Follow these tips to finish and display your cross-stitch creations like a pro. With some care and attention, you’ll be able to enjoy your beautiful piece for years to come.
Troubleshooting Common Cross-stitching Challenges
Although cross-stitching can be a relaxing and enjoyable activity, it has challenges. Here are some common issues beginners may encounter and tips to overcome them.
Tangled Threads
One of the most frustrating problems in cross-stitching is tangled threads. To prevent this, cut a manageable length of thread (usually around 18 inches) and separate the strands before threading the needle. You can also try using a needle threader or a small pair of scissors to untangle the thread.
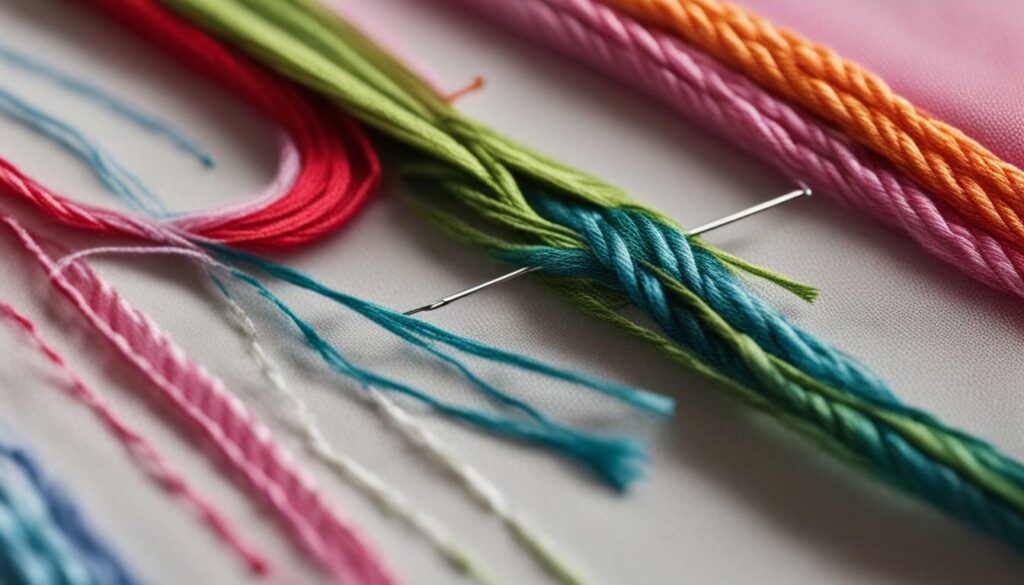
It’s easy to make cross-stitching mistakes, especially when working with intricate designs. To avoid mistakes, double-check the pattern and count your stitches regularly. If you do make a mistake, use a small pair of scissors or a seam ripper to remove the incorrect stitches and redo them carefully.
Uneven Stitches
Creating even and uniform stitches is essential for a polished and professional-looking cross-stitch project. To ensure your stitches are consistent, try using a hoop or frame to keep the fabric taut and steady. You can also practice creating stitches in the same direction and with the same tension.
Eye Strain
Due to the small and detailed nature of cross-stitching, it’s common to experience eye strain or fatigue. To prevent this, take frequent breaks and adjust the lighting in your workspace. Consider using a magnifying glass or a pattern printed on a larger scale.
By anticipating and addressing these common challenges, you’ll be better equipped to enjoy your cross-stitching projects and achieve beautiful results.
Conclusion
Cross-stitching is a beautiful and rewarding art form that anyone can enjoy. With the right materials and techniques, you can create stunning designs that will impress your friends and family.
Throughout this guide, we have covered cross-stitching basics, from selecting the right materials to tackling common challenges. We hope this guide has inspired you to try cross-stitching and helped you master the essentials.
Remember, cross-stitching is a journey that requires patience and practice. Don’t be discouraged by mistakes or setbacks. Instead, use them as learning opportunities and keep pushing yourself to improve.
Whether you choose to create simple patterns or customize your own designs, cross-stitching offers endless possibilities for creativity and personalization, so grab your needle and thread and start stitching. Happy cross-stitching!
FAQ
What is cross-stitching?
Cross-stitching is a form of embroidery that involves making tiny X-shaped stitches to create patterns on fabric.
Is cross-stitching difficult to learn?
Cross-stitching is a beginner-friendly craft that can be quickly learned with practice and patience.
What materials do I need to start cross-stitching?
To start cross-stitching, you will need fabric, embroidery threads, needles, an embroidery hoop, and scissors.
What type of fabric is best for cross-stitching?
Aida fabric is commonly used for cross-stitching as it has a clear grid pattern that makes it easy to count stitches.
Can I use regular sewing thread for cross-stitching?
It is recommended to use embroidery threads, as they are designed explicitly for cross-stitching and come in a wide range of colors.
How do I start a cross-stitch pattern?
To start a cross-stitch pattern, find the center of your fabric, secure it in an embroidery hoop, and start stitching from the center outwards.
How do I make neat and uniform stitches?
To make neat and uniform stitches, ensure that your stitches lie flat and go in the same direction. Practice will help improve your stitching technique.
How do I add texture to my cross-stitching?
You can add texture to your cross-stitching by using different stitching techniques, such as French knots or backstitching.
How do I choose a cross-stitch pattern?
Choose a cross-stitch pattern that appeals to you and matches your skill level. Start with simpler patterns and gradually challenge yourself with more complex designs.
How do I prevent knots in my embroidery thread?
Ensure your thread is not twisted or tangled before threading your needle to prevent knots. Keep your thread tension moderate to avoid knots.
How do I clean my fabric after cross-stitching?
After completing your cross-stitch project, gently hand wash your fabric with mild soap, rinse thoroughly, and air dry it flat to avoid distortion.
How do I frame my finished cross-stitch piece?
To frame your finished cross-stitch piece, choose a frame that complements your design, mount your fabric on acid-free backing, and secure it in the frame using framing pins or tape.
What should I do if I make a mistake in my cross-stitching?
If you make a mistake, carefully remove the stitches with a seam ripper or small scissors and re-stitch the area following the pattern.


