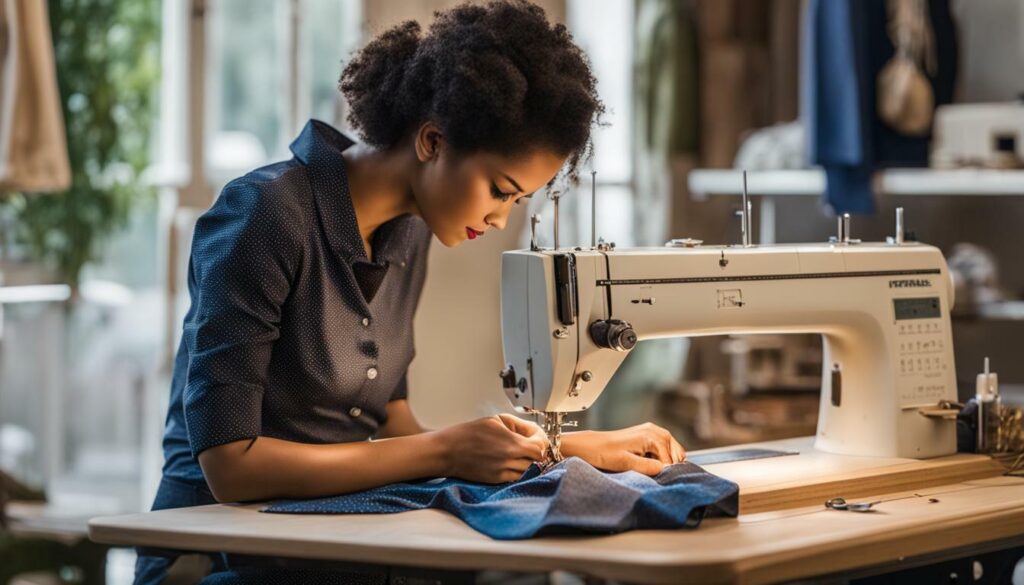
A seam is the backbone of any garment you create if you’re a tailor. But did you know that the way you stitch a seam can affect a garment’s durability, comfort, and overall appearance? That’s why mastering sewing seam techniques is essential to creating professional-looking clothes that will last.
In this comprehensive guide, we’ll explore various sewing seam techniques, from basic to advanced, as well as decorative and current trends. We’ll equip you with the knowledge and techniques to perfect every stitch, whether you’re a beginner or an experienced tailor who wants to refine your skills.
- Mastering sewing seam techniques is crucial for creating professional-looking clothes.
- A seam can affect a garment’s durability, comfort, and appearance.
- We’ll cover basic, advanced, and decorative sewing seam techniques.
- Stay up to date with current trends in sewing seam styles.
- With our comprehensive guide, you’ll know to perfect every stitch.
Sewing Seams for Beginners
Learning to sew can be both rewarding and overwhelming, especially when it comes to sewing seams. But fear not, beginners! With a little bit of practice and patience, you can master the basic sewing seam techniques in no time.
The first step is ensuring you have the right tools for the job. A good quality sewing machine, a variety of needles and thread, fabric scissors, and a measuring tape are all essential.
Next, it’s important to understand the different types of seams and when to use them. Straight seams are the most basic and are used for joining two pieces of fabric together. To sew a straight seam, simply place the two pieces of fabric with right sides facing each other, line up the edges, and sew a straight line using a straight stitch on your sewing machine.
Zigzag stitches are another common type of seam used for finishing raw edges and preventing fraying. To create a zigzag seam, set your sewing machine to the zigzag stitch setting and sew along the edge of the fabric.
Clean finishes are also important to ensure that your seams don’t unravel over time. One way to achieve this is by using a serger machine. If you don’t have a serger machine, you can use a clean finish technique such as a zigzag stitch or a mock overlock stitch.
Remember that practice makes perfect, so don’t be discouraged if your first seams don’t come out perfect. Keep practicing and experimenting with different techniques until you find the ones that work best for you.
By following these simple tips and techniques, you’ll be well on your way to mastering sewing seam techniques as a beginner.
Different Types of Sewing Seams
There are various types of sewing seams available to tailors, each with unique characteristics and best uses. Choosing the right seam technique can greatly enhance the durability and aesthetics of your projects. Here are some of the most common types of sewing seams:
| Seam Type | Characteristics | Best Uses |
|---|---|---|
| Straight Seam | A simple, straight line of stitching that joins two pieces of fabric. | Used for basic seams, such as those in a simple skirt or dress. |
| Zigzag Seam | A seam where the stitches form a zigzag pattern, providing flexibility and preventing fraying. | Used for knit fabrics and other stretchy materials. |
| French Seam | A seam that encloses the raw edges of the fabric, creates a clean finish. | Used for lightweight fabrics, such as silk or chiffon. |
| Flat-Felled Seam | A seam where one edge of the fabric is folded over and stitched down creating a neat, flat finish. | Used for jeans, jackets, and other heavy-duty garments. |
| Bias Seam | A seam where the fabric is cut on the bias, providing flexibility and allows the seam to conform to curves. | Used for curved garments, such as sleeves or collars. |
Experiment with different types of seams to find the ones that work best for your projects. Pay attention to the details, as each seam can greatly impact the quality and appearance of your final product.
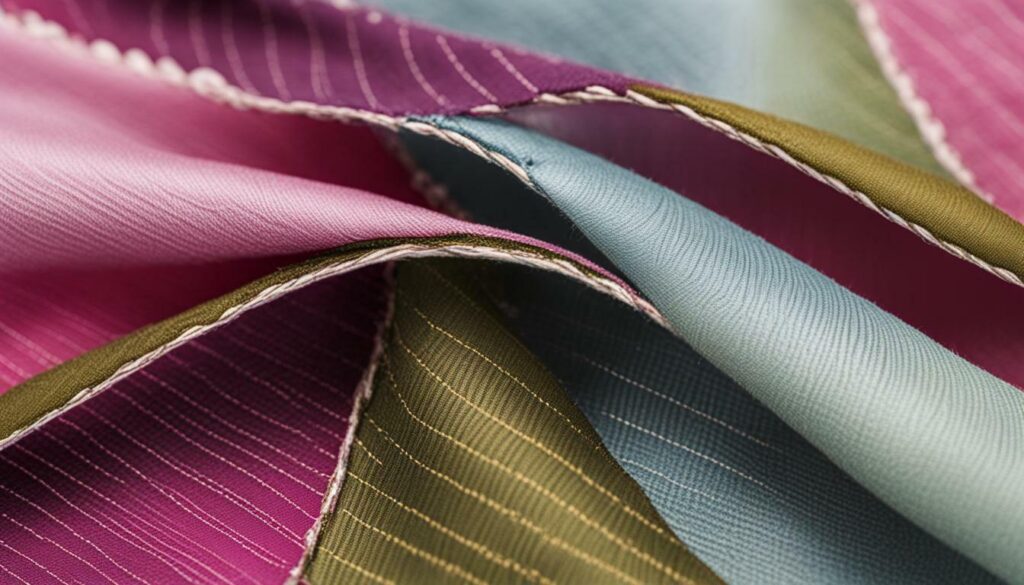
Ready to take your sewing skills to the next level? Here are some essential professional sewing techniques to help you create beautiful, high-quality garments:
| Technique | Description |
|---|---|
| Understitching | A technique used to attach a facing or lining to a garment, keeping the facing or lining from rolling out and showing on the right side of the fabric. To understitch, first, sew the facing or lining to the garment, then sew the facing or lining to the seam allowance and press the seam flat. |
| Grading Seams | A technique used to reduce bulk in seam allowances, particularly useful when sewing bulky or heavyweight fabrics. To grade seams, trim one seam allowance slightly shorter than the other, making sure the shorter allowance is always on top. |
| Tailor’s Tacks | A technique used to mark fabric pieces accurately. To make tailor’s tacks, thread a needle with contrasting thread and sew through both layers of fabric. Gently pull apart the layers of fabric, and cut the threads in the middle to create a loop. Cut the threads to separate the fabric pieces, and use the threads as a guide for matching and sewing the pieces together. |
These techniques are just a few examples of the many professional sewing techniques that can help elevate your sewing projects. By learning and using these techniques, you can create garments that are not just beautiful but also well-made and long-lasting.
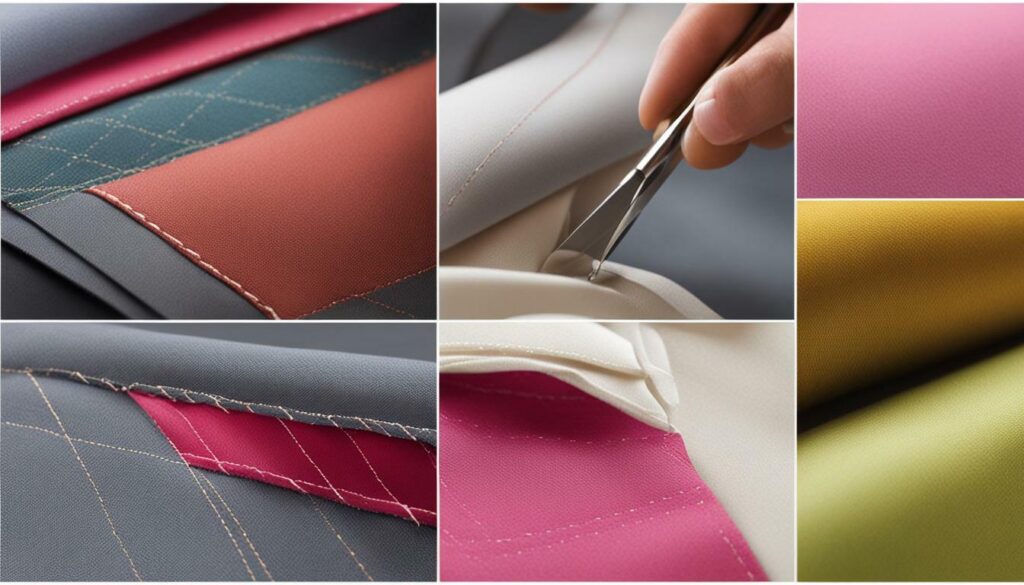
Remember that practice makes perfect, so don’t be afraid to experiment with these techniques and incorporate them into your sewing projects. Happy sewing!
Sewing Seams Guide
When it comes to sewing, knowing how to create different types of seams is essential for achieving the perfect finish on your projects. Below, we’ve compiled a comprehensive sewing seams guide to help you navigate through the most common seam types and techniques.
In each paragraph, you’ll find step-by-step instructions and helpful tips to ensure your seams are strong, neat, and professional-looking. Refer to this guide whenever you need to sew a dart, insert a zipper, or create a rolled hem.
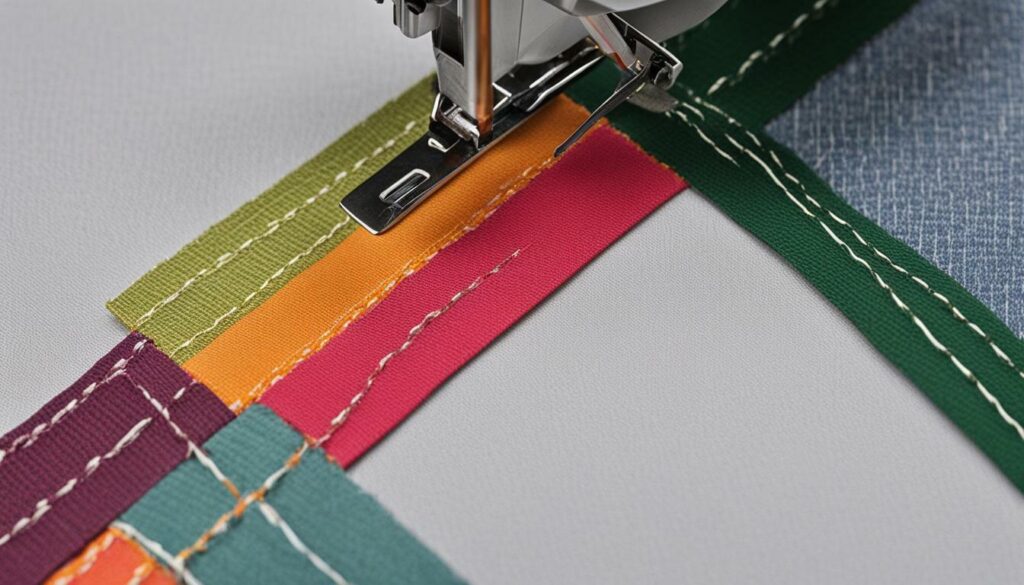
The straight seam is the simplest and most common type of seam. It’s used to join two pieces of fabric together along a straight edge.
| Materials: | Two pieces of fabric, matching thread, sewing machine or needle and thread, pins, iron |
|---|---|
| Instructions: |
|
Zigzag Stitch
A zigzag stitch is used to join fabric edges that tend to fray, such as knit and woven fabrics.
| Materials: | Two pieces of fabric, matching thread, sewing machine or needle and thread, pins, iron |
|---|---|
| Instructions: |
|
Clean Finish Seam
A clean finish seam encloses the raw edges of fabric for a neat and professional-looking seam.
| Materials: | Two pieces of fabric, matching thread, sewing machine or needle and thread, pins, iron |
|---|---|
| Instructions: |
|
Now that you have a basic understanding of some common sewing seam techniques, you can start incorporating them into your sewing projects. Remember to practice and experiment to find the techniques that work best for you.
Basic Sewing Seam Techniques
If you’re just starting out with sewing, then mastering the basic sewing seam techniques is the first step to achieving great results. These foundational techniques will form the basis of your sewing skills, enabling you to tackle a wide variety of projects. Let’s take a look at some of the most essential basic sewing seam techniques.
Straight Seam
A straight seam is a basic and essential sewing technique that is simple but important to get right. To create a straight seam, align the fabric edges, pin in place, and sew along the edge using a straight stitch. This technique is used in many beginner-friendly projects, such as simple dresses, tote bags or curtains.
Finishing Raw Edges
Finishing raw edges is crucial to prevent the fraying and unraveling of your garment. After you sew a seam, use a finishing technique to enclose the raw edge. This can be done by zigzag stitching, pinking or serging.
Topstitching
Topstitching is a decorative and functional technique that involves sewing a visible line of stitching on the right side of the fabric parallel to the seam. Topstitching can be used for both decorative purposes and to reinforce a seam. You can use topstitching to create a neat hem or to accentuate a design element on your garment.
These basic sewing seam techniques are just the beginning of your sewing journey. With practice and experience, you’ll be able to create beautiful garments and accessories with ease. Keep experimenting and exploring the many possibilities sewing has to offer!
If you feel confident with the basic sewing seam techniques, it’s time to challenge yourself with these advanced techniques. To sew a curved seam, start by pinning the two pieces of fabric together, adjusting as necessary to ensure a smooth curve. Then, stitch slowly around the curve, using your fingers to ease the fabric as you go. If you’re working with a fabric that frays easily, consider using bias binding to finish the raw edges.
Easing fabric can be tricky, but it can be mastered with practice. To ease, place the fabric with a longer edge on the bottom and a shorter piece on top. Pin the two pieces together, and then stitch with the longer piece on the bottom. As you sew, gently stretch the shorter piece to fit the longer piece.
If you’re working on a project with a lining, attaching the lining can be a challenge. To keep them separate, use tailor’s tacks to mark the seam allowances on the main fabric and lining. Then, pin the two pieces together with the right sides facing, and sew along the marked seam allowances. Finally, trim the seam allowance and press the seam open.
These are just a few examples of the many advanced sewing seam techniques that you can explore to enhance your sewing skills. With practice, dedication, and a willingness to experiment, you can achieve professional-looking results.
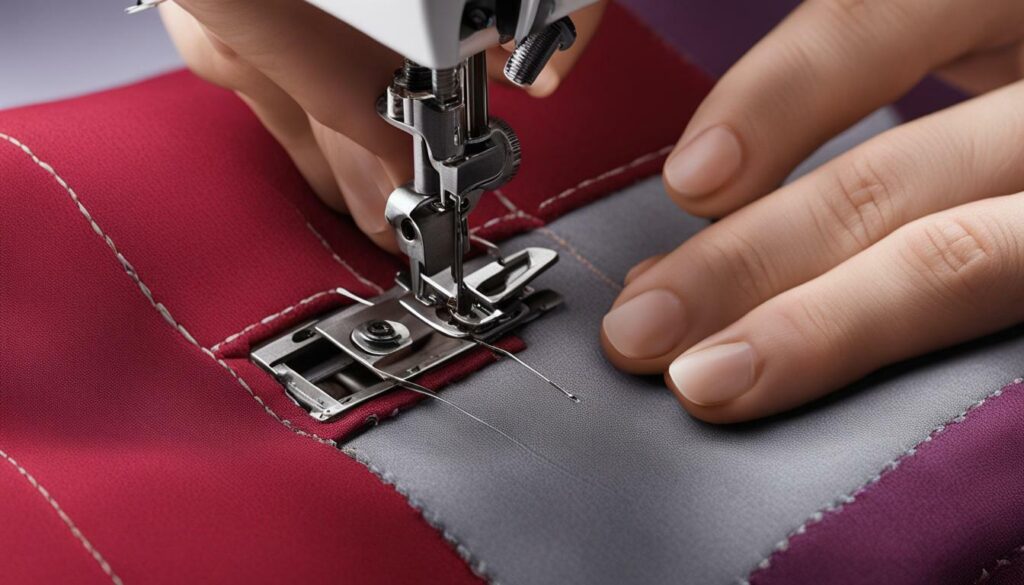
Continue to explore and develop your skills with all of the techniques covered in this guide, including basic and decorative techniques, popular sewing seam styles, and tips for sewing hems and seams. With this comprehensive resource, you have all the knowledge and inspiration you need to take your sewing skills to the next level.
Decorative Sewing Seams
Take your sewing projects to the next level by incorporating decorative sewing seams. These techniques can add an extra element of creativity and individuality to your designs. From ruffles and pintucks to lace and appliqué, there are endless possibilities to explore.
One popular decorative seam technique is the French seam. This type of seam is ideal for lightweight and delicate fabrics and provides a neat finish on both sides of the seam. To create a French seam, sew the seam with wrong sides together, trim the seam allowance, press the seam flat, and then sew the seam again with right sides together, encasing the raw edge.
If you want to add some texture to your seams, consider using pintucks. These narrow folds of fabric can create a beautiful, tailored effect. To create pintucks, fold and press the fabric, sew the folded edge, and then press the pintuck to one side.
Another technique to try is lace insertion. This involves sewing a strip of lace into the fabric to create a decorative design. To do this, baste the lace to the fabric, stitch along the edges of the lace, and then trim away the excess fabric.
Finally, appliqué is a wonderful way to add unique designs to your sewing projects. This involves attaching a fabric motif or design to the surface of the fabric. To do this, cut out the motif, baste it in place, and then sew it onto the fabric using a zigzag stitch or satin stitch.
Experiment with different decorative sewing seam techniques to create truly one-of-a-kind designs. And don’t forget to share your creations with us!
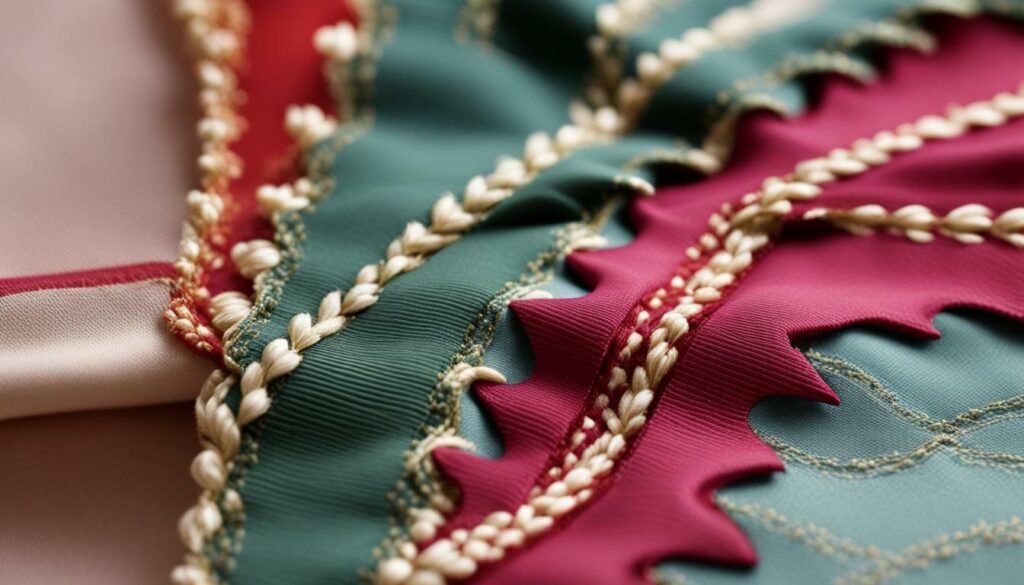
Popular Sewing Seam Styles
As the world of fashion continues to evolve, so do the popular sewing seam styles. From classic to contemporary, these seam techniques can add a unique touch to any garment or accessory.
Flatlock Seam: This seam is popular in activewear and can be used to create a durable, flat, and stretchy finish. It involves overlapping the fabric and stitching each side together with a specialized flatlock stitch. The result is a strong and comfortable seam that lays flat against the skin.
Mock Flat Fell Seam: This seam style is perfect for denim or any heavyweight fabric. It combines the strength of a flat fell seam with the appearance of a lapped seam. It is created by trimming the seam allowance and folding one side over the other before stitching it down. The result is a sturdy seam with a clean and polished look.
French Seam: A French seam is ideal for lightweight, delicate fabrics. It encloses the raw edges to create a neat finish on both sides of the fabric. This seam is achieved by sewing the fabric with the wrong sides facing each other, trimming the seam allowance, folding the fabric, and sewing it again with the right sides facing each other.
Bound Seam: This seam is created by enclosing the raw edges of the fabric with bias binding. It is commonly used in tailored jackets or coats. A bound seam creates a clean and professional look, and it is a great way to finish the inside of a garment.
Piping Seam: Piping is a decorative element that can be used to add a pop of color to a garment. This seam style involves sewing a cord into a fabric strip and using it to create a seam. It can be used on garments, bags, and other accessories to add a unique style to the finished product.
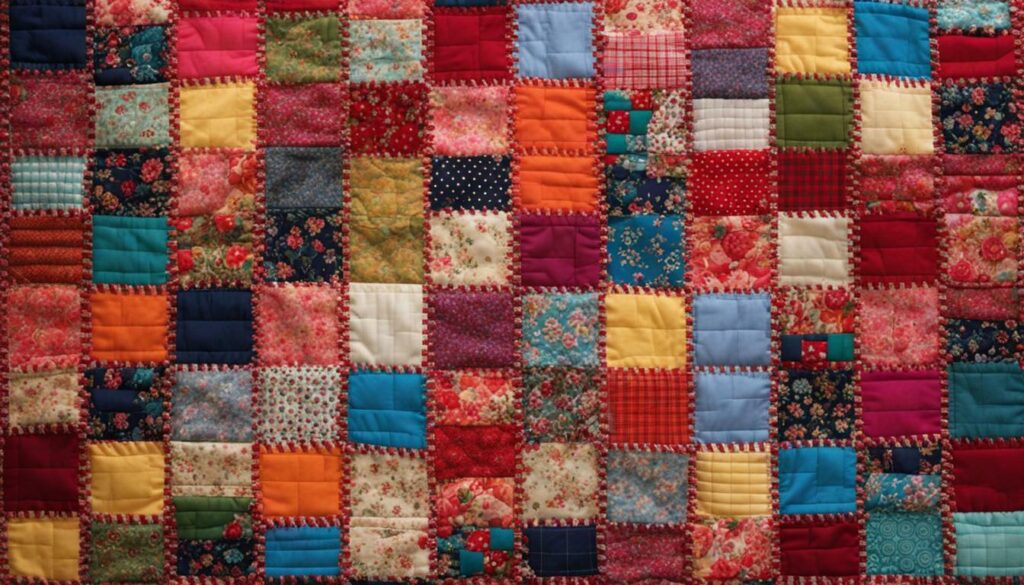
Experimenting with different sewing seam styles can help you add a personal touch to your projects. By incorporating these popular sewing seam styles, you can create garments and accessories that stand out from the crowd.
Sewing Hems and Seams
When it comes to sewing, the finishing touches can make all the difference. The right hem or seam can turn a basic garment into a stunning piece that looks and feels professional. Here are some sewing hems and seams to consider:
- Invisible hems: These hems are perfect for delicate fabrics or formal wear. They are nearly invisible from the outside and create a clean, polished finish. To sew an invisible hem, fold the fabric under twice and sew close to the folded edge.
- Blind hems: These hems are great for lightweight or sheer fabrics. They create a flat, finished edge that is barely visible from the outside. To sew a blind hem, fold the fabric under and create small stitches that go through the folded edge and the main fabric.
- Gathered seams: These seams create fullness and can be used for skirts, sleeves, or other parts of a garment. To sew a gathered seam, sew a straight seam and then stitch a second line close to the first. Pull the threads on the second line to create the gathering.
Remember to keep your hems and seams neat and secure, using appropriate thread and needle sizes. With the right technique, your hems and seams will not only look great but also withstand the test of time.
Thank you for taking the time to explore this comprehensive guide on sewing seam techniques. Whether you’re a beginner or an experienced tailor, we hope this article has provided you with the knowledge and inspiration to take your sewing skills to new heights.
Remember, sewing is an art form, and it takes practice and patience to master. Don’t be afraid to experiment with different techniques and materials, and enjoy the process of creating beautiful garments and accessories.
From sewing seams for beginners to mastering complex techniques, this guide has covered a wide range of topics. We’ve explored different types of sewing seams, professional techniques used by experts, decorative sewing seams, and popular seam styles in modern fashion.
By now, you should understand basic and advanced sewing seam techniques and how to sew hems and seams that are neat, durable, and professional-looking.
So, what are you waiting for? Grab your sewing machine and get started on your next project. With the knowledge and skills you’ve gained from this guide, we know you’ll create something amazing.
FAQ
What are sewing seam techniques?
Sewing seam techniques are methods used to join fabric pieces together. They involve various stitching and finishing techniques to ensure a strong, neat, and professional-looking seam.
Are sewing seam techniques important for beginners?
Yes, sewing seam techniques are essential for beginners as they form the foundation of sewing skills. Learning different seam techniques will help you create well-constructed garments and improve the overall quality of your sewing projects.
How do I sew straight seams?
To sew straight seams, align the fabric edges, use a straight stitch on your sewing machine, and guide the fabric smoothly under the presser foot. Practice with scrap fabric to improve your straight stitching accuracy.
What is understitching?
Understitching is a technique used to keep facings or linings from rolling to the front of a garment. It involves stitching the seam allowances and facing/lining together close to the seamline, ensuring they stay in place and create a clean edge.
What are some decorative sewing seam techniques?
Decorative sewing seam techniques add visual interest to your projects. Examples include pintucks, ruffles, lace insertion, and appliqué. These techniques allow you to personalize your garments and create unique designs.
Can I use different types of sewing seams for different fabrics?
Yes, the choice of sewing seams depends on the fabric type and project requirements. For example, delicate fabrics may require French seams for a clean finish, while heavy fabrics may benefit from flat-felled seams for added strength.
How can I improve my sewing seam techniques?
Practice is key to improving sewing seam techniques. Start with simple projects and gradually challenge yourself with more complex techniques. Take advantage of online tutorials, classes, and sewing communities for guidance and inspiration.


