Decluttering and organizing your home can feel overwhelming, but with the right strategies and mindset, you can create a clutter-free and organized space. By breaking down the process into manageable tasks and focusing on one room or zone at a time, you can make significant progress towards a more organized home. Here are some tips to help you get started:
1. Create a checklist and prioritize clutter areas: Having a clear plan of action will keep you on track and ensure that you address the areas that need the most attention first.
2. Start small to build momentum: Begin with a small area, such as a drawer or a closet, to gain momentum and motivation. As you see progress, it will become easier to tackle larger spaces.
3. Prepare containers for different purposes: Use containers to sort items into categories such as put away, fix/mend, recycle, trash, or donate. This will make it easier to stay organized as you go through the decluttering process.
4. Consider creating a timeline: Decide whether you prefer to complete the decluttering in one day or spread it out over a longer period of time. Having a timeline can help you stay focused and prevent the task from becoming overwhelming.
5. Clean before decluttering: Starting with a tidy space will make the decluttering process more efficient and enjoyable. Take the time to clean surfaces, floors, and shelves before you begin sorting and organizing.
- Creating a checklist and prioritizing clutter areas will keep you focused and organized.
- Starting with a small area will help you build momentum and motivation for the larger tasks.
- Preparing containers for different purposes will make sorting and organizing easier.
- Consider creating a timeline to stay on track and prevent overwhelm.
- Cleaning before decluttering will make the process more efficient and enjoyable.
Creating a Checklist and Prioritizing Clutter Areas
Before diving into the decluttering process, it’s helpful to create a checklist and prioritize the areas in your home that need the most attention. This will help you stay organized and ensure that no cluttered spaces are overlooked. Start by walking through each room and making note of the areas that require the most decluttering. This could be the overflowing closet, the cluttered kitchen countertops, or the jam-packed garage.
Once you have identified the clutter hotspots, create a checklist that outlines each area and the steps needed to declutter it. Break down the tasks into smaller, manageable steps to avoid feeling overwhelmed. For example, if you’re tackling the kitchen, your checklist might include sorting through the pantry, decluttering the cabinets, and organizing the refrigerator. This step-by-step approach will make the decluttering process feel more achievable.

Use a table or a list format to keep track of your checklist. You can use a table with columns for the area, steps, and completion status, or simply create a numbered list. Having a visual representation of your progress will motivate you to tackle each task and check it off as you go along. Remember, decluttering is a journey, and by prioritizing and creating a checklist, you are setting yourself up for success.
| Area | Steps | Status |
|---|---|---|
| Kitchen | Sort pantry, declutter cabinets, organize refrigerator | Completed |
| Bathroom | Declutter medicine cabinet, organize cabinet drawers, clean shower/tub | In progress |
| Bedroom | Declutter nightstands, organize dressers, fold and hang clothing | Not started |
Remember, decluttering is not a race. Take your time, be patient with yourself, and celebrate each accomplishment along the way. By creating a checklist and prioritizing clutter areas, you are taking the first step towards a more organized and peaceful home.
Focus on One Room or Zone at a Time
To avoid feeling overwhelmed, it’s best to focus on one room or zone at a time when decluttering and organizing your home. By breaking down your decluttering project into smaller, more manageable tasks, you’ll be able to tackle each area more effectively. This approach allows you to concentrate your efforts and see progress, which can provide motivation to keep going.
Start by selecting a room or zone that you feel comfortable beginning with. It could be a small area like a bathroom or a specific zone within a larger room, such as a bookshelf in the living room. Once you’ve chosen your starting point, commit to completing that area before moving on to the next. This will prevent you from feeling overwhelmed and help you maintain focus.
Creating a checklist can be a helpful tool to guide you through your decluttering journey. Take stock of the items in the chosen room or zone and determine what needs to stay, what can be donated or sold, and what should be thrown away. Write down the tasks you need to accomplish in that area, such as organizing a specific drawer or decluttering a shelf. As you complete each task, check it off your list, giving you a sense of accomplishment and progress.
Example:
“I found that focusing on one room at a time made the decluttering process much more manageable. It allowed me to give my full attention to each area and see immediate results. I started with my bedroom, tackling my nightstand and then moving on to my dresser and closet. By the time I finished decluttering the whole room, I felt a sense of satisfaction and was motivated to continue decluttering the rest of my home.”
– Jane Doe, Decluttering Enthusiast
Remember, decluttering your home is not a race. Take your time and stay focused on one area at a time. Celebrate your progress along the way and enjoy the benefits of a simplified and organized living space.

| Room/Area | Tasks |
|---|---|
| Bathroom |
|
| Bedroom |
|
| Closet |
|
Having designated containers for different purposes, such as sorting items to put away, fix/mend, recycle, trash, or donate, can greatly streamline the decluttering process. By having specific containers for each category, you can easily sort and organize your belongings with ease. Consider using bins, baskets, or even labeled bags to keep everything organized.
For items that need to be put away, such as belongings that have a designated spot in your home, use a container specifically for these items. This will make it easier to transport and store them in their appropriate places. For items that need fixing or mending, have a separate container where you can keep them until you have the time and resources to address them.
Recycling containers are essential for items that can be recycled, such as paper, plastic, or glass. This way, you can separate these items from the rest of your clutter and ensure they are properly recycled. Trash containers are necessary for items that are no longer usable or valuable and need to be thrown away. Be mindful of proper waste disposal guidelines in your area.
Donation containers are great for items that are still in good condition but no longer serve a purpose for you. Instead of letting them take up space in your home, consider donating them to charitable organizations or giving them to someone in need. Having a designated container for donation items allows you to easily gather them and make a positive impact.
To visually enhance and reinforce these ideas, here is a table showcasing the different types of containers and their purposes:
| Container Type | Purpose |
| —————- | —————————————- |
| Put Away | Items with designated spots in your home |
| Fix/Mend | Items that need repair or attention |
| Recycle | Items that can be recycled |
| Trash | Non-usable or non-valuable items |
| Donate | Items in good condition for donation |
Having these containers readily available and utilizing them throughout the decluttering process will not only make the task more efficient but also help in maintaining an organized home. Remember, decluttering is a journey, so take it one step at a time and enjoy the progress you make along the way.
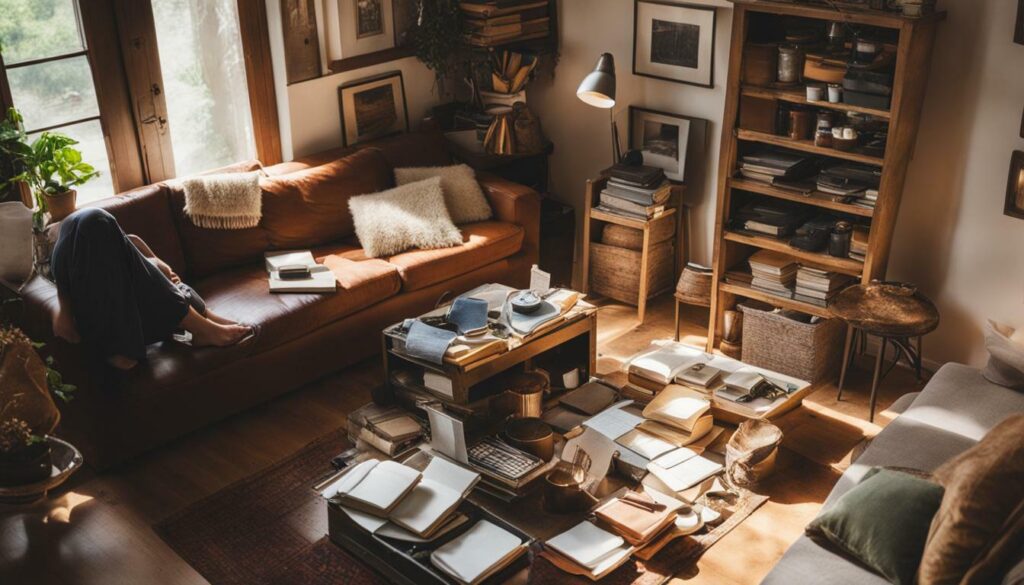
Depending on your preference and availability, you may choose to complete the decluttering process in one day or spread it out over a longer period of time, such as a week or a month. Creating a timeline can help you stay organized and motivated as you tackle each room or zone in your home.
Start by assessing your schedule and determining how much time you can dedicate to decluttering each day or week. Be realistic about the amount of time and energy you have available. Remember, decluttering can be a physically and emotionally draining process, so it’s important to pace yourself.
Once you have a timeline in place, break down the decluttering tasks into smaller, manageable steps. Focus on one room or zone at a time, and complete each job fully before moving on. This will prevent you from feeling overwhelmed and allow you to see progress as you go.
To help you visualize your timeline and stay on track, you can create a checklist or use a decluttering app. This will provide a sense of accomplishment as you check off each task. It’s also helpful to set specific goals for each decluttering session, whether it’s tackling a specific area or completing a certain number of tasks.

| Week 1 | Week 2 | Week 3 | Week 4 |
|---|---|---|---|
| Living Room | Bedroom | Kitchen | Bathroom |
| Dining Room | Home Office | Garage | Entryway |
| Guest Room | Basement | Outdoor Spaces | Final Touches |
Remember, everyone’s decluttering journey is unique. You don’t have to follow a specific timeline or complete the process in a set amount of time. The key is to find a decluttering strategy that works best for you and helps you achieve your goals in an efficient and enjoyable way.
Start Small to Build Momentum
It’s often best to start small when decluttering your home, as successfully completing a small area can provide a sense of accomplishment and motivation to continue. Rather than diving headfirst into a massive decluttering project, begin with a small space that you can manage in a reasonable amount of time.
Choose one drawer, a single shelf, or even just a corner of a room to tackle first. By focusing on a small area, you can give it your full attention and ensure that you thoroughly declutter and organize it. This allows you to experience the satisfaction of seeing a visible improvement in your home, which can be highly motivating.
Once you’ve successfully decluttered and organized one small area, you can gradually expand your focus and tackle larger spaces. Breaking the process down into manageable bits not only helps build momentum but also prevents overwhelm, making the overall task feel less daunting.
Set achievable goals
- Start with a small area that you can comfortably complete in one session.
- Avoid multitasking; concentrate on one area at a time.
- Divide larger spaces into smaller zones to maintain focus.
Remember, decluttering and organizing your home is a journey, and progress is made one step at a time. So, start small, celebrate your achievements, and let the momentum carry you forward to a clutter-free and organized living space.

| Benefits of Starting Small | How to Start Small |
|---|---|
|
|
Clean Before Decluttering
Before diving into the decluttering process, take the time to clean and tidy up the space, as it will provide a clear starting point and make the overall process smoother. A clean and organized environment will not only make it easier to see what needs to be decluttered but will also create a more pleasant and motivating atmosphere for the task ahead.
Start by dusting surfaces, wiping down shelves, and vacuuming or sweeping the floors. Removing any dirt or grime will help freshen up the space and make it more inviting. As you clean, take note of any items that are out of place or no longer serve a purpose in the room. These can be added to your decluttering checklist for later evaluation.
Decluttering Checklist:
- Remove any unnecessary items from countertops or shelves
- Sort and organize paperwork or mail
- Go through drawers and cabinets, discarding expired or unused items
- Donate or sell any items that are in good condition but no longer needed
- Dispose of any broken or irreparable items
By starting with a clean slate, you’ll be able to better focus on the decluttering process and make more informed decisions about what to keep, what to discard, and what to reorganize.
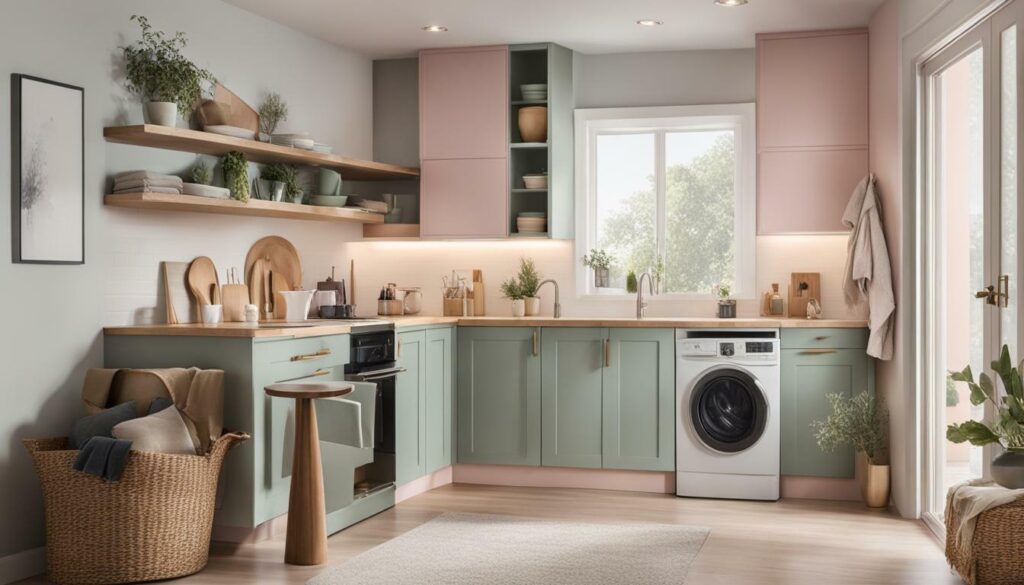
| Zone | Task |
|---|---|
| Bathroom |
|
| Bedroom |
|
| Kitchen |
|
Remember, the key to successful decluttering and organizing is to break down the process into manageable tasks. Starting with a clean and tidy space will set the foundation for a more efficient and stress-free experience. So, roll up your sleeves, grab some cleaning supplies, and get ready to transform your home into a clutter-free haven.
Decluttering by Room – Bathroom
When decluttering your home, it’s helpful to start with one room at a time. Let’s begin with the bathroom. This small space can easily become filled with expired products, half-empty bottles, and unused items. By decluttering and organizing your bathroom, you can create a functional and peaceful space.
Start by emptying your medicine cabinet and discarding any expired medications or products. Take a look at your cabinet drawers and remove any items that are no longer used or needed. Consider organizing your toiletries in small containers or drawer dividers to keep things neat and accessible.
Move on to the shower or tub area. Take out any empty bottles or products that you no longer use. Consider installing a shower caddy or organizer to keep your essentials within reach. Don’t forget to clean the shower/tub thoroughly before putting everything back.
Finally, tackle the area below the sink. Dispose of any expired or unused products and use storage bins or trays to keep things organized. Consider using labeled containers for items like cleaning supplies or extra toiletries.
| Decluttering Tips for the Bathroom: |
|---|
| 1. Empty and clean your medicine cabinet. |
| 2. Declutter your cabinet drawers and organize toiletries. |
| 3. Remove empty bottles or products from the shower or tub area. |
| 4. Install a shower caddy or organizer to keep essentials within reach. |
| 5. Declutter and organize the area below the sink with storage bins or trays. |

By following these decluttering tips, you can transform your bathroom into a clean and organized space. Remember, decluttering is a process, so take your time and enjoy the rewarding feeling of a clutter-free home.
Decluttering by Room – Bedroom
Moving on to the bedroom, let’s tackle this space to create a serene and clutter-free environment. Start by decluttering the nightstands, removing any items that don’t belong or are no longer needed. Sort through the drawers of your dressers, chests, and bureaus, organizing clothing and accessories and getting rid of anything that no longer fits or is in poor condition. Take the time to fold or hang clothing properly, creating a neat and organized wardrobe.
Don’t forget to declutter your desk or vanity table if you have one in your bedroom. Remove any unnecessary papers, old receipts, or unused beauty products. Keep only the essentials and find a designated space for everything.
| Closet Decluttering Tips | Organizing Tips |
|---|---|
| Sort and declutter clothing by type | Use storage bins for seasonal items |
| Separate items to put away, donate, or repair | Utilize hanging organizers for shoes or accessories |
| Maximize closet space with cascading hangers | Label shelves or drawers for easy access |
Remember to tackle your bedroom closet as well. Decluttering by clothing type can make the process more straightforward. Sort items into categories, such as those to put away, items that need laundering, items to repair, and items to donate or sell. Utilize storage bins or boxes for seasonal items and invest in hanging organizers to maximize space. Consider using cascading hangers to create more room for your clothes, and label shelves or drawers for easy access.
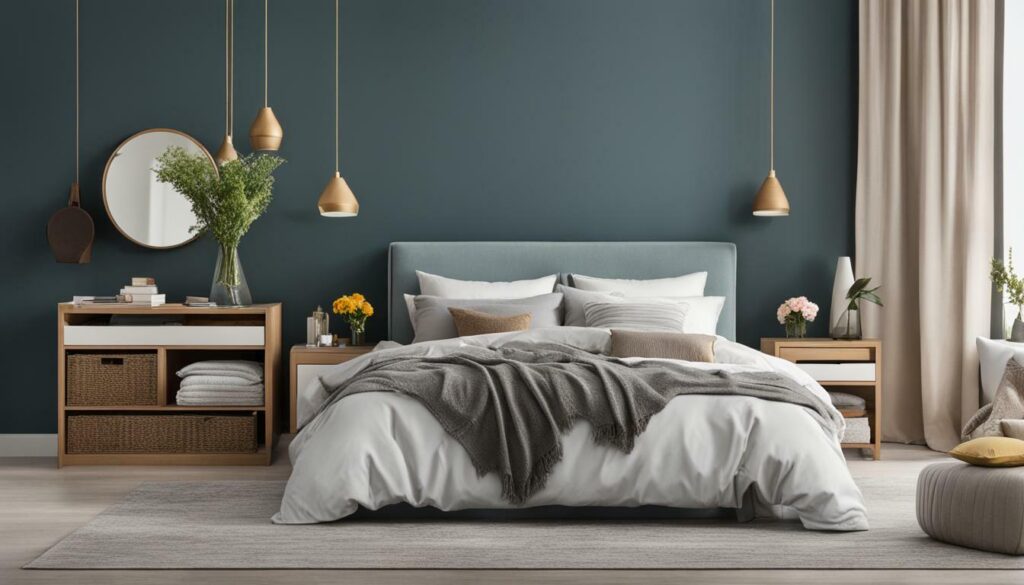
With a clutter-free bedroom, you can look forward to a calm and peaceful space where you can relax and unwind. Remember, organizing your home is an ongoing process, so try to establish good habits to maintain an organized and clutter-free environment. Next, we’ll move on to decluttering the kitchen, another important space in your home where staying organized can make a big difference.
Decluttering by Room – Kitchen
The kitchen is often a hub of activity, so let’s dive into decluttering this space to create a functional and organized area. Start by clearing off countertops and putting items away in their proper places. This will instantly create a sense of tidiness and make it easier to work in the kitchen.
Next, focus on powerhouse storage spaces like the pantry and upper cabinets. Take everything out and sort through items, discarding anything that is expired or no longer needed. Consider using storage containers or bins to keep similar items grouped together. This will not only make it easier to find things but also create more space and remove visual clutter.
Move on to lower cabinets, drawers, and under the sink. These areas tend to accumulate items that are rarely used or misplaced. Remove everything from the cabinets and drawers, wipe them clean, and then put back only the essentials. Consider using drawer dividers or organizers to keep utensils and other kitchen tools neat and accessible.
Finally, clear out the refrigerator and freezer. Dispose of any expired or spoiled food and remove any unnecessary items. Use clear bins or containers to group similar items together and make it easier to see what you have.
By decluttering and organizing your kitchen, you’ll create a more efficient and enjoyable cooking experience. Remember to maintain these systems by regularly decluttering and organizing the space. Keeping a clean and organized kitchen will not only save you time but also make meal prep a breeze.
Tips for Decluttering the Kitchen:
- Start with the countertops and put away items that don’t belong there.
- Empty and clean out the pantry and upper cabinets, discarding expired items.
- Sort through lower cabinets, drawers, and under the sink, keeping only essential items.
- Utilize storage containers or bins to group similar items together.
- Clear out the refrigerator and freezer, disposing of expired or spoiled food.
- Maintain the organization by regularly decluttering and organizing the kitchen.
| Item | Category |
|---|---|
| Expired food | Trash |
| Unused kitchen gadgets | Donate or sell |
| Duplicate items | Donate or sell |
| Expired spices | Trash |
| Unused or broken dishes | Donate or sell |
| Unused appliances | Donate or sell |
“A clean and organized kitchen is a recipe for success in the culinary arts.”n- Unknown
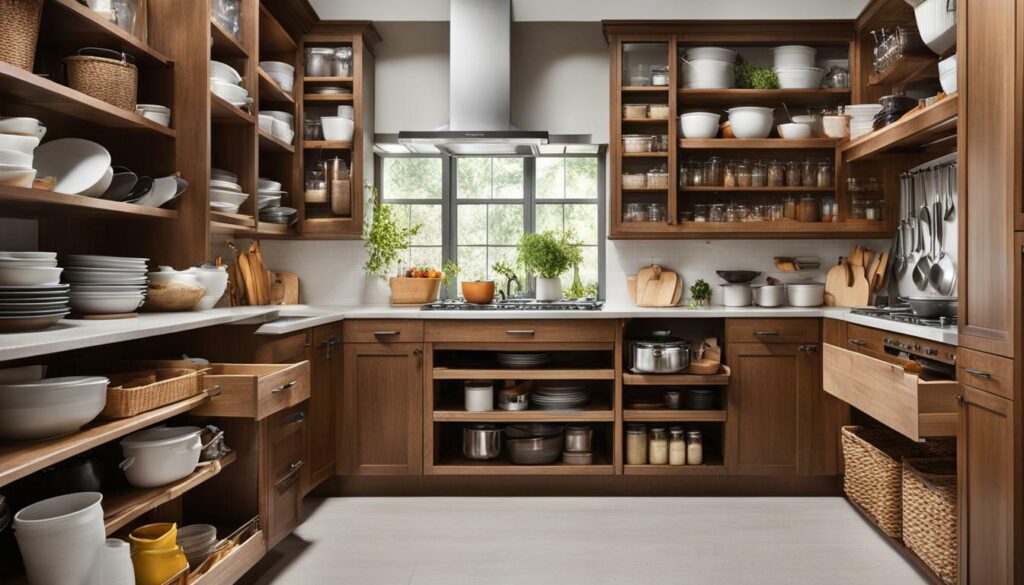
Getting Rid of Clutter
Once you’ve decluttered your home, it’s time to get rid of the items you no longer need or want. Here are some options for dealing with clutter responsibly.
1. Recycling: If you have items that are recyclable, such as paper, plastic, glass, or metal, consider recycling them instead of throwing them in the trash. Check your local recycling guidelines to ensure you’re disposing of items correctly.
2. Donating: Give your unwanted items a second life by donating them to local charities or organizations. Clothes, furniture, electronics, and household goods can often be donated to those in need. Research local donation centers to find out what items they accept and how to drop them off.
3. Selling: Turn your clutter into cash by selling items that are still in good condition. Online platforms like eBay, Facebook Marketplace, and Craigslist make it easy to connect with potential buyers. Take clear photos and write detailed descriptions to attract interested shoppers.
4. Disposing: For items that can’t be recycled, donated, or sold, proper disposal is essential. If you have unusable or broken items, consider renting a dumpster to safely discard them. Check with your local waste management company about disposal options for hazardous materials.
To make the decluttering process easier, use containers or bins to separate recyclable, donate, and trash items. This will help you stay organized and ensure that everything is disposed of responsibly. Remember, one person’s clutter can be another person’s treasure, so consider hosting a garage sale or giving away items to friends and family.
Summary
- Recycle items that can be recycled according to local guidelines.
- Donate unwanted items to local charities or organizations.
- Sell items that are still in good condition through online platforms.
- Dispose of unusable or broken items responsibly, considering renting a dumpster if needed.
- Use containers or bins to separate items for recycling, donation, and trash.
- Consider hosting a garage sale or giving away items to friends and family.
| Recycling | Donating | Selling | Disposing |
|---|---|---|---|
| Recycle paper, plastic, glass, and metal. | Donate clothes, furniture, electronics, and household goods. | Sell items online through platforms like eBay and Facebook Marketplace. | Dispose of unusable items responsibly, consider renting a dumpster if needed. |
Remember, decluttering not only creates a more organized and peaceful living space, but it also allows you to let go of the things that no longer serve you. By responsibly dealing with your clutter, you’re making a positive impact on the environment and helping those in need.

Decluttering and organizing your home can be a transformative process, leading to a more peaceful and enjoyable living space. Embark on this journey with confidence, knowing that your efforts will bring about positive change.
Start by creating a checklist and prioritizing clutter areas. Breaking down the decluttering process into smaller tasks will make it more manageable and less overwhelming. Focus on one room or zone at a time and complete each job fully before moving on to the next area.
Prepare containers for different purposes, such as sorting items to put away, fix/mend, recycle, trash, or donate. Having designated containers will help you stay organized and make the sorting process easier.
Consider creating a timeline that works best for you, whether it’s completing the decluttering in one day or spreading it out over a longer period of time. Starting with a small area will help build momentum and motivation, making it easier to tackle larger spaces.
Remember to clean before decluttering to have a tidy space. A clean environment will not only make the process more efficient but also more enjoyable. Take it one room at a time, starting with the bathroom, then moving on to the bedroom, kitchen, living room, and other areas of your home.
When it’s time to get rid of clutter, consider recycling, donating, selling, or throwing away items. Be aware of local recycling guidelines and dispose of items appropriately. Use containers or bins to separate recyclable, donate, and trash items. And if you have unusable items, renting a dumpster can be a convenient solution. You might also want to consider hosting a garage sale or giving away items to friends and family.
So, get started on decluttering and organizing your home today. With a little time and effort, you can create a space that is both functional and visually pleasing. Enjoy the process and the positive impact it will have on your life.


