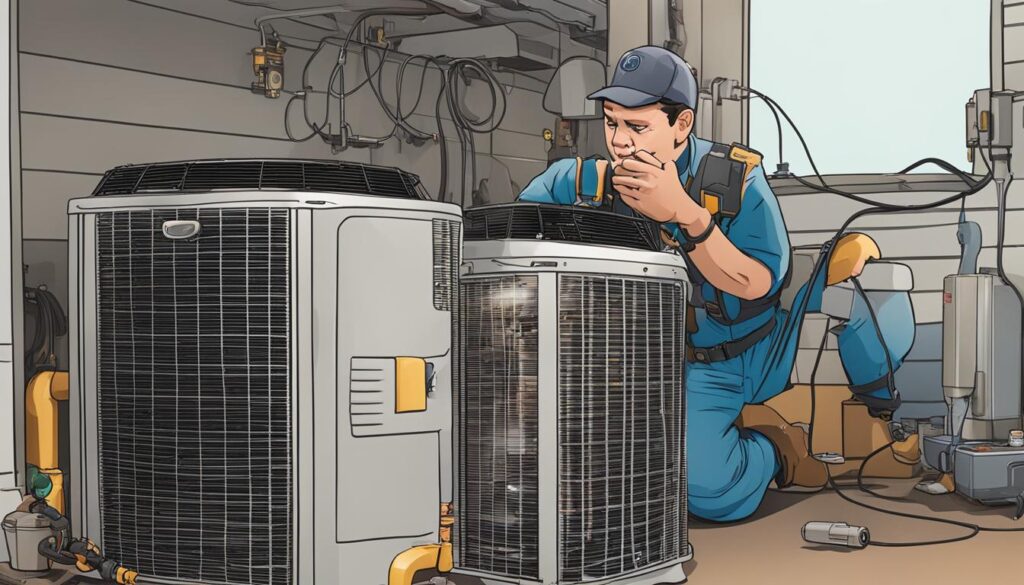
Troubleshooting common issues with portable air conditioners can be a daunting task. However, by following these troubleshooting steps, you can easily identify and fix the problems. Whether it’s a basic issue preventing the AC from turning on or blowing air, or a performance problem where the AC is not cooling as expected, this guide will help you troubleshoot and resolve the common issues.
Key Takeaways:
- Follow the troubleshooting steps to identify and fix common portable AC issues.
- Basic troubleshooting includes checking power, mode settings, obstructions, and water tank levels.
- For poor performance, clean filters and coils, check for ice buildup, and inspect the exhaust hose.
- To improve efficiency, straighten vent air hose, check for leaks, insulate windows, and close doors and windows.
- Address installation inquiries like the window bracket and exhaust hose length.
Basic Troubleshooting Steps for Portable ACs
When your portable AC fails to turn on, it’s important to go through some basic troubleshooting steps before seeking professional assistance. By performing these checks, you can potentially resolve the issue on your own and save time and money.
1. Check the Power Source
The first thing you need to do is ensure that your portable AC is receiving power. Start by inspecting the electrical plug and make sure it’s properly connected to a functioning power outlet. If the plug seems loose or damaged, try using a different outlet or consult an electrician if necessary.
2. Reset the AC
If the AC still doesn’t turn on, look for a reset button on the unit. Press and hold the reset button for a few seconds, then try turning on the AC again. This can help resolve minor electrical issues that may be preventing the AC from powering on.
3. Check the Mode Setting
Ensure that the AC is set to the correct mode. It should be in cooling mode if you want it to blow cold air. Sometimes, the AC may have been unintentionally switched to fan mode or another setting, resulting in no cooling. Check the mode setting and make the necessary adjustments.
4. Remove Fan Obstruction
Inspect the AC’s fan and make sure there are no obstructions blocking its rotation. Objects like dust, debris, or even a stray item in the way can prevent the fan from turning, causing the AC to malfunction. Clear any obstructions and try turning on the AC again.
5. Check the Water Tank
Portable ACs often come with a built-in water tank that collects condensate. If the tank becomes full, it can trigger a safety feature that shuts off the AC. Locate the water tank and check if it’s full. If it is, carefully empty the tank and ensure it is properly seated back in place before attempting to turn on the AC.
If you’ve gone through these troubleshooting steps and your portable AC is still not turning on, it may be time to contact a professional technician for further assistance.
Common Causes and Solutions for Portable ACs Not Turning On
| Issue | Cause | Solution |
|---|---|---|
| The AC is not plugged in | Loose or disconnected power cord | Check the electrical plug and securely connect the power cord |
| Tripped circuit breaker | Electrical overload or fault | Reset the circuit breaker and avoid overloading the circuit |
| Malfunctioning control board | Electrical or component failure | Contact a professional technician for repair or replacement |
| Defective power button or switch | Internal mechanical or electrical issue | Consult a professional technician for repair or replacement |
By following these basic troubleshooting steps and referring to the table above, you can diagnose and potentially fix the issue of your portable AC not turning on. Remember to always prioritize your safety and consult a professional if you’re unsure or uncomfortable performing any repairs or inspections.
Troubleshooting Poor Performance of Portable ACs
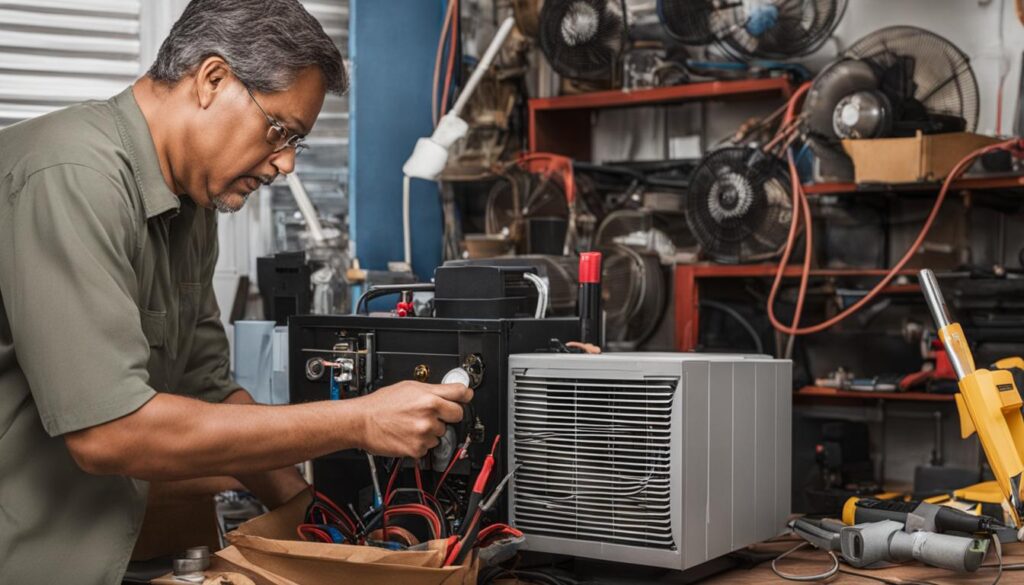
If your portable AC is not performing as expected and you’re experiencing poor cooling, there are several troubleshooting steps you can take to identify and resolve the issue.
Clean Filters and Coils
A common cause of poor AC performance is dirty filters and coils. Over time, dust and debris can accumulate on the filters and coils, obstructing airflow and reducing cooling efficiency. To clean them:
- Turn off the AC and unplug it from the power source.
- Locate the filters and remove them from the unit.
- Using a vacuum cleaner or a soft brush, gently clean the filters to remove any dirt or debris.
- If the coils are visibly dirty, use a coil cleaner solution and a soft brush to gently clean them.
- Allow the filters and coils to dry completely before reinserting them into the AC unit.
Regularly cleaning the filters and coils will help improve the airflow and restore the cooling performance of your portable AC.
Ice Buildup on the Evaporator Coil
If there is ice buildup on the evaporator coil, it can hinder the cooling process and result in poor performance. To address this issue:
- Turn off the AC and unplug it from the power source.
- Allow the ice to melt naturally or use a hairdryer on the lowest heat setting to speed up the process. Do not forcefully remove the ice.
- Once the ice has melted, clean the coils as mentioned in the previous step.
Preventing ice buildup on the evaporator coil can help maintain optimal cooling performance.
Check Exhaust Hose for Kinks or Blockage
A kinked or blocked exhaust hose can restrict the airflow and cause poor cooling performance. To check for this:
- Inspect the entire length of the exhaust hose for any kinks, bends, or twists.
- Ensure that the hose is properly connected and not disconnected or damaged.
- Remove any obstructions or debris that may be blocking the exhaust hose.
By ensuring a clear and unobstructed exhaust hose, you can optimize the airflow and improve the cooling capacity of your portable AC.
| Common Causes of Poor AC Performance | |
|---|---|
| Cause | Solution |
| Dirty filters and coils | Clean filters and coils regularly to improve airflow |
| Ice buildup on the evaporator coil | Allow ice to melt and clean coils |
| Kinked or blocked exhaust hose | Check exhaust hose for kinks or blockage and remove obstructions |
Improving Efficiency of Portable ACs
To optimize the performance of your portable air conditioner and enhance its efficiency, there are a few key steps you can take.
1. Straighten Vent Air Hose
Ensure that the vent air hose is properly straightened and not kinked. A kinked hose can restrict airflow, affecting the unit’s cooling capacity.
2. Check Air Hose for Leaks
Inspect the air hose for any leaks or cracks. Leaks in the hose can lead to air loss and reduce the AC’s efficiency. Seal any leaks with appropriate tape or replace the hose if necessary.
3. Insulate Windows
Window insulation plays a crucial role in preventing heat from entering the room and improving the overall cooling performance. Install weatherstripping or use window insulator kits to minimize heat transfer through the windows.
4. Close Doors and Windows
To create a more controlled and cooler environment, close all doors and windows in the room where the portable AC is being used. This will help maintain a stable temperature and prevent hot air from infiltrating the space.
5. Insulating the Vent Hose
Insulating the vent hose can prevent heat loss or gain during the airflow process. By wrapping the vent hose with insulation material, you can minimize temperature fluctuations and increase the efficiency of your portable AC.
Implementing these steps will significantly improve the efficiency of your portable air conditioner, maximizing its cooling potential and helping you beat the summer heat effectively.
Installation Inquiries for Portable ACs
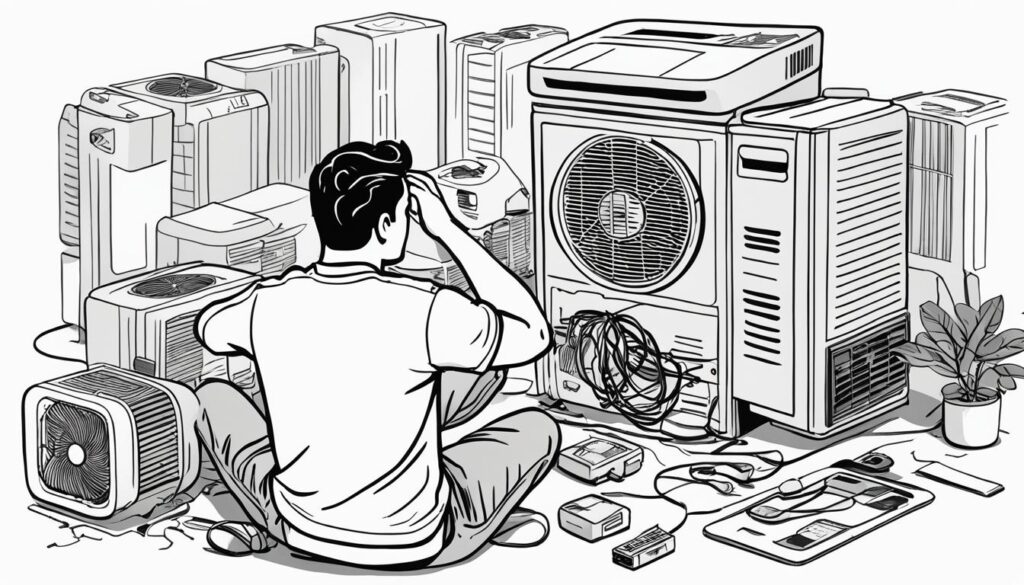
When installing a portable AC, you may have some common inquiries that need to be addressed. Here are some solutions to two frequently encountered installation issues:
Window Bracket Adjustment
If the window bracket that comes with your portable AC doesn’t fit properly in your window, there are a few options to consider:
- Adjust the bracket: The window bracket can often be adjusted to fit different window sizes. Refer to the user manual for instructions on how to properly adjust the bracket to fit your window.
- Alternative window frame: If adjusting the bracket doesn’t work, you can use a piece of Plexiglas or plexiglass as an alternative. Cut the Plexiglas to the size of your window frame and attach the bracket to it, ensuring a secure fit.
By adjusting the window bracket or using Plexiglas as an alternative, you can ensure the proper installation of your portable AC.
Extending Exhaust Hose Length
If the exhaust hose that comes with your portable AC is too short, you can try the following solution:
Place the portable AC unit on a platform: If the exhaust hose doesn’t reach the desired location, elevating the unit on a platform, such as a table or sturdy box, can help extend the reach of the hose to vent the hot air properly.
| Solution | Exhaust Hose Length |
|---|---|
| Adjust Window Bracket | Varying sizes |
| Use Plexiglas as an Alternative | Varying sizes |
| Place Unit on a Platform | Increases reach |
By utilizing these installation solutions, you can overcome common inquiries related to window bracket fit and exhaust hose length.
Troubleshooting Portable AC Won’t Turn On
If you’re experiencing issues with your portable AC not turning on, there are a few troubleshooting steps you can take to resolve the problem.
- Check the power cord: Ensure that the power cord is securely plugged into both the AC unit and the electrical outlet. Be sure to examine the cord for any signs of damage such as fraying or exposed wires.
- Test the outlet: Plug another device into the same outlet to verify if there is power. If the other device also doesn’t work, the issue may lie with the outlet rather than the AC unit.
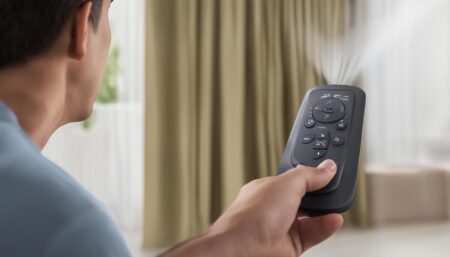
- Change the batteries: If your portable AC comes with a remote control, try replacing the batteries. Sometimes, weak or dead batteries can prevent the AC from turning on.
If these troubleshooting steps do not resolve the issue, it may be necessary to consult the manufacturer’s manual or contact customer support for further assistance.
Remember to always prioritize safety when troubleshooting electrical appliances. If you are unsure or uncomfortable handling electrical components, it is best to seek professional help.
Troubleshooting Portable AC Runs but Doesn’t Cool
If your portable AC is running but not cooling, there are a few troubleshooting steps you can take to address the issue.
Check the Active Timer
One possible reason why your portable AC is not cooling could be the active timer settings. Make sure that the active timer is disabled or set to the desired cooling duration. If the timer is set to turn off the AC after a certain period, it may prevent the unit from cooling effectively.
Adjust the Temperature Setting
Another factor to consider is the temperature setting. Ensure that the temperature is set appropriately for cooling. Lowering the temperature setting can help the AC produce colder air. Refer to the user manual to determine the ideal temperature range recommended by the manufacturer.
Inspect the Hose Connection
Improperly connected hoses can impact the cooling performance of your portable AC. Check all connections to ensure they are secure and properly attached. If the hose is not connected securely or there are any obstructions, it can restrict the flow of cool air.
Troubleshooting Lack of Air Flow in Portable ACs
Lack of air flow in a portable air conditioner can be a frustrating issue, but there are steps you can take to troubleshoot and resolve the problem. In this section, we will explore the common causes of air flow obstruction and provide effective solutions to restore proper ventilation in your portable AC.
Clogged Filter
One of the primary causes of limited air flow in a portable AC is a clogged filter. Over time, dust, debris, and other particles can accumulate on the filter, obstructing air passage and reducing the cooling efficiency of the unit.
To improve air flow, it is essential to clean or replace the clogged filter. Begin by locating the filter, which is typically located behind a removable panel or grille on the front or side of the unit. Gently remove the filter and inspect it for dirt and debris. If the filter is washable, rinse it with warm water and mild soap, then allow it to air dry completely before reinstalling. Alternatively, if the filter is not washable, replace it with a new one according to the manufacturer’s instructions.
Frost on Cooling Coils
Another possible cause of restricted air flow in a portable AC is the formation of frost on the cooling coils. If the coils become covered in ice, the air cannot properly flow through them, resulting in reduced cooling effectiveness.
To address frost buildup, start by turning off the AC and allowing it to thaw naturally. This process may take several hours, depending on the severity of the frost. Once the ice has melted, inspect the unit for any underlying issues that may have caused the frost, such as a malfunctioning temperature control or improper air flow. If the problem persists after defrosting, it is advisable to contact a professional technician for further inspection and repair.
Compressor Overheating
Compressor overheating is another potential cause of inadequate air flow in a portable AC. When the compressor becomes too hot, it can result in a decrease in cooling performance and reduced air circulation.
To prevent compressor overheating, ensure that the portable AC has proper ventilation in its surroundings. Do not place the unit directly against walls or furniture that may obstruct air flow. Furthermore, make sure that the unit’s intake and exhaust vents are clear from any obstructions, such as curtains or furniture. Adequate ventilation will enable the compressor to cool down effectively, improving the overall air flow in the portable AC.
If you have followed the troubleshooting steps outlined above and are still experiencing a lack of air flow in your portable AC, it may be necessary to consult a professional technician to diagnose and resolve the underlying issue.
Remember, maintaining proper air flow is crucial for the optimal performance of your portable AC. Regularly cleaning or replacing filters, defrosting cooling coils, and ensuring adequate ventilation will go a long way in keeping your portable AC running efficiently and providing you with the desired cooling comfort.
| Common Causes of Lack of Air Flow | Solutions |
|---|---|
| Clogged filter | Clean or replace the filter |
| Frost on cooling coils | Defrost the unit and address underlying issues |
| Compressor overheating | Ensure proper ventilation around the unit |
Portable Air Conditioner Sizing and Ambient Temperature
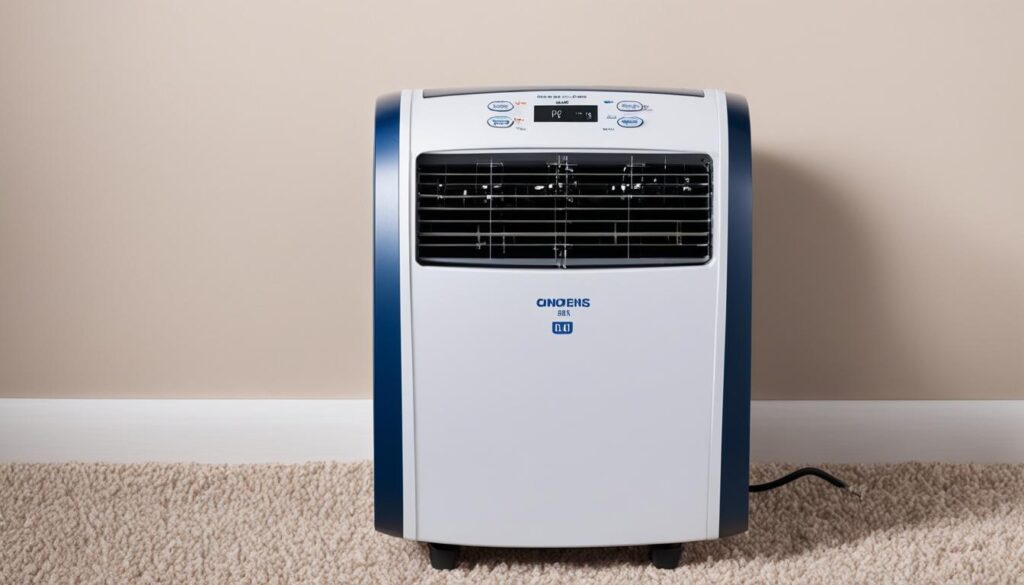
Proper sizing of a portable AC is crucial for optimal cooling. To ensure effective cooling performance, it is important to choose a portable air conditioner with the right BTU (British Thermal Units) rating based on the size of the room you intend to cool. The BTU rating indicates the cooling capacity of the AC unit and determines its ability to cool a specific area.
When determining the appropriate portable AC sizing for your space, consider factors such as the room’s square footage, ceiling height, insulation, and the number of windows. Use the following table as a guideline to determine the approximate BTU rating required for different room sizes:
| Room Size (Square Feet) | BTU Rating |
|---|---|
| 100-300 | 5,000-7,000 |
| 300-450 | 8,000-10,000 |
| 450-550 | 10,000-12,000 |
| 550-700 | 12,000-14,000 |
| 700-1,000 | 14,000-18,000 |
It is also important to consider the ambient temperature of the space where the portable AC will be used. Extreme ambient temperatures, such as very high or very low temperatures, can affect the cooling performance of the unit. In hot climates, the AC may have to work harder to cool the room, resulting in increased energy consumption and potentially reduced cooling efficiency.
Additionally, extreme cold temperatures can negatively impact the AC’s ability to cool effectively. The cooling process relies on heat exchange, and extremely low temperatures can impede this process, affecting the AC’s performance. It is recommended to use the portable AC within the manufacturer’s specified temperature range for optimal cooling.
To optimize the cooling efficiency of your portable AC in extreme ambient temperatures, consider the following:
- Ensure proper ventilation in the room to allow for adequate air circulation.
- Minimize direct sunlight exposure to the room by using curtains or blinds.
- Seal any air leaks or gaps around windows and doors to prevent warm air from entering the room.
By selecting the appropriate portable AC sizing and considering the impact of extreme ambient temperatures, you can enhance the cooling performance and efficiency of your portable air conditioner, ensuring a comfortable environment even in challenging conditions.
Troubleshooting Portable AC Lack of Power
Lack of power is a common issue with portable ACs. If your portable AC is not turning on or showing no signs of power, there are a few troubleshooting steps you can take.
- Check the power cord: Ensure that the power cord is securely plugged into the AC unit and the wall outlet. Sometimes, a loose connection can cause a lack of power. Additionally, inspect the power cord for any visible damage or frayed wires, as this could be the cause of the issue.
- Inspect the wall plug and circuit breaker: Verify that the wall plug is functioning correctly by plugging in another device. If the device powers on, the issue may lie with the circuit breaker. Check the circuit breaker panel and look for any tripped breakers related to the AC’s electrical circuit. Reset any tripped breakers and test the AC unit again.
- Consult a qualified electrician: If the power cord, wall plug, and circuit breaker appear to be in working order but the AC still lacks power, it is advisable to consult a qualified electrician. A professional electrician can diagnose and resolve any underlying electrical issues that may be affecting your portable AC’s power supply.
By following these troubleshooting steps, you can identify and resolve common power-related issues with your portable AC. If the problem persists, seeking professional assistance is always recommended for optimal safety and performance.
Troubleshooting Portable AC Lack of Air Venting
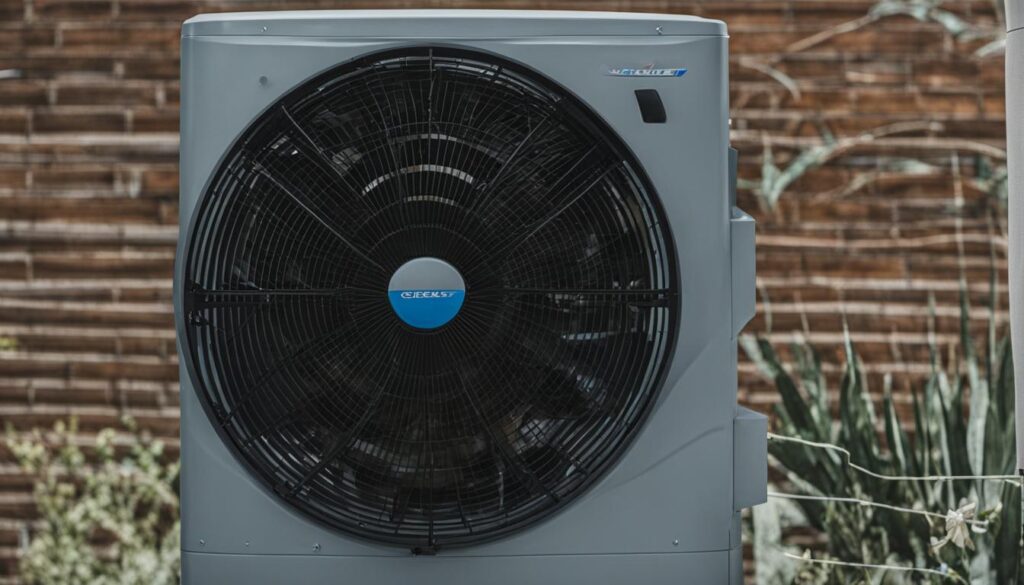
If you’re experiencing a lack of air venting in your portable AC, there are a few common issues that may be causing this problem. By addressing these issues, you can ensure proper airflow and improve the performance of your portable AC.
Clogged Filter
A clogged filter can significantly reduce the air venting in a portable AC. Over time, dust and debris can accumulate in the filter, obstructing the airflow. To fix this issue, locate the filter in your portable AC and clean it thoroughly. If the filter is damaged or too dirty to clean, consider replacing it with a new one. Regularly cleaning or replacing the filter will help maintain optimum air venting and prevent further issues.
Frost on Cooling Coils
Frost buildup on the cooling coils can also lead to a lack of air venting in your portable AC. When frost forms on the coils, it restricts the airflow and reduces the cooling efficiency. To resolve this problem, turn off the AC and allow the coils to defrost naturally. Once the frost has melted, wipe away any excess moisture. If frost continues to accumulate, it may indicate a more significant issue that requires professional attention.
Compressor Overheating
If the compressor of your portable AC overheats, it can lead to a lack of air venting. The compressor is responsible for cooling the air before it is vented into the room. When the compressor overheats, it may shut down or operate inefficiently, resulting in reduced airflow. Ensure that the compressor has sufficient ventilation and is not blocked by any obstructions. If the issue persists, it’s advisable to seek professional assistance to diagnose and address the underlying problem.
An image illustrating the issue of lack of air venting in a portable AC
If you’ve cleaned or replaced the filter, defrosted the cooling coils, and ensured proper compressor ventilation, but the lack of air venting issue still persists, it may indicate a more complex problem. In such cases, it’s recommended to consult a professional technician who specializes in portable AC repairs. They will have the expertise and equipment to diagnose and resolve the underlying issue, restoring proper airflow and ventilation to your portable AC.
Conclusion
Troubleshooting common portable AC issues doesn’t have to be a daunting task. By following the steps outlined in this guide, you can easily address basic problems, troubleshoot poor performance, and improve the efficiency of your portable air conditioner.
Remember to consult the user manual or contact the manufacturer if you need further assistance during the troubleshooting process. Their expertise can provide valuable insights and guidance tailored to your specific model.
With a properly functioning portable AC, you can stay cool and comfortable, even during the hottest days of summer. So don’t let common AC issues get in the way of your comfort. Take control of your cooling experience and enjoy a refreshing environment wherever you may be.


