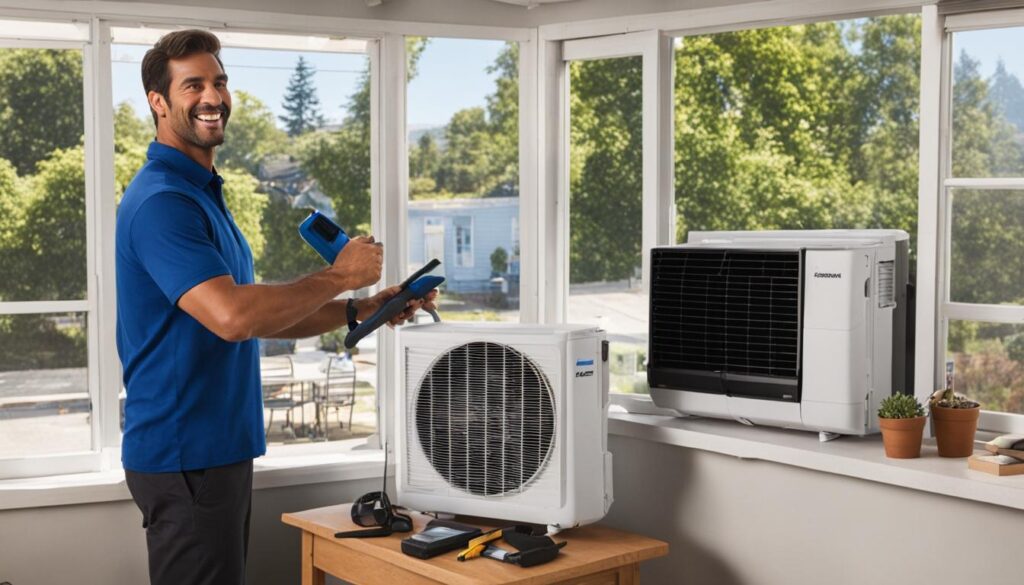
No matter where you live, at some point in the summer, you’ll probably want air conditioning. Portable air conditioners are a popular choice for cooling homes as they are easy to install and can be moved from room to room. In this guide, we will provide step-by-step instructions on how to set up your portable air conditioner for quick and efficient cooling.
Key Takeaways:
- Portable air conditioners are a convenient and flexible option for cooling homes.
- They work by taking in air from the room, cooling it, and venting the warm air outside.
- When setting up your portable air conditioner, choose a location near a window and an electrical outlet for easy installation and proper ventilation.
- Ensure a good seal by properly installing the window adapter kit and connecting the ventilation hose securely.
- Regularly maintain and clean your portable air conditioner for optimal performance.
How Portable Air Conditioners Work and Why Choose Them
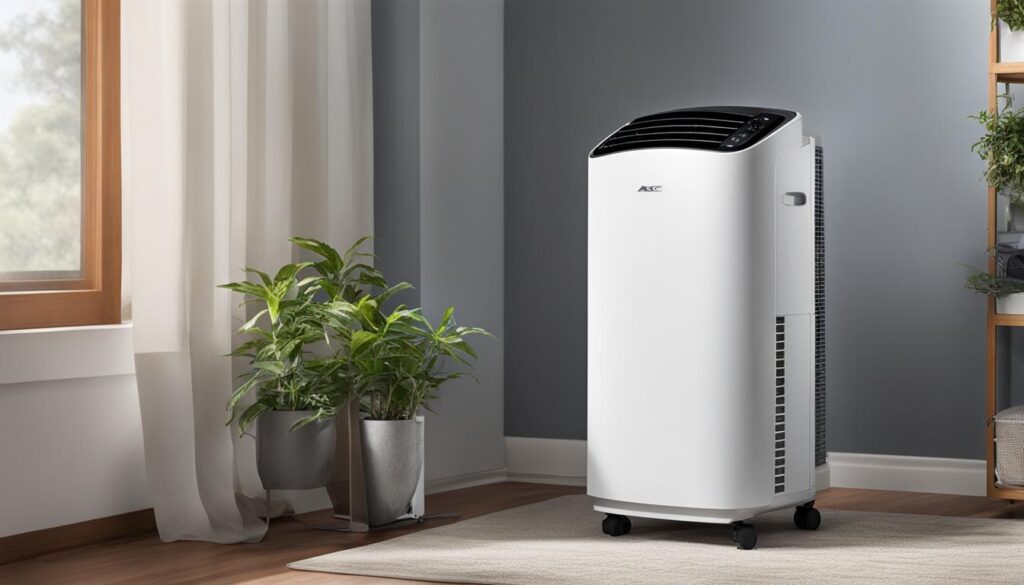
Portable air conditioners are popular cooling solutions for homes, providing relief from the heat during hot summer months. Understanding how these portable units work and the benefits they offer can help you make an informed decision when selecting an air conditioner for your space.
How Portable Air Conditioners Work
Portable air conditioners function by taking in air from the room, cooling it down, and then recirculating the cooled air back into the space. This is achieved through a simple yet effective process:
- The air conditioner draws warm air from the room using a powerful fan.
- As the warm air enters the unit, it passes over evaporator coils that contain a cold refrigerant.
- The refrigerant absorbs the heat from the air, causing the air to cool down.
- Once the air is cooled, it is released back into the room, effectively lowering the room temperature.
- At the same time, the warm air that was pulled in is expelled from the unit through an exhaust hose or tube.
This continuous cycle of drawing in warm air, cooling it, and releasing it back into the room helps create a comfortable and cool indoor environment.
Why Choose a Portable Air Conditioner
There are several reasons why portable air conditioners are a popular choice among homeowners:
- Flexibility and Portability: Unlike traditional window units or central air conditioning systems, portable air conditioners offer the advantage of being easy to move and install. This allows you to cool specific areas of your home as needed or take the unit with you if you move to a new location.
- Easy Installation: Portable air conditioners can be set up quickly without the need for complex installation processes. In most cases, you simply need to position the unit near a window, install the exhaust hose, and plug in the unit.
- Rental-Friendly Option: If you are renting your home or apartment, portable air conditioners are an ideal solution as they do not require permanent installation or modifications to your space.
- Versatile Cooling: Portable air conditioners allow you to target specific areas of your home that need cooling, providing personalized comfort. Whether you are working in your home office or relaxing in the living room, you can easily move the unit to the desired location.
If you are looking for a cooling solution that offers flexibility, ease of installation, and the ability to cool targeted areas of your home, a portable air conditioner may be the perfect choice for you.
Choosing the Right Location for Your Portable Air Conditioner
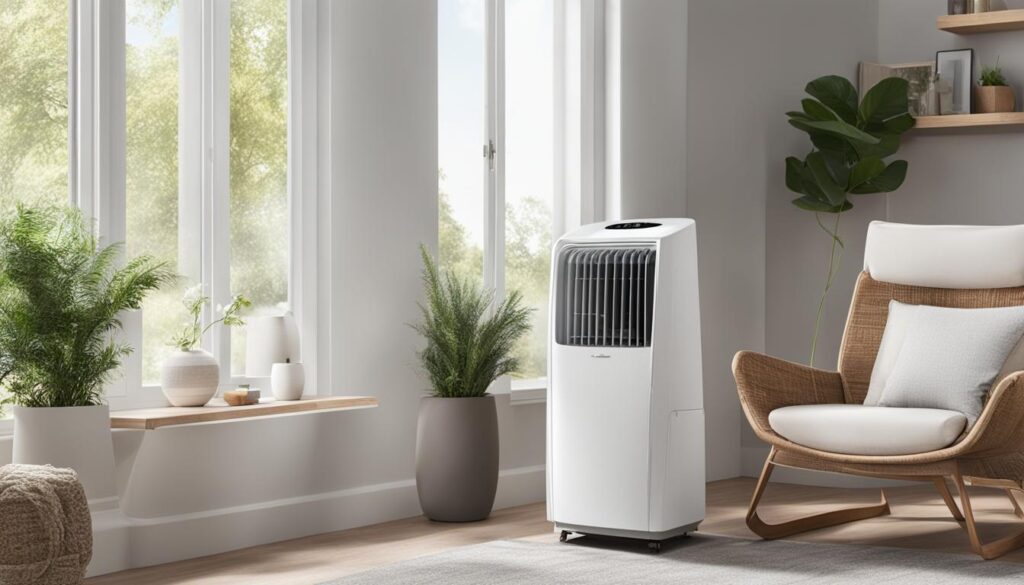
When setting up your portable air conditioner, it’s important to choose the right location to ensure optimal performance. Consider the following factors to make the most of your cooling experience:
- Proximity to a Window: Place your portable air conditioner near a window for easy installation and proper ventilation. This allows the unit to expel warm air outside efficiently, while drawing in fresh air from the room for cooling. The closer your air conditioner is to the window, the more effectively it can vent warm air outside.
- Access to an Electrical Outlet: Ensure that the chosen location is within reach of an electrical outlet. This is crucial for powering your portable air conditioner and operating it smoothly. Avoid using extension cords, as they can affect the unit’s performance and pose potential safety hazards.
- Easy Access to the Water Reservoir: Some portable air conditioners feature a water reservoir that needs manual emptying. To ensure easy maintenance, choose a location that allows convenient access to the water reservoir. This way, you can quickly and effortlessly empty the reservoir as needed, keeping your air conditioner running efficiently.
By considering these factors when selecting the location for your portable air conditioner, you can optimize its cooling capabilities, enhance ventilation, and ensure easy maintenance. With the right placement, you’ll enjoy cool and comfortable air throughout your living space.
For a visual representation, refer to the table below:
| Factors to Consider | Benefits |
|---|---|
| Proximity to a Window | Efficient venting of warm air and increased cooling effectiveness |
| Access to an Electrical Outlet | Convenient power supply and smooth operation |
| Easy Access to the Water Reservoir | Hassle-free maintenance and optimized performance |
Installing the Window Adapter Kit
Most portable air conditioners come with a window adapter kit that allows for easy installation. The kit should create a good seal in most standard windows. If the window is too small, you may need to trim the window adapter. If the window is too large, you can use a piece of plexiglass to fill the gap. Once the adapter kit is properly fitted, secure it in place with screws or duct tape to prevent cool air from escaping.
Creating a tight seal is crucial to ensure optimal cooling efficiency. Follow these steps to install the window adapter kit:
- Open your window and measure the width of the opening.
- Check the window adapter kit included with your portable air conditioner to see if it fits your window dimensions. If it doesn’t, proceed to step 4.
- If the window adapter kit fits, insert it into the window opening and extend the side panels to fill the gaps on each side. Make sure the kit is centered and level.
- If the window adapter kit is too small, carefully trim it using appropriate tools such as a saw or knife. Take precise measurements and cut the kit to fit your window dimensions.
- If the window is too large, cut a piece of plexiglass to fill the gap and secure it in place. Place the window adapter kit against the plexiglass and attach it as instructed.
- Once the window adapter kit is properly fitted, secure it in place to prevent cool air from leaking. You can use screws or duct tape to secure the kit, depending on the provided instructions.
By correctly installing and sealing the window adapter kit, you can ensure that your portable air conditioner operates efficiently and provides you with the desired cool air during those hot summer days.
Connecting the Ventilation Hose
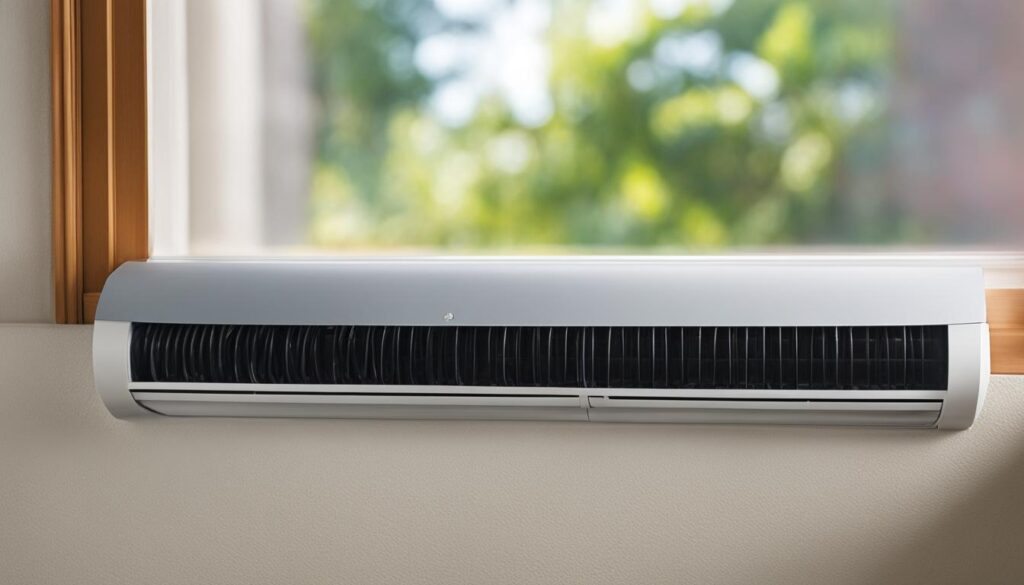
Once you have installed the window adapter kit, it’s time to connect the ventilation hose. This crucial step ensures that the hot air produced by the portable air conditioner is properly vented outside. Follow these simple instructions to connect and secure the ventilation hose:
- Locate the ventilation hose included with your portable air conditioner.
- Attach one end of the ventilation hose to the designated outlet on the window adapter kit. Make sure it fits snugly to prevent any air leaks.
- Connect the other end of the ventilation hose to the corresponding inlet on your portable air conditioner. Double-check that the connection is tight and secure.
- If necessary, use duct tape to reinforce the connection and ensure a proper seal. This will prevent any air leaks that may affect the efficiency of your cooling unit.
By properly connecting and securing the ventilation hose, you can maximize the effectiveness of your portable air conditioner and ensure that the hot air is directed outside. This will result in a more comfortable and cool environment inside your home.
Importance of Securing the Ventilation Hose
Securing the ventilation hose is essential to maintain the proper functioning of your portable air conditioner. An inadequately secured hose can lead to air leaks, resulting in reduced cooling efficiency and potential energy waste. By using duct tape or other securing methods, you can ensure a tight seal and optimize the performance of your cooling unit.
Attaching the Drainage Hose
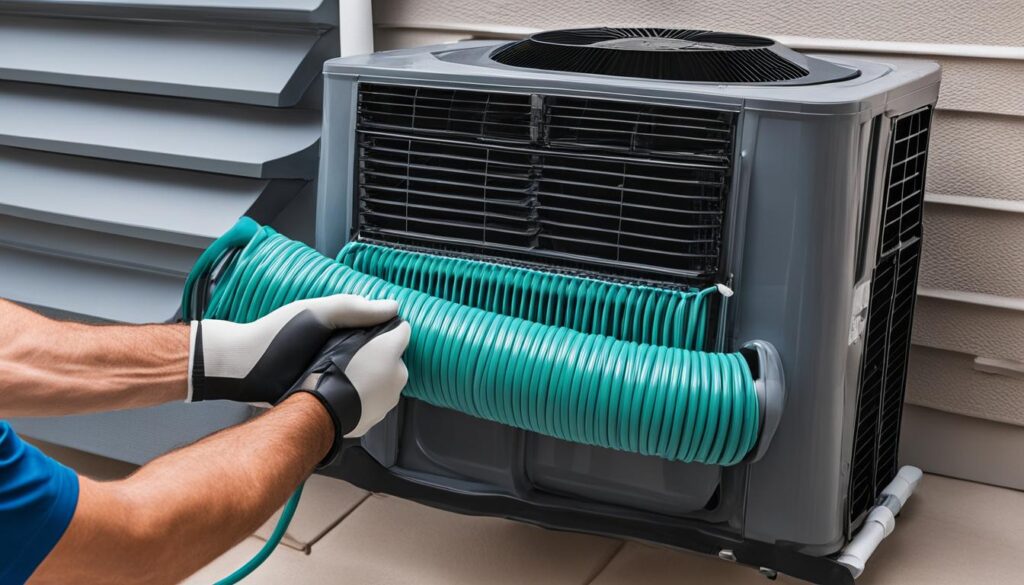
One of the important steps in setting up your portable air conditioner is attaching the drainage hose. If your unit has a drainage hose for continuous drainage, follow these instructions:
- Locate the drainage point on your portable air conditioner.
- Connect one end of the drainage hose to the drainage point.
- Choose a suitable drainage location, such as a sink, tub, or bucket.
- Secure the other end of the drainage hose to the chosen drainage location.
- To prevent the hose from becoming dislodged and causing water damage, use tape to secure it in place.
If your portable air conditioner does not have continuous drainage, it is crucial to regularly empty the water reservoir to avoid overflowing. Refer to the manufacturer’s instructions on how to properly empty the water reservoir.
Plugging in and Turning on the Portable Air Conditioner
Now that you have set up your portable air conditioner, it’s time to plug it in and turn it on. Follow these simple steps to start enjoying the cool air.
- Make sure all the connections, including the window adapter kit, ventilation hose, and drainage hose, are securely in place.
- Locate the nearest electrical outlet and plug in your portable air conditioner.
- Once plugged in, locate the power button or switch on the control panel of your unit.
- Press the power button or switch to turn on the portable air conditioner.
After turning on the unit, you can adjust the settings to meet your desired cooling preferences. Most portable air conditioners offer options for temperature control, fan speed, and even timer settings. Refer to the user manual or control panel labels for specific instructions on adjusting the settings.
Once you have set the desired settings, sit back, relax, and enjoy the cool air provided by your portable air conditioner.
In case you need to reference this information in the future, here’s a summary of the steps:
| Steps | Actions |
|---|---|
| 1 | Ensure all connections are secure |
| 2 | Plug in the portable air conditioner |
| 3 | Locate the power button or switch |
| 4 | Press the power button or switch to turn on |
| 5 | Adjust the settings according to your preferences |
Moving Your Portable Air Conditioner to Another Room
If you want to move your portable air conditioner to another room, the process is straightforward and hassle-free.
Simply follow these steps:
- Step 1: Unplug the portable air conditioner from the electrical outlet.
- Step 2: Remove the window adapter kit by loosening the screws or detaching any fasteners holding it in place.
- Step 3: Roll the portable air conditioner to the new room. Ensure that you handle it with care to prevent any damage.
- Step 4: Install the window adapter kit in the new room just as you did before. Make sure to create a secure seal to prevent air leaks.
- Step 5: Plug the portable air conditioner into the electrical outlet in the new room.
- Step 6: Turn on the unit and set the desired cooling preferences.
- Step 7: To avoid any spills or leaks, remember to drain the water reservoir before moving the portable air conditioner.
Moving your portable air conditioner to a new room allows you to enjoy cool and comfortable temperatures wherever you need them.
Just make sure to follow these simple steps to ensure a smooth and successful transition.
Conclusion
Setting up a portable air conditioner is a straightforward process that can provide you with much-needed relief from the summer heat. To ensure a successful setup, follow these essential tips:
1. Choose the right location: Select a spot near a window and an electrical outlet for easy installation and proper ventilation. Additionally, consider easy access to the water reservoir if manual emptying is required.
2. Install the window adapter kit: Properly fit the window adapter kit to create a good seal in most standard windows. Secure it in place to prevent cool air from escaping.
3. Connect the ventilation hose: Tighten and secure the ventilation hose connections to the window adapter kit and the portable air conditioner. Use duct tape if needed to prevent air leaks.
4. Attach the drainage hose: If your portable air conditioner has continuous drainage, connect the hose to the unit and secure it to a suitable drainage point. Alternatively, regularly empty the water reservoir to avoid overflow.
5. Plug in and turn on the unit: Once all the connections are secure, plug the portable air conditioner into the electrical outlet and adjust the settings as desired for optimal cooling.
To keep your portable air conditioner performing at its best, remember to regularly maintain and clean it. By following this portable air conditioner setup checklist and these essential tips, you can ensure a cool and comfortable summer season.


