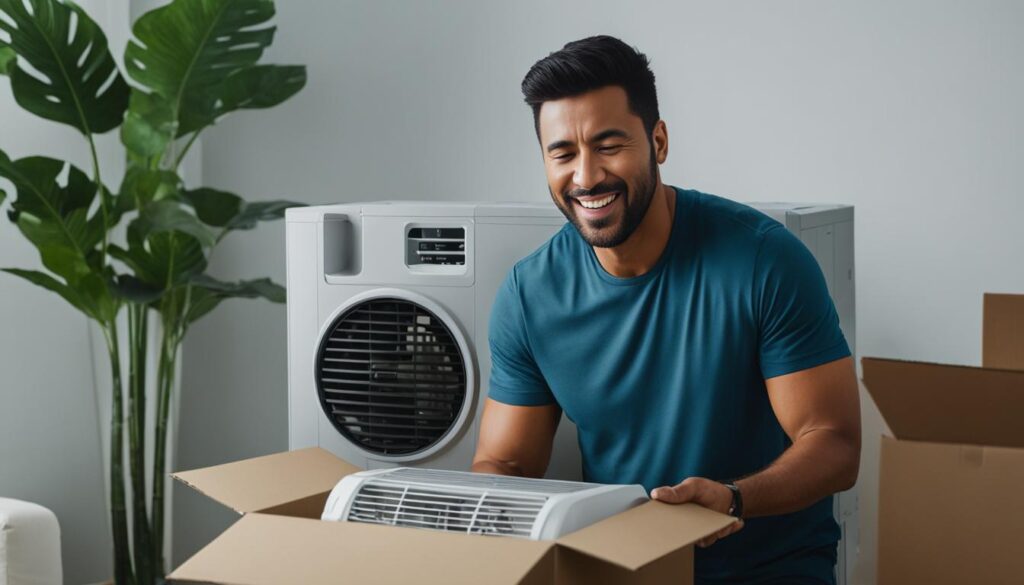
Installing a portable air conditioner in your home can be a breeze with the right guidance. Whether you’re looking to beat the summer heat or create a comfortable indoor environment, we’ve got you covered. In this easy-to-follow installation guide, we’ll walk you through the steps for a hassle-free setup.
Key Takeaways:
- By following these steps, you can quickly install your portable air conditioner.
- Choose a suitable location near a window and an electrical outlet.
- Ensure window compatibility and connect the exhaust hose properly.
- Secure the window connection for proper ventilation.
- Plug in and test the air conditioner to ensure it’s functioning correctly.
Read the Instructions and Choose a Location
Before starting the installation process, it is important to carefully read the instructions that come with your portable air conditioner. These instructions will provide specific guidance on how to properly set up your unit.
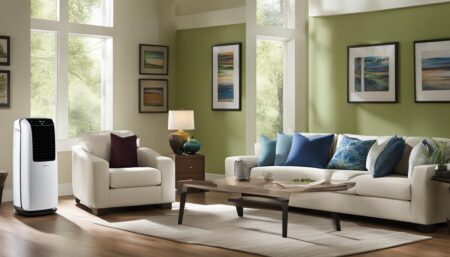
Once you have familiarized yourself with the instructions, choose a suitable location for your portable AC. It should be near a window and an electrical outlet, and should not obstruct any furniture or plants.
By following these steps, you can ensure a successful and hassle-free installation of your portable air conditioner.
Determine Window Compatibility and Connect the Exhaust Hose
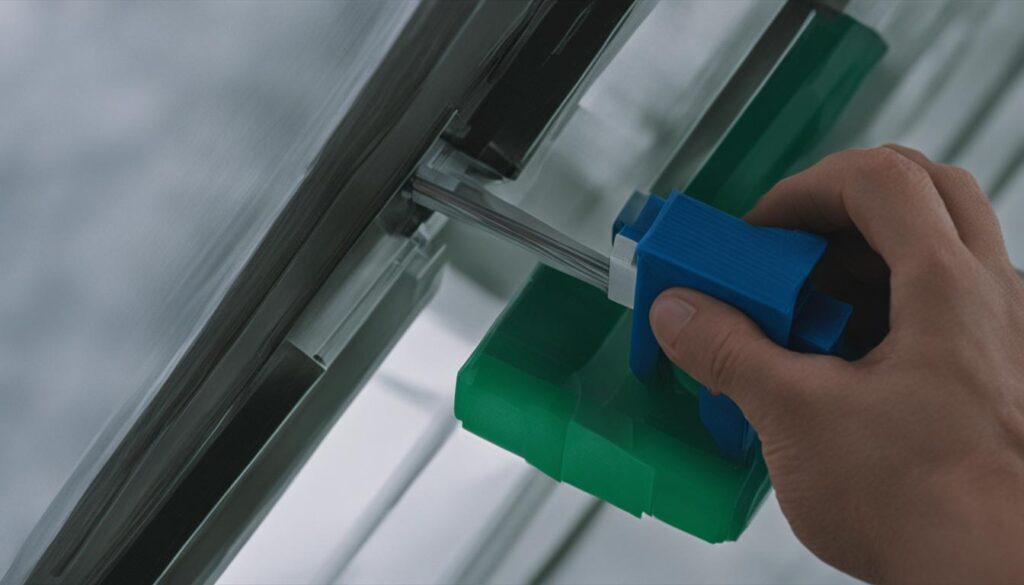
One of the key components of a portable air conditioner installation is the window adapter kit. Most portable air conditioners come with this kit, which makes the installation process much easier. Before getting started, it’s important to measure your window opening to ensure that the kit will fit correctly. This step ensures a proper seal and prevents any hot air from entering your space.
If the window adapter kit isn’t suitable for your window, don’t worry. You can improvise by using materials like Plexiglas or plywood to fill the gap. Just make sure that it provides a tight seal and keeps the unit securely in place.
Once you have the window adapter kit in place, it’s time to connect the exhaust hose. This hose is responsible for venting the hot air from the portable air conditioner to the outside, ensuring efficient cooling. Locate the exhaust hose outlet on the air conditioner unit and attach it firmly. Next, attach the window connection bracket or adapter to the other end of the exhaust hose. This will secure the hose to the window opening and prevent any air leaks.
Connecting the exhaust hose properly is crucial for the overall performance of your portable air conditioner. A secure connection ensures that the hot air is effectively vented outside while maintaining a consistent temperature indoors.
Window Compatibility and Exhaust Hose Connection
| Step | Description |
|---|---|
| 1 | Measure your window opening to ensure compatibility with the window adapter kit. |
| 2 | If the window adapter kit doesn’t fit, use Plexiglas or plywood to fill the gap. |
| 3 | Attach the exhaust hose firmly to the air conditioner unit. |
| 4 | Connect the window connection bracket or adapter to the other end of the exhaust hose. |
Secure the Window Connection and Ensure Proper Ventilation
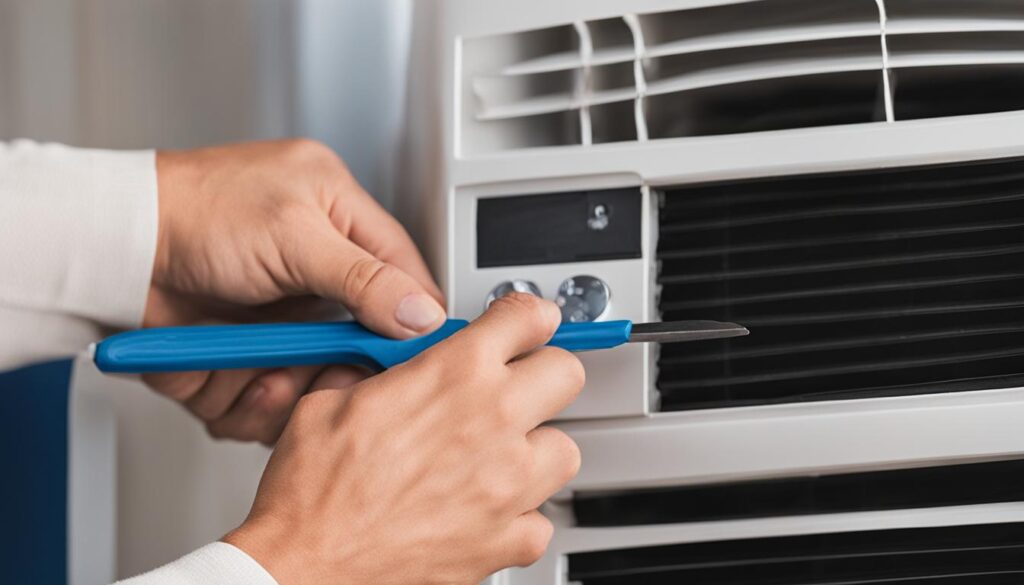
Once you have successfully connected the window kit to your portable air conditioner, it’s important to secure the window connection to ensure optimal performance. By following these steps, you can prevent any air leaks and ensure proper ventilation:
- Adjust the window kit sliders or panels: Carefully adjust the window kit sliders or panels until they completely fill the gap between the window connection bracket and the sides of the window. This will create a tight seal and prevent any air from escaping.
- Use duct tape for extra security: If there are any gaps or areas where the window connection is not completely sealed, use duct tape to secure the window kit in place. This will help ensure that there are no leaks and the unit can efficiently cool the room.
Proper ventilation is essential for the effective operation of your portable air conditioner. It allows for the expulsion of hot air and moisture, keeping your space cool and comfortable. To ensure proper ventilation:
- Clear any obstructions: Make sure there are no obstructions blocking the airflow of the exhaust hose. Remove any furniture or objects that may hinder the movement of air.
- Keep the exhaust hose straight and unobstructed: Avoid bending or kinking the exhaust hose, as this can restrict airflow. Ensure that the hose is free from any twists or bends that may hinder the proper ventilation.
- Do not extend the exhaust hose excessively: While it may be tempting to extend the exhaust hose to reach a farther window, avoid doing so as it can reduce the effectiveness of the air conditioner. Stick to the recommended length provided by the manufacturer.
By securely connecting the window kit and ensuring proper ventilation, you can optimize the performance of your portable air conditioner, allowing it to cool your space efficiently.
Plug in and Test the Air Conditioner
After completing the physical installation of your portable air conditioner, it’s time to plug it in and test its functionality. This step is crucial to ensure that the air conditioner is functioning properly and providing the desired cooling effect.
Here’s what you need to do:
- Plug it in: Locate a nearby electrical outlet and plug in your portable air conditioner. Make sure the cord is properly connected and secured to avoid any tripping hazards.
- Power on: Press the power button on the control panel to turn on the air conditioner. You should see the display light up, indicating that it’s receiving power.
- Check airflow: Stand near the air conditioning unit and feel the airflow. Ensure that the cool air is being expelled from the front of the unit and circulating properly in the room.
- Test cooling performance: Set the temperature to your desired level and give the air conditioner some time to cool the room. Monitor the temperature and assess if it’s reaching the desired level of comfort.
Adjust the settings as needed to achieve your desired level of comfort. Don’t forget to refer to the user manual for specific instructions on how to operate your particular portable air conditioner model.
“Properly testing the air conditioner after installation is essential to ensure its performance and efficiency. It allows you to identify any potential issues early on and make necessary adjustments for optimal comfort.” – HVAC Specialist
Quick Troubleshooting Tips
If you notice any problems during the initial testing, here are a few troubleshooting tips to consider:
- Insufficient airflow: Check if the air filter is clean and not obstructed. Dirty filters can restrict airflow and diminish cooling performance. Clean or replace the filters as necessary.
- Inadequate cooling: Verify that the temperature settings are correctly adjusted. Lowering the temperature or activating the cooling mode can enhance the cooling effect. Additionally, ensure that the curtains or blinds are closed to minimize heat gain from sunlight.
- Unusual noises or vibrations: Examine the portable air conditioner for any loose parts or objects that may be causing the noise or vibrations. Tighten any loose screws or connections if found.
- Condensation buildup: If you notice excessive condensation around the air conditioner, it could indicate a drainage issue. Ensure that the drain hose is properly connected and not blocked.
If these troubleshooting tips do not resolve the issue, it may be necessary to consult a professional who specializes in portable air conditioner installation and repairs.
Summary of Section 5: Plug in and Test the Air Conditioner
In this section, you learned how to properly plug in your portable air conditioner and test its functionality. By following the provided steps, you can ensure that the air conditioner is operating correctly, delivering efficient cooling performance and optimal airflow. Remember, troubleshooting any issues early on can save you time and enhance your overall comfort.
Alternative Installation Methods
If you find yourself unable to vent your portable air conditioner through a window, don’t worry! There are alternative installation methods that you can explore to ensure optimal cooling in your space. While these methods may require additional components or professional assistance, they offer flexibility and convenience for those in unique situations.
Venting Through a Sliding Glass Door
If you have a sliding glass door in the room where you want to install your portable air conditioner, you can use this as an alternative venting option. To do this, you’ll need to purchase a sliding glass door vent kit, which includes an adjustable bracket and an exhaust hose. Follow the instructions provided with the kit to install the bracket and connect the exhaust hose securely. This method allows you to maintain the functionality of your sliding glass door while enjoying the benefits of a portable air conditioner.
Venting Through the Ceiling
Venting your portable air conditioner through the ceiling is another alternative option. This method is particularly useful if you don’t have access to a window or sliding glass door in the room. To vent through the ceiling, you will need to install a ceiling vent kit, which typically includes a ceiling panel, an angled bracket, and an exhaust hose. Consult with a professional or follow the manufacturer’s instructions carefully to ensure proper installation and ventilation.
Venting Through an Exterior Wall
If neither a window nor a sliding glass door is available, you can consider venting your portable air conditioner through an exterior wall. This method may require professional assistance to ensure proper insulation and sealing. A wall vent kit is required, which typically includes a wall sleeve or panel, an exhaust hose, and external louvers. This option allows you to keep your windows and sliding glass doors free from obstructions while effectively venting the hot air outdoors.
Remember, before attempting any alternative installation method, thorough research and consultation with experts is crucial. Each method has its own requirements and considerations, and it’s essential to ensure compatibility and safety for your specific situation.
Alternative installation methods can provide flexible solutions for portable air conditioner installation when window venting is not feasible. Whether you choose to vent through a sliding glass door, the ceiling, or an exterior wall, it’s important to carefully follow the instructions provided by the manufacturer or seek professional assistance. These alternative options allow you to enjoy the cooling benefits of a portable air conditioner, even in unconventional setups.
Considerations and Precautions
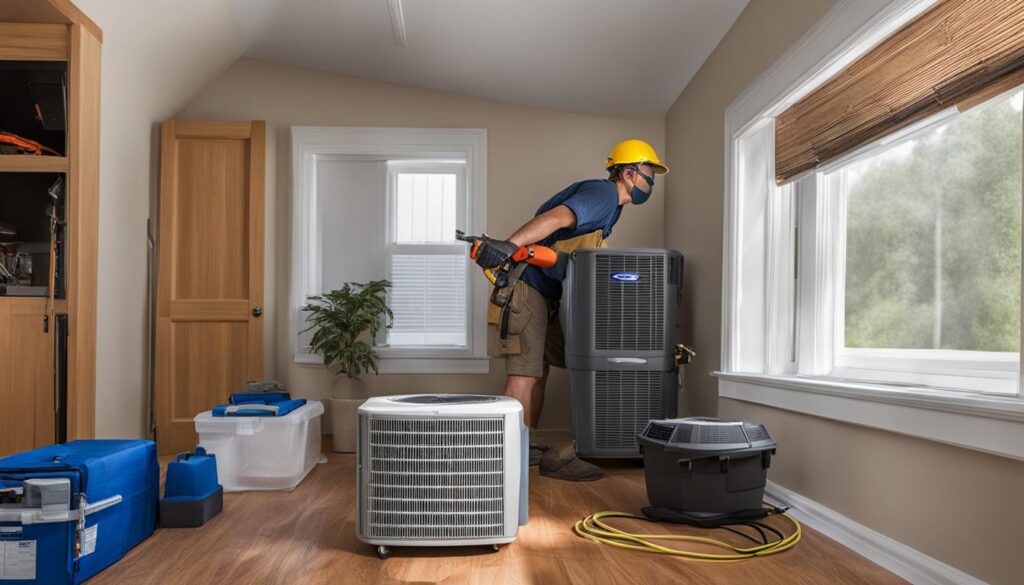
When installing a portable air conditioner, it’s important to keep a few considerations and precautions in mind to ensure a smooth and safe installation process. By following these guidelines, you can avoid potential problems and enjoy the full benefits of your portable AC unit.
1. Avoid Overloading Electrical Circuits
One important consideration is to avoid overloading your home electrical circuits. Portable air conditioners require a significant amount of power to operate, so it’s best to use them on a separate circuit from other power-hungry appliances. This helps to prevent tripped breakers and potential electrical hazards.
2. Choose the Right-Sized Unit
It’s crucial to select a portable air conditioner that is correctly sized for your room. An undersized unit may struggle to cool the space effectively, while an oversized unit may consume excessive energy without providing optimal cooling. Refer to the manufacturer’s specifications or consult with a professional to determine the ideal capacity for your room.
3. Regular Cleaning and Maintenance
“Regular cleaning and maintenance are essential for the proper functioning of your portable air conditioner.”
To ensure the longevity and efficiency of your portable air conditioner, regular cleaning and maintenance are necessary. Follow the manufacturer’s instructions for cleaning the filters and other components. Additionally, keep the surrounding area clean and free from dust or debris that could obstruct airflow.
4. Installation Safety Precautions
When installing a portable air conditioner, always prioritize safety. Take the following precautions:
- Ensure that the unit is stable and properly positioned to prevent tipping hazards.
- Keep the power cord away from walkways to avoid tripping accidents.
- Do not block the exhaust or intake vents of the unit.
- If using an extension cord, ensure it is rated for the total power consumption of the air conditioner.
5. Proper Ventilation
Proper ventilation is crucial for the efficient operation of a portable air conditioner. Ensure that the exhaust hose is properly connected to expel hot air outside. It’s essential to prevent any obstructions to the airflow, such as curtains, furniture, or plants. A clear and unobstructed airflow pathway will enhance the cooling performance of your portable AC unit.
By considering these factors and taking necessary precautions, you can enjoy the benefits of a well-installed and properly functioning portable air conditioner. Keep in mind that if you feel unsure about the installation process, it’s always recommended to seek professional assistance to ensure a safe and efficient setup.
Benefits of Portable Air Conditioners
Portable air conditioners offer a range of advantages, making them an excellent choice for cooling your space. Whether you’re looking to install one in your home or office, these versatile units come with several benefits.
Mobility and Convenience
One of the key advantages of portable air conditioners is their portability. Unlike traditional air conditioning units, which require permanent installation, portable ACs can be moved from one room to another with ease. Whether you want to cool your bedroom at night or your living room during the day, you have the flexibility to choose where you want the cool air.
This mobility also comes in handy for renters who may not have the option to install window units or make modifications to the property. Portable air conditioners provide a practical cooling solution without the need for permanent installation.
Cooling Specific Rooms
Portable air conditioners are designed to cool specific rooms or areas rather than the entire house. This targeted cooling approach allows you to focus on cooling the spaces where you spend the most time, such as your bedroom or home office.
With a portable AC, you can create a comfortable environment in the rooms you need it most, saving energy and reducing utility costs. This feature makes portable air conditioners an efficient cooling option for smaller living spaces or areas with limited airflow.
Energy-Efficient and Cost-Effective
Compared to central air conditioning systems, portable air conditioners are more energy-efficient and cost-effective, allowing you to enjoy cool comfort without breaking the bank. Because they cool specific areas rather than the entire house, they consume less energy, resulting in lower utility bills.
Additionally, portable air conditioners often come with energy-saving features, such as programmable timers and sleep modes, helping you optimize energy usage and reduce wastage.
Easy Installation
Installing a portable air conditioner is a straightforward process that doesn’t require professional assistance. With a comprehensive installation guide and minimal tools, you can set up your portable AC quickly and easily.
Unlike window units that may require more complicated installation procedures, portable air conditioners typically come with window adapter kits that simplify the setup process. These kits allow for a secure and proper connection between the unit and the window, ensuring efficient cooling and ventilation.
Enhanced Comfort and Versatility
Portable air conditioners provide immediate relief from hot and humid conditions, creating a comfortable indoor environment. With adjustable temperature settings and customizable fan speeds, you have complete control over your comfort level.
Moreover, many portable air conditioners also feature dehumidifying capabilities, helping to reduce excess moisture in the air. This feature is especially beneficial for individuals living in humid climates, as it helps create a more comfortable and pleasant living space.
Comparison of Portable Air Conditioners vs. Central Air Conditioning
| Features | Portable Air Conditioners | Central Air Conditioning |
|---|---|---|
| Installation | Simple and requires no professional assistance | Complex and typically requires professional installation |
| Cost | Lower upfront and operational costs | Higher upfront and operational costs |
| Flexibility | Can be moved from room to room | Cooling is centralized and cannot be easily adjusted or moved |
| Energy Efficiency | Targeted cooling helps conserve energy | May lead to higher energy consumption, cooling unused spaces |
| Installation Requirements | Requires access to a window for venting | Requires ductwork installation throughout the house |
Conclusion
Installing a portable air conditioner is a simple and cost-effective solution for staying cool and comfortable during the hot summer months. By following the step-by-step guide provided in this article, you can easily set up your portable AC unit and experience instant relief from the heat.
Whether you choose to install the portable air conditioner yourself or hire a professional, the investment is worth it for the convenience and comfort it brings. While the cost of installation may vary depending on the complexity of the setup, it is a small price to pay for the immediate benefits of a cool indoor environment.
When selecting a portable air conditioner for installation, it’s important to consider your specific needs and budget. Look for energy-efficient models that are suitable for the size of your room and have the features you desire. Remember to perform regular maintenance and cleaning to ensure optimal performance and longevity of your portable air conditioner.


