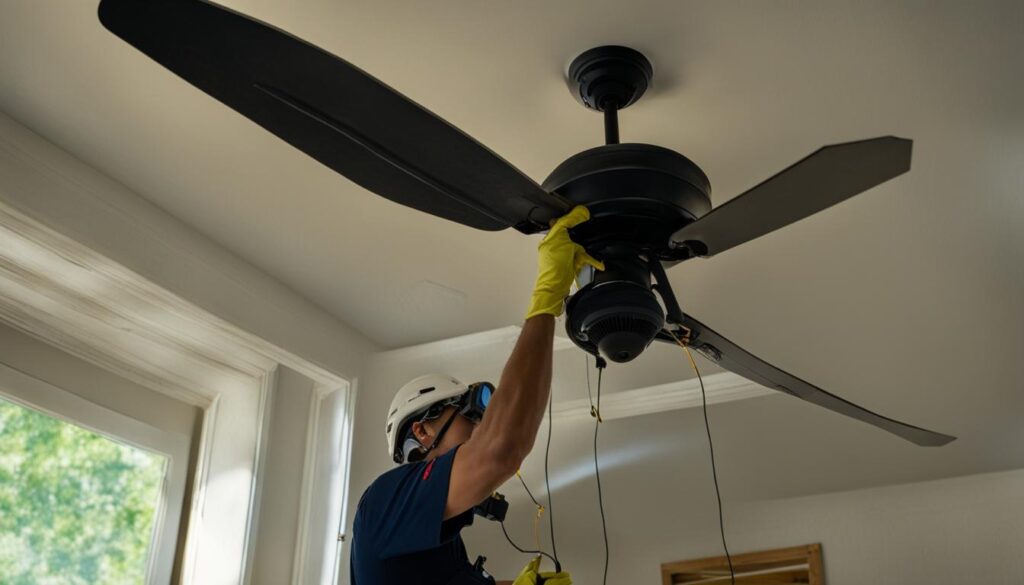
Are you ready to beat the heat and improve air circulation in your home? Installing a ceiling fan can be a simple and rewarding DIY project. However, it’s essential to follow the right steps and safety precautions to ensure a successful installation.
Before you embark on your ceiling fan installation journey, there are a few important things to keep in mind. First, make sure to measure your room to choose the right size fan. A fan that is too small may not effectively cool the space, while a fan that is too large can be overpowering. Taking accurate measurements will help you select the perfect-sized fan for your room.
In addition to choosing the right size, it’s crucial to anchor your fan to an electric ceiling box that can support its weight. This will prevent any unfortunate accidents from occurring later on. If you plan to control the fan from a light switch, ensure that it is properly wired. Safety should always be a priority when working with electrical connections.
A quick-install ceiling fan can be a handy option for easier installation. These fans come with step-by-step instructions and often have features that simplify the process. Consider opting for a quick-install fan if you’re new to DIY projects or want to save time and effort.
Before you begin installation, inspect the joists in your ceiling for any potential obstacles. Identify any electrical wiring or plumbing pipes that may interfere with the installation process. It’s crucial to ensure a clear pathway and avoid any damages or accidents during the installation.
Lastly, always remember to turn off the power to the fan at the circuit breaker before starting any work. Use appropriate testing devices to double-check that the power is indeed off. Safety should be your top priority throughout the installation process.
Now that you have a basic understanding of what to consider before starting your ceiling fan installation, it’s time to dive into the step-by-step process. With the right tools, knowledge, and a little bit of patience, you’ll soon be enjoying a cool breeze in your home.
Key Takeaways:
- Measure your room to choose the right size fan.
- Anchoring the fan to a properly supported electric ceiling box is crucial for safety.
- Verify that the fan is correctly wired if you plan to control it from a light switch.
- Consider using a quick-install ceiling fan for a simpler installation process.
- Check the joists for any obstacles that may interfere with the installation.
- Always turn off the power to the fan at the circuit breaker and use proper testing devices.
Turn Off Power to Outlet
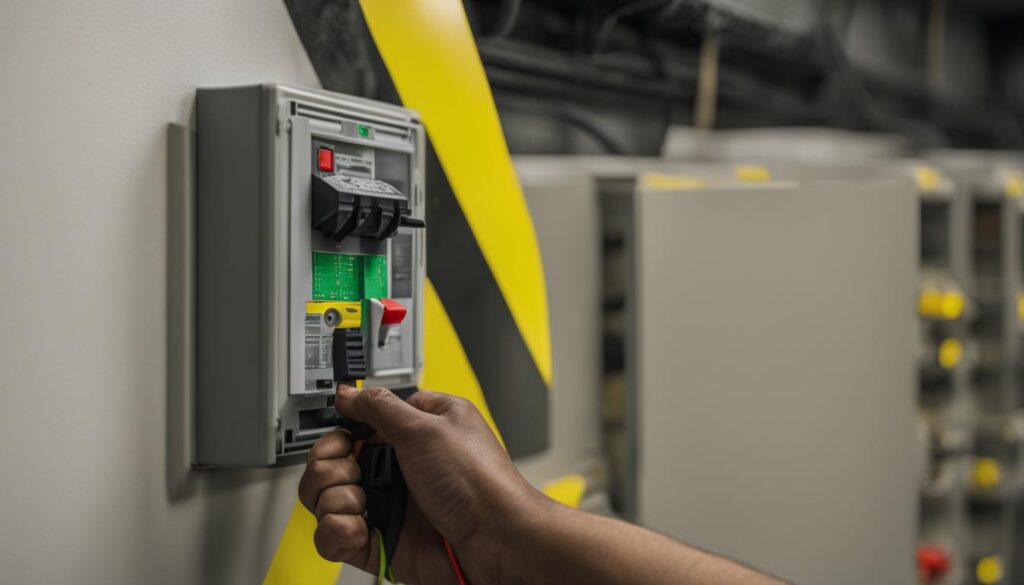
Before you start installing your ceiling fan, it is essential to prioritize safety by turning off the power to the outlet. Taking this precautionary step will prevent electrical accidents and ensure a smooth installation process.
To cut off the power supply, locate the circuit breaker panel in your home. Find the breaker that controls the electrical circuit for the outlet where you will be installing the fan. Flip the corresponding switch to the “off” position, guaranteeing that no electricity flows to the outlet.
Additionally, it is crucial to turn off any wall switches connected to the fan’s power source. These switches may control the fan’s operation and should be deactivated to avoid accidental power supply during the installation process.
TIP: For added safety, place electrical tape across the switches and the breaker box. This simple step serves as a visual reminder to everyone in your household to not turn on the switches or breaker while you are working on installing the ceiling fan.
By turning off the power to the outlet and using electrical tape as a warning, you can ensure a safe environment for your ceiling fan installation.
Mount the Junction Box
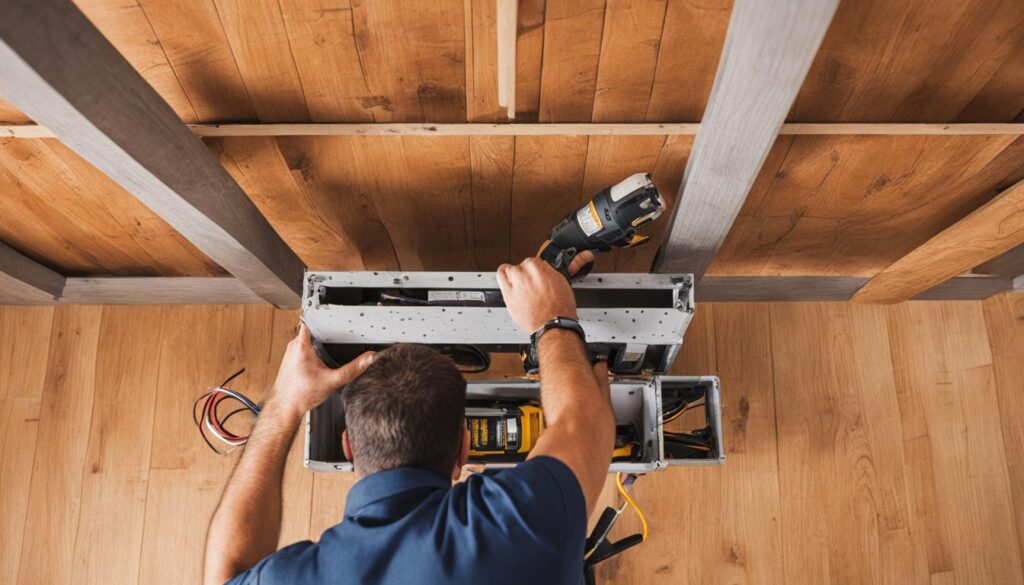
To ensure a secure installation of your ceiling fan, it is important to properly mount a junction box. Follow these tips for a successful installation:
- Check box rating: Before beginning the installation, verify if your existing junction box is rated for ceiling fans. If not, it is recommended to replace it with a fan-rated box.
- Insert fan brace: To provide stability, insert a fan brace through the hole in the drywall. Rotate it until the teeth are securely locked into the joist.
- Attach U-bolt bracket: Once the fan brace is in place, attach the U-bolt bracket to it. This bracket will serve as the base for securing the junction box and fan.
- Thread cable wire: Thread the cable wire through the junction box to ensure proper electrical connection.
- Secure the box: Finally, secure the junction box in place by tightening the nuts. This will ensure that the box remains firmly attached to the ceiling.
By following these steps, you can confidently proceed with the installation of your ceiling fan while ensuring a safe and secure mounting of the junction box.
Mount the Bracket
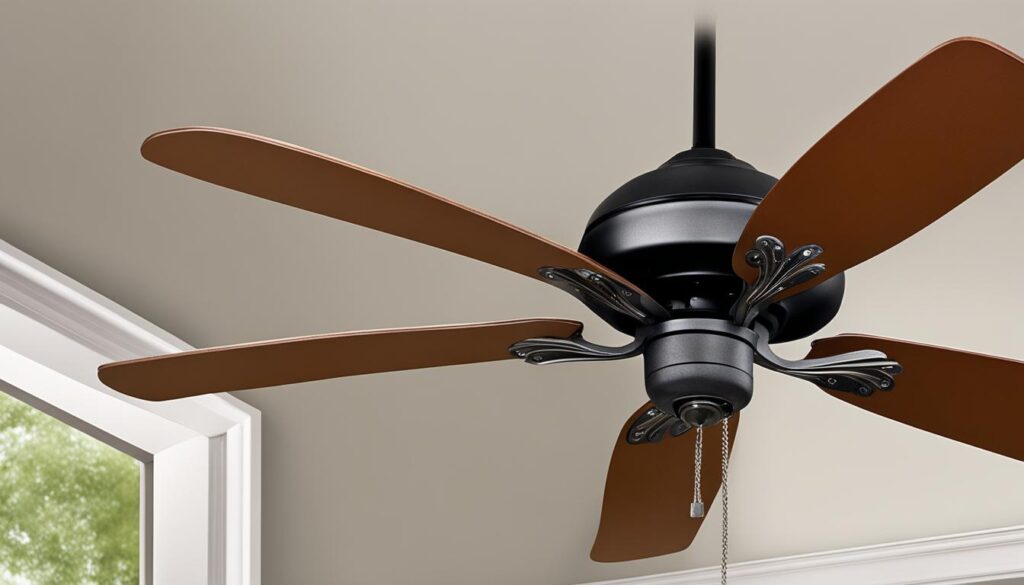
Once you have successfully mounted the junction box, the next step in the ceiling fan installation process is to secure the mounting bracket. The bracket plays a vital role in providing stability to the fan, ensuring it stays securely in place.
To begin, it is important to follow the manufacturer’s instructions specific to your ceiling fan model. These instructions will guide you through the proper installation process for your particular bracket.
If your fan comes with a slide-on bracket, the installation process is straightforward. Simply slide the bracket over the mounting screws on the junction box. Ensure that the bracket aligns properly with the screws, allowing it to slide smoothly into place.
For fans that do not have a slide-on bracket, you will need to place the fan bracket over the mounting bolts on the junction box. Align the holes on the bracket with the bolts, and fasten the bracket securely using the provided nuts. Ensure that the bracket is tightened sufficiently to prevent any movement or wobbling of the fan.
“Proper installation of the mounting bracket is essential for the stability of your ceiling fan.”
Once you have successfully mounted and secured the bracket, take a moment to double-check its stability. Gently shake the fan to ensure that it is firmly attached to the bracket and does not move or sway excessively.
By following these best practices for ceiling fan installation, you can guarantee that your fan is securely mounted and ready to provide you with cool comfort and improved air circulation.
Mounting Bracket Installation Checklist
| Steps | Checklist |
|---|---|
| 1. Read the instructions | Make sure to carefully read and follow the manufacturer’s instructions for your specific fan model. |
| 2. Slide-on Bracket | If your fan comes with a slide-on bracket, ensure it is aligned properly with the mounting screws on the junction box. |
| 3. Non-slide-on Bracket | If your fan requires a separate bracket, align the bracket holes with the mounting bolts on the junction box and secure it with nuts. |
| 4. Tighten Securely | Ensure that the bracket is tightened securely to prevent any movement or wobbling of the fan. |
| 5. Test for Stability | Gently shake the fan to verify that it is firmly attached to the bracket and does not move excessively. |
Set the Downrod
Setting the downrod is an important step in the ceiling fan installation process. Before you begin, it’s crucial to check the ceiling height and angle to determine if a special downrod is needed. Steep angles or sloped ceilings may require a specific downrod for proper installation.
Start by assembling the downrod on a flat surface. Connect the downrod to the base of the fan according to the manufacturer’s instructions. Ensure that all screws are tightened securely to avoid any wobbling or instability.
Next, attach the bulb-shaped fitting to the mounting bracket on the ceiling. This fitting will hold the fan in place and provide stability during operation.
If you’re installing a flush mount fan, thread the electrical wiring through the canopy ring before attaching it to the mounting bracket. This will ensure a clean and seamless installation.
Remember to refer to the manufacturer’s instructions for specific guidelines on setting the downrod and attaching the mounting bracket. Proper installation will not only ensure the fan’s stability but also optimize its performance.
Now that you’ve set the downrod, you’re one step closer to enjoying the benefits of your new ceiling fan.
Wire the Ceiling Fan
Once you have successfully mounted the bracket, it’s time to wire your ceiling fan. Follow these steps to ensure a safe and efficient installation:
- Start by hanging the fan on the mounting bracket using the hook or with the help of a friend. Ensure it is securely attached to prevent accidents.
- Refer to the owner’s manual for specific instructions on connecting the fan wires to your household wiring. It is crucial to follow these guidelines for proper electrical connections.
- Use wire nuts to secure the wires together, matching the black wire with black, white wire with white, and so on. This ensures that the electrical current flows correctly.
- The fan’s copper or green insulated wire should be connected to the ground wire in your household wiring. This helps to protect against electrical faults and ensures safety.
- After connecting the wires, carefully push them into the junction box. Make sure there is enough space and avoid any pinching or damaging of the wires.
- If necessary, trim the excess wire length using wire cutters. Be cautious not to cut the wires too short, leaving enough for future adjustments if needed.
- Finally, secure the canopy onto the bracket, ensuring it is properly aligned and locked in place. This will cover the wiring and provide a clean and finished look to your ceiling fan installation.
Remember, if you are unsure about any step of the wiring process, it is always recommended to consult a professional electrician. Safety should be your top priority when handling electrical installations.
Installing a ceiling fan yourself can be a rewarding DIY project. However, it is essential to follow the provided guidelines to ensure a successful and safe installation. The next section provides the final steps to complete your ceiling fan installation, including attaching the blades and bulb.
Conclusion
Installing a ceiling fan in your home can be a rewarding and cost-effective way to improve air circulation and provide a cool breeze. However, it’s essential to follow the proper guidelines and safety precautions to avoid common mistakes that can compromise the installation process.
One of the most important steps is to measure your room correctly to choose the right-sized fan. A fan that is too small may not provide sufficient airflow, while a fan that is too large can be overpowering and noisy. It’s also critical to turn off the power to the outlet and the wall switches connected to the fan to ensure your safety during installation.
Properly mounting the junction box and bracket is crucial for a secure and stable installation. Make sure to use a fan-rated box and follow the manufacturer’s instructions for mounting the bracket. Additionally, setting the downrod to the appropriate height and angle and correctly wiring the fan are essential steps to ensure proper functionality.
By following the steps outlined in this ceiling fan installation guide, you can avoid common mistakes and enjoy the benefits of a well-installed fan in your home. Remember to always prioritize safety, double-check your work, and consult the manufacturer’s instructions if you have any doubts. With the right knowledge and tools, you’ll be able to enjoy the comfort and energy efficiency that a ceiling fan can provide.


