Are you tired of using a plain and boring cover for your sewing machine? Look no further as we bring you a range of DIY sewing machine cover ideas that will not only protect your machine but also add a personalized touch to your workspace. From simple designs to more intricate ones, we’ve got you covered. This post will explore some of the best sewing machine cover ideas to inspire your creativity.
- DIY sewing machine covers allow you to personalize your workspace
- There are a variety of sewing machine cover ideas to choose from
- Creating a sewing machine cover is a fun and easy DIY project
- You can make a sewing machine cover to match your home decor
- A sewing machine cover protects your machine from dust and damage
Sewing Machine Cover Patterns
If you’re looking for a sewing machine cover that’s not only functional but stylish as well, look no further than our selection of cover patterns. From free patterns available online to quilted designs, we’ve got you covered.
A great place to start is by searching for free sewing machine cover patterns online. There are many websites that offer free patterns, including Craftsy, SewCanShe, and So Sew Easy. These patterns come in various styles, from simple to complex, so you can choose one that suits your skill level.
Consider a quilted sewing machine cover if you’re up for a challenge. These covers not only look beautiful, but they provide extra padding to protect your machine. You can find quilted patterns in books or online, or you can create your design.
When choosing a pattern, make sure to consider factors such as the size of your machine and the level of protection you want your cover to provide. With so many options available, you’re sure to find a pattern that will meet your needs.
Sewing Machine Cover with Pockets
If you’re someone who loves to keep your sewing accessories organized and within arm’s reach, then a sewing machine cover with pockets is the perfect solution for you. Not only will it keep your sewing machine dust-free, but it will also provide you with extra storage space for small items such as scissors, thread, and needles.
Making a sewing machine cover with pockets is a simple yet effective DIY project that can be done with minimal effort. To get started, you’ll need some basic materials such as fabric, thread, and a sewing machine. You can choose to make a cover with one or more pockets, depending on your storage needs.
When creating your cover, consider the size of your sewing machine and the number of pockets you require. You can choose to make pockets of different sizes and shapes to accommodate different types of accessories. For example, a long, narrow pocket might be ideal for keeping your scissors safe, while a smaller pocket could be used for storing your needles.
Once you have your pockets in place, you can add finishing touches such as a decorative trim or a button closure. This will not only make your cover look more attractive but will also prevent your accessories from falling out.
To make your own sewing machine cover with pockets, you can follow a tutorial or create your own design. There are plenty of resources available online that offer step-by-step instructions, including video tutorials and free patterns. So, start exploring and unleash your creativity!
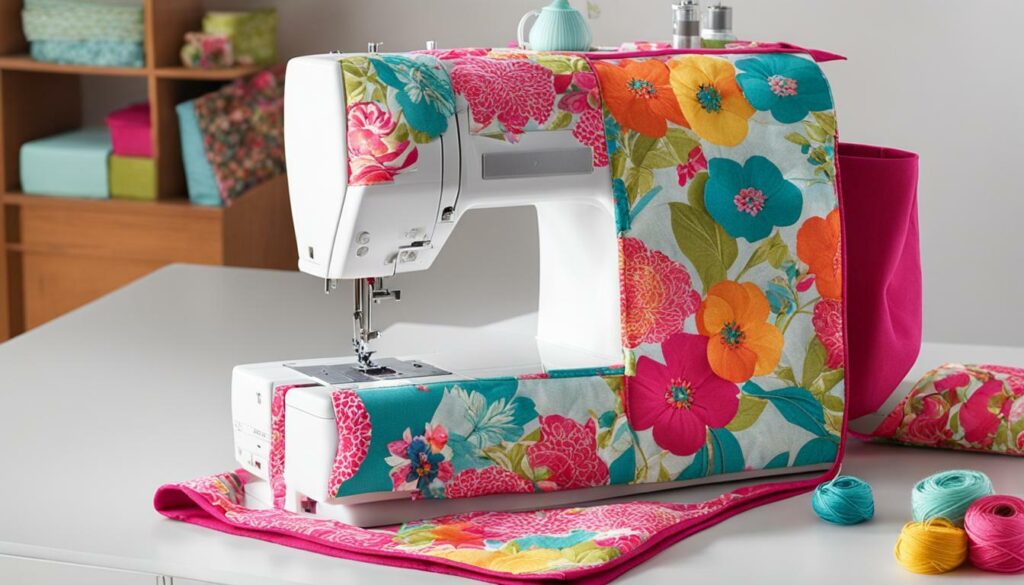
Remember, a sewing machine cover with pockets not only protects your machine but also makes it easier to keep your sewing essentials organized. So, why not give it a try and create your own personalized cover today!
Sewing Machine Dust Cover
Keeping your sewing machine clean and dust-free is essential to maintain its longevity. To prevent dust from settling on your machine, consider creating your own sewing machine cover. Here are a few ideas to get you started:
| Cover Type | Description |
|---|---|
| Simple Fabric Cover | One of the easiest ways to protect your sewing machine from dust is by creating a simple fabric cover. Choose a fabric that is lightweight, breathable, and easy to wash. Fold the fabric in half, right sides together, and sew around the edges, leaving an opening for the top of the machine. Turn the cover right side out and slip it over your machine. |
| Quilted Cover | If you want to add extra padding to your cover, consider making a quilted cover. Choose a sturdy fabric for the outside and a soft, quilted fabric for the inside. Sandwich batting between the two layers and sewn together. Cut a hole for the handle and slip the cover over your machine. |
| Clear Vinyl Cover | If you want to keep an eye on your sewing machine while it’s covered, consider making a cover out of clear vinyl. Choose a vinyl that is sturdy and thick, and sew the edges together. Slip the cover over your machine, and you’ll be able to see your machine through the cover. |
These are just a few ideas for creating your own sewing machine dust cover. Choose a style that fits your needs and the style of your sewing space. Keeping your machine clean and dust-free will help ensure it remains in good working condition for years.
Sewing Machine Cover Ideas for Home Decor
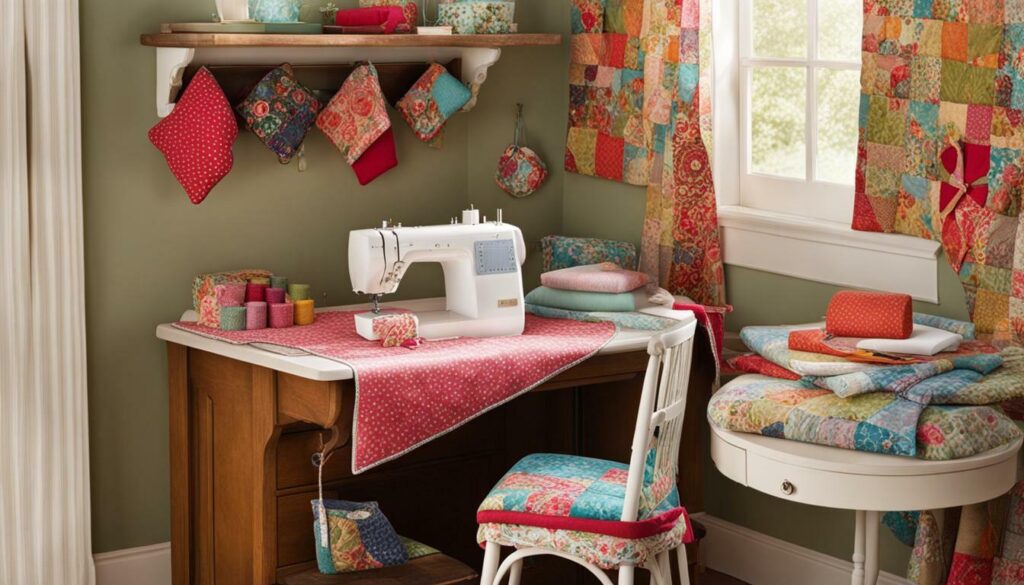
If you want to add a personal touch to your sewing space, consider creating a sewing machine cover that complements your home decor. Here are some inspiring ideas:
| Design | Description |
|---|---|
|
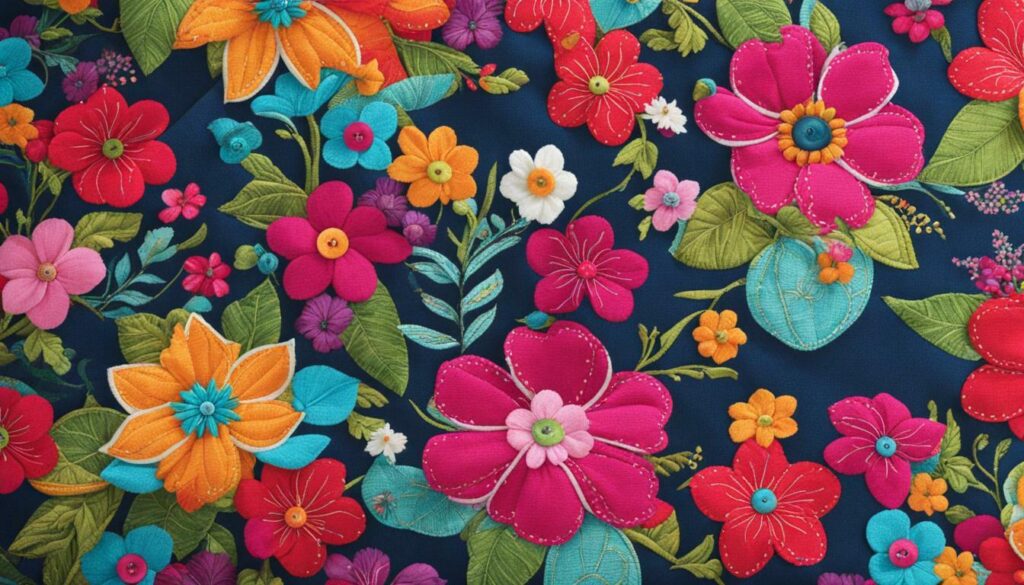
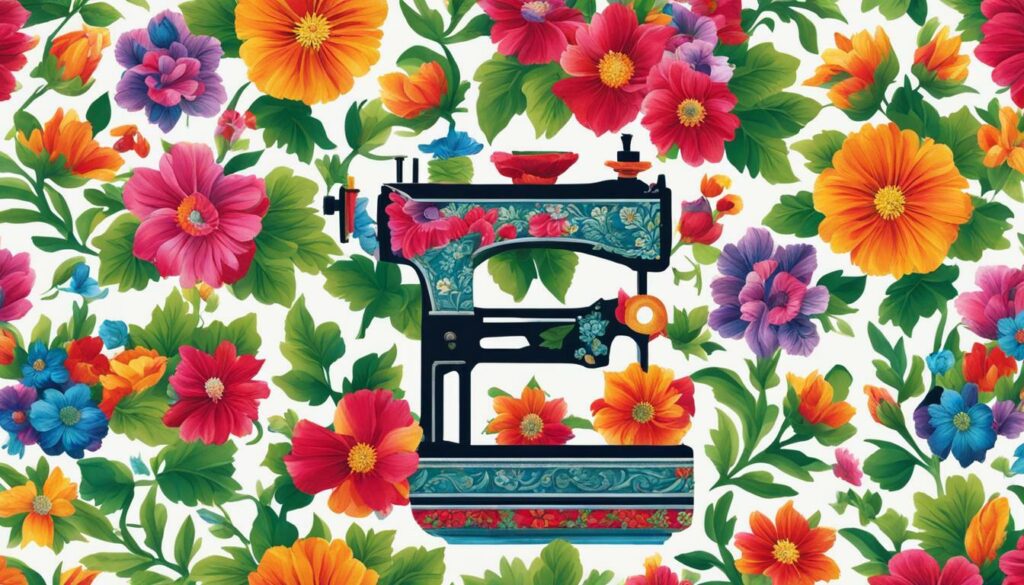
Floral pattern: Choose a fabric with a floral pattern to add a touch of nature to your workspace. This design will work well in a room with pastel colors or a neutral color scheme. |
|
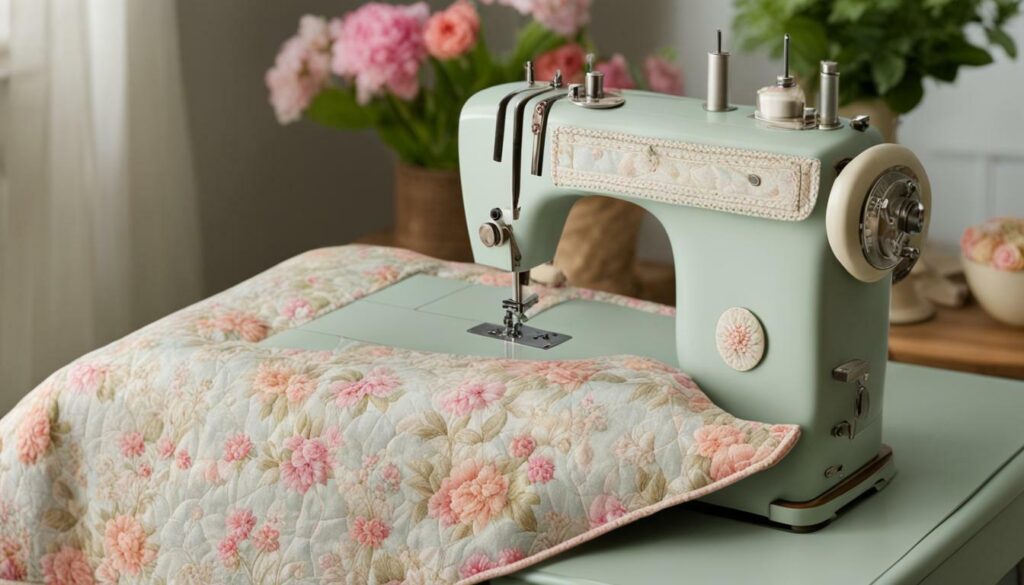
Vintage look: Use a fabric with a vintage design, such as polka dots or stripes, to create a timeless look. This design works well in a room with antique or shabby-chic decor. |
|
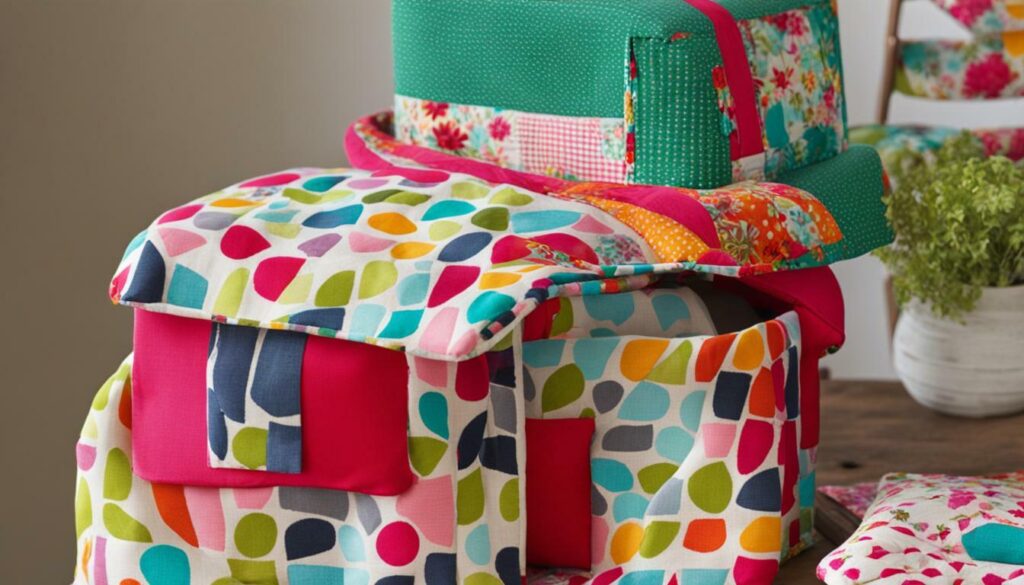
Bright colors: If you want to add a pop of color to your sewing space, choose a fabric with bright colors. This design will work well in a room with a modern or eclectic decor. |
Don’t be afraid to experiment with different fabrics and patterns to create a sewing machine cover that truly reflects your style.
Choosing the Right Fabrics for Your Sewing Machine Cover
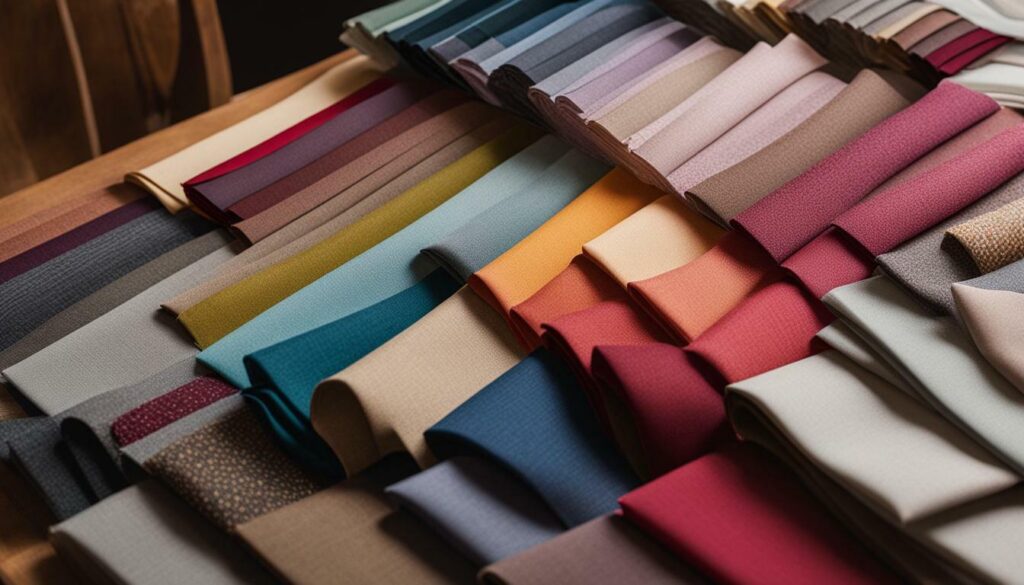
Choosing the right fabrics for your sewing machine cover is crucial for creating a durable and visually appealing cover. Here are a few tips to consider when selecting your materials:
- Weight: Choose fabrics with the appropriate weight for your sewing machine cover. You want a fabric that is strong enough to withstand daily use, but not too heavy that it becomes cumbersome to move around.
- Texture: Consider the texture of your fabric. A smooth, sleek fabric can create a modern and polished look, while a textured fabric can add depth and interest to your cover.
- Color: The color of your fabric will greatly influence the overall look of your sewing machine cover. Choose a color that complements your sewing workspace or matches your home decor.
- Pattern: If you’re feeling adventurous, consider using a patterned fabric for your cover. When done right, a patterned fabric can add personality and charm to your sewing machine cover.
When it comes to selecting fabrics, keep in mind that durability and functionality are key. Opt for fabrics that are easy to clean and maintain, and that won’t easily tear or fray over time. Some popular fabric choices for sewing machine covers include cotton, canvas, and denim.
Essential Supplies and Tools for Making a Sewing Machine Cover
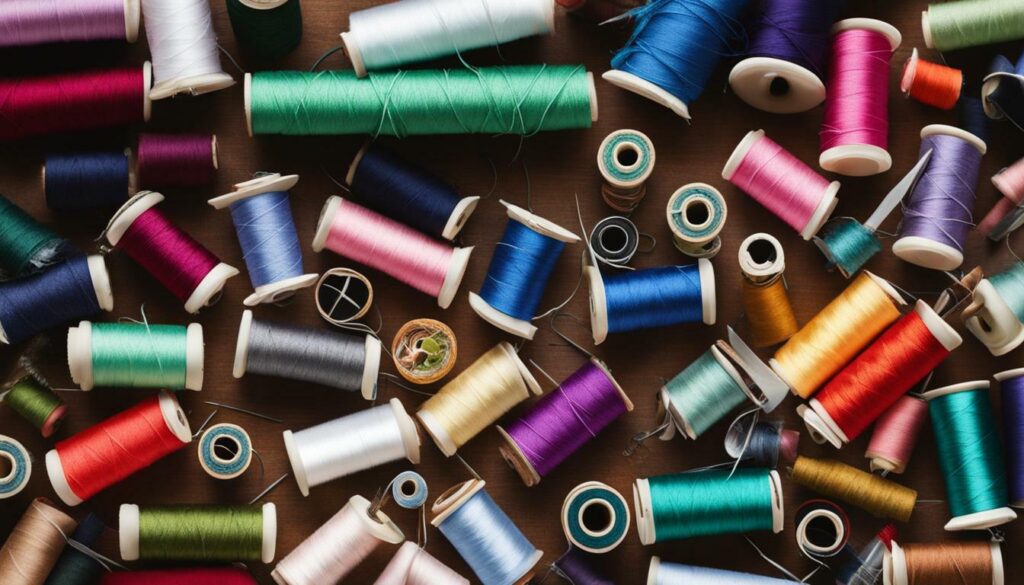
Before starting your sewing machine cover project, it’s important to gather all the necessary supplies. Here’s a list of essential items you’ll need:
| Supplies | Tools |
|---|---|
| Fabric | Sewing machine |
| Thread | Scissors |
| Fusible interfacing | Pins |
| Elastic | Measuring tape |
| Iron | Ironing board |
When selecting your fabric, make sure it’s durable and can withstand regular use. Cotton is a good option, as it’s easy to work with and comes in a variety of prints and colors.
Fusible interfacing adds stability to your cover and can be ironed onto the fabric for added stiffness. Elastic can be used for the pocket closures or to create a snug fit around the machine.
And of course, you’ll need your trusty sewing machine to bring it all together. Don’t forget to properly maintain your machine by cleaning it regularly and oiling it according to the manufacturer’s instructions.
With these essential supplies and tools, you’re ready to start creating your own unique sewing machine cover.
Step-by-Step Sewing Machine Cover Tutorial
If you’re ready to get started on creating your own sewing machine cover, follow these easy steps:
- Measure your sewing machine and add 1″ to the width, height, and depth measurements for seam allowances.
- Cut two pieces of fabric to these measurements for the front and back of the cover. Cut two more pieces for the sides, adding 1″ to the width and height measurements for seam allowances.
- Sew the side pieces to the front piece, right sides together, using a 1/4″ seam allowance. Repeat for the back piece.
- Sew the front and back pieces together along the top edge, and right sides together, using a 1/4″ seam allowance.
- With the right sides together, sew the side seams of the cover using a 1/4″ seam allowance.
- Trim the corners and turn the cover right side out.
- Press the cover and topstitch around the edges, approximately 1/8″ from the edge, to finish.
And there you have it, your very own DIY sewing machine cover! Customize your cover with pockets or other embellishments to make it unique to you.
Remember to take it slow and follow each step carefully for the best results. With some time and effort, you’ll have a beautiful and functional sewing machine cover that you can be proud of.
Additional Tips and Ideas for Personalizing Your Sewing Machine Cover
Personalizing your sewing machine cover can add a unique touch to your sewing space and reflect your personal style. Here are some additional tips and ideas:
- Choose a theme: Select a specific theme or color scheme for your cover, such as floral prints or bold colors, to create a cohesive look in your workspace.
- Add embellishments: Add buttons, ribbons, or appliques to your cover to add texture and visual interest.
- Embroidery: Add embroidery to your cover to personalize it with your name, a favorite quote, or other meaningful design.
- Add pockets: If your sewing machine cover does not already have pockets, consider adding them to store small tools or accessories.
- Use contrasting fabrics: Combine fabrics with contrasting colors, patterns, or textures for a unique look.
Remember, the possibilities for personalizing your sewing machine cover are endless. Use these ideas as a starting point and let your imagination run wild!
Once you’ve completed your DIY sewing machine cover, it’s important to take proper care of it to ensure its longevity. Here are a few tips and tricks for maintaining and caring for your new creation:
- Regular cleaning: It’s important to keep your sewing machine cover clean to prevent dust and dirt from building up. You can use a lint roller or a soft brush to gently remove any debris from the surface of the cover. If necessary, you can also spot clean with a damp cloth and mild soap. Be sure to let the cover air dry completely before using it again.
- Storage: When you’re not using your sewing machine cover, it’s best to store it in a cool, dry place away from direct sunlight. This will help prevent fading and discoloration. You might also want to consider using a garment bag to protect it from dust and dirt while it’s in storage.
- Repairs: If your sewing machine cover gets damaged, it’s best to repair it as soon as possible to prevent further damage. You can repair small tears or holes with a needle and thread or use a patch to cover larger areas. Make sure to choose a fabric that matches the original cover to ensure a seamless repair.
By following these simple maintenance tips, you can keep your sewing machine cover looking like new for years to come.
There are several benefits to creating your own sewing machine cover. Let’s explore some of the advantages:
- Personalization: When you make your own sewing machine cover, you can choose the fabric, design, and embellishments that reflect your personal style.
- Cost savings: Sewing machine covers can be expensive to purchase. By making your own, you can save money.
- Customization: You can create a cover that fits your specific sewing machine, ensuring a perfect fit and maximum protection.
- Enhanced durability: DIY sewing machine covers are often made with high-quality materials, resulting in a more durable surface that will provide excellent protection for your machine.
- Improved organization: Adding pockets to your sewing machine cover provides extra storage space for your sewing tools and supplies, keeping them organized and within reach while you work.
Overall, using a DIY sewing machine cover is a fantastic way to protect your valuable sewing machine while adding a personal touch to your sewing space. Plus, with the cost savings and customization options, it’s a win-win situation!
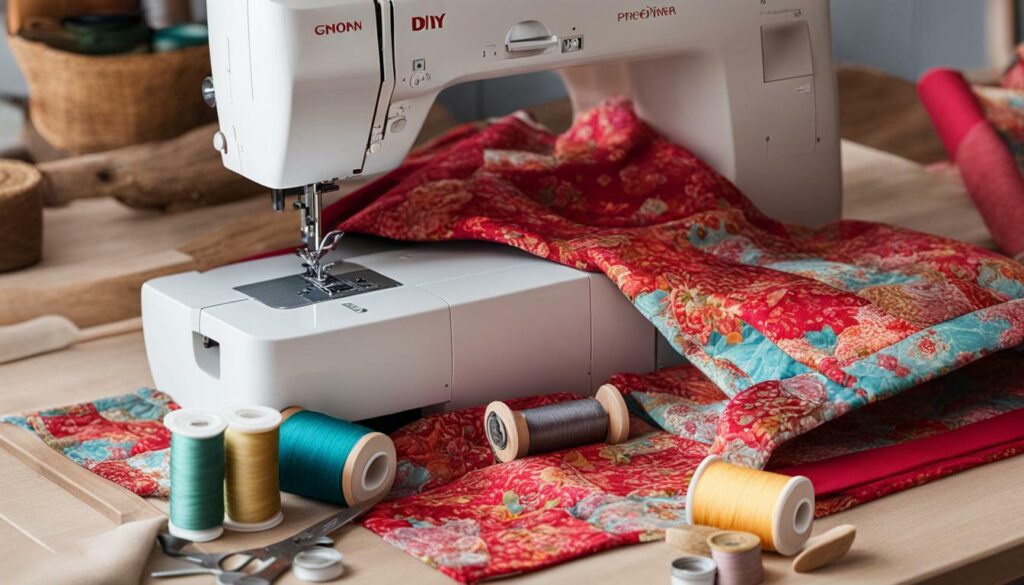
Creating a personalized sewing machine cover is a fun and rewarding DIY project that can add color and style to your sewing space while protecting your machine against dust and scratches.
With the DIY guide and inspiring ideas we’ve shared throughout this article, you’re now equipped to choose a pattern, select the right materials, and follow our step-by-step tutorial to make a cover that matches your unique style and needs.
Remember to take good care of your cover once it’s finished by following our maintenance tips to ensure it lasts for years. Using a DIY sewing machine cover has many benefits, such as prolonging the life of your machine, keeping your space tidy, and adding a personal touch that showcases your sewing skills.
So what are you waiting for? Grab your supplies, get creative, and start making your own sewing machine cover today!
FAQ
How do I choose the right fabric for my sewing machine cover?
When choosing fabric for your sewing machine cover, it’s essential to consider both durability and style. Opt for sturdy materials like canvas or denim to ensure longevity, and select a design or color that complements your personal taste and sewing space.
What tools and supplies do I need to make a sewing machine cover?
You’ll need a few essential supplies and tools to create a sewing machine cover successfully. Some items you’ll need include fabric, sewing machine needles, thread, scissors, measuring tape, and a sewing machine.
Can I personalize my sewing machine cover?
Absolutely! Personalizing your sewing machine cover adds a unique touch to your workspace. Consider adding embellishments like buttons, trim, or embroidery to make your cover truly one-of-a-kind.
How do I keep my sewing machine cover clean?
To keep your sewing machine cover clean, it’s best to follow the care instructions for the fabric you use. Some covers may be machine washable, while others require spot cleaning or handwashing. Regularly dusting off your cover is also recommended to prevent lint and dust buildup.
Can I download free sewing machine cover patterns online?
Yes, there are many websites that offer free sewing machine cover patterns for you to download and use. These patterns provide step-by-step instructions and measurements to help you create your unique cover.


