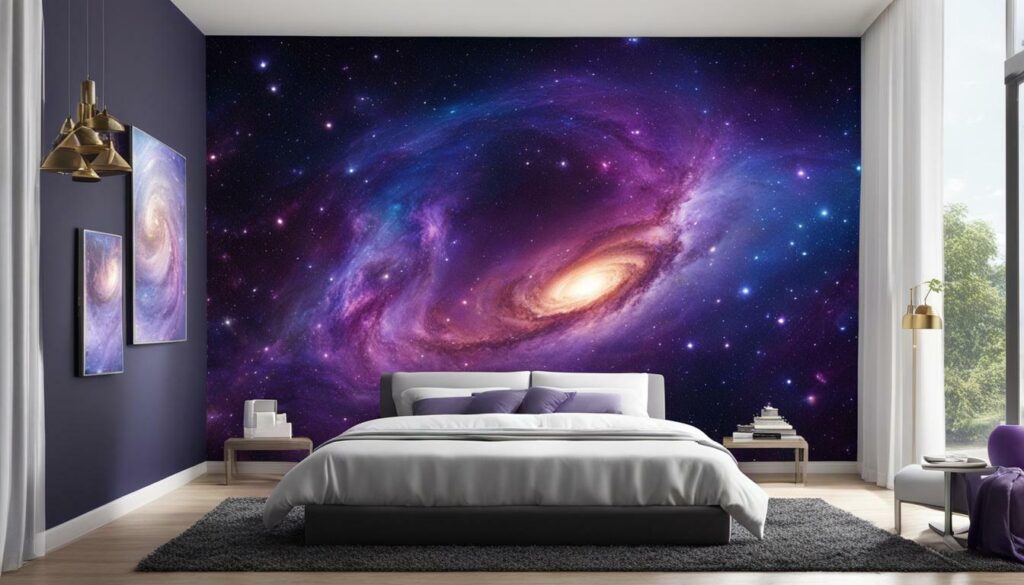
Looking to add a touch of celestial beauty to your home? Look no further than a DIY galaxy wall mural. With just a few simple materials and some artistic vision, you can create a stunning space-themed work of art that will transform any room.
From painting the perfect nebulae to adding realistic stars and constellations, this step-by-step guide will take you through the process of creating your own galaxy mural. You’ll learn all the techniques you need to bring the majesty of the universe into your own home.
So let’s get started and unlock your inner artist!
- Create a beautiful DIY galaxy wall mural with just a few simple materials
- Follow our step-by-step guide to painting nebulae, stars, and celestial bodies
- Add personal touches like constellations and special effects to make your mural truly unique
- Maintain and care for your masterpiece to ensure its longevity and beauty
- Transform any space into a stunning celestial masterpiece with this easy DIY project
Gathering Your Materials
To create the perfect DIY galaxy wall mural, you must gather all the essential materials beforehand. Here are some of the items you’ll need:
Paint and Brushes
Your DIY galaxy wall mural will require a set of acrylic or latex paints in various shades of blue, purple, pink, and white. You can choose to add metallic or glitter paints for an extra touch of sparkle. Also, make sure to have some medium to large-sized brushes on hand for painting the base layer and nebulae.
Additional Tools and Decorations
You may want to add some unique elements to your DIY galaxy wall mural, such as a moon or stars made of cardboard, glow-in-the-dark paint, or metallic accents like gold or silver leaf. You can also add some LED lights to create a twinkling effect, which enhances the overall mood of the mural. Don’t hesitate to get creative!
Tips for Choosing Your Materials
When selecting your paint colors, think about the mood that you want to create. Darker shades of blue and purple can give a more mysterious and cosmic vibe, while lighter shades of pink and white can create a dreamy and ethereal atmosphere. Don’t be afraid to experiment with different color combinations and blending techniques to produce unique and captivating results.
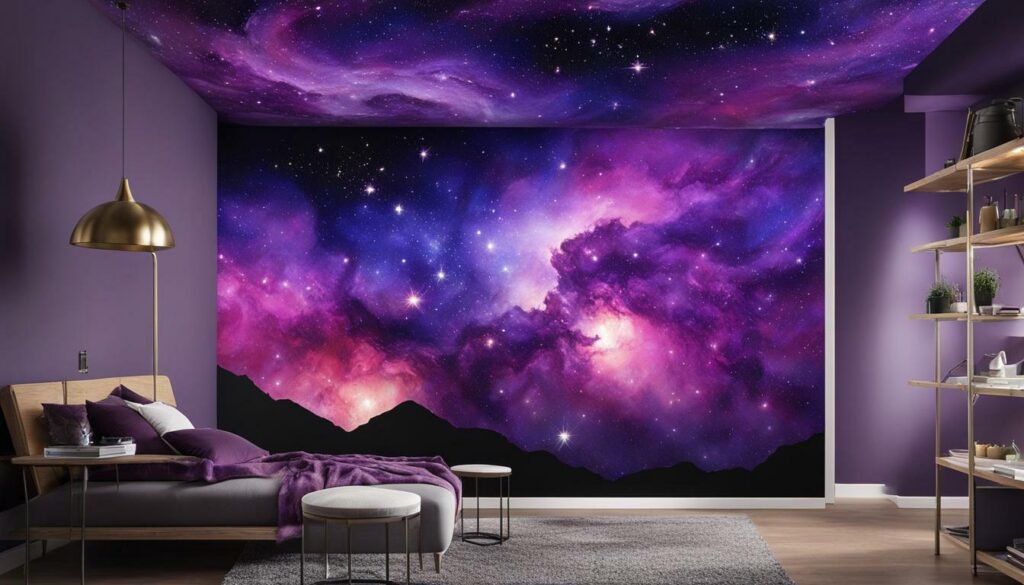
Tip: If you’re not sure which colors to choose, try searching for galaxy mural ideas on social media or Pinterest for inspiration.
With all the necessary items at hand, you’re ready to move on to the next step: preparing your wall.
Preparing Your Wall
Before you start painting, your wall needs to be prepped properly to ensure a smooth and long-lasting finish. Follow these steps:
- Remove any wallpaper or flaking paint using a scraper or sander.
- Clean the wall with a damp cloth to remove any dust or debris.
- Apply a coat of primer to help the paint adhere and create a smoother surface for painting. Allow it to dry completely before moving on to the next step.
- If any cracks or holes are present, fill them with spackle and sand them down to create an even surface.
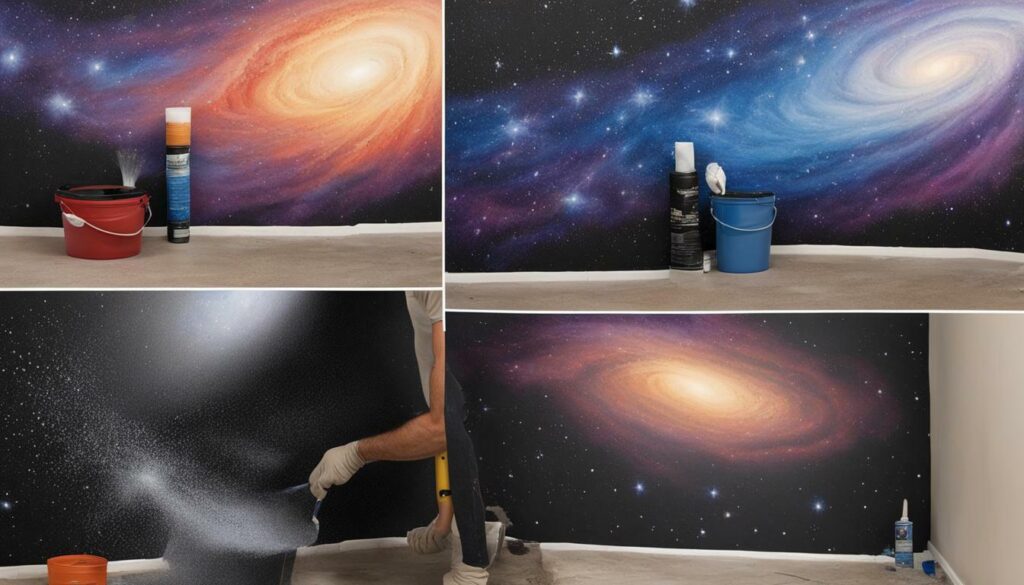
Tip: For darker colors like navy or black, it is best to apply a base coat of a similar shade. This will make it easier to achieve the desired depth of color and texture for the galaxy mural.
Once your wall is prepared, you’re ready to start painting your DIY galaxy wall mural.
Creating the Base Layer
To start your DIY galaxy wall mural, creating the base layer is the first step. Choose your base color, such as dark blue or black, and apply it evenly onto your clean and primed wall. You may want to use a roller or a large brush for this step. Add some white or lighter shades of your base color to create depth and dimension.
Next, apply different shades of blue and purple paint in a swirling motion to create a cloudy effect. You can use a dry brush technique or a wet-on-wet technique to create different textures and patterns. Be creative and experiment with different brushstrokes and techniques to create a unique look.
If you’re new to painting, an easy galaxy wall painting technique is to sponge paint your base layer. Use a natural sea sponge to add texture in a random pattern. This technique also gives you more control over the amount of paint you apply.
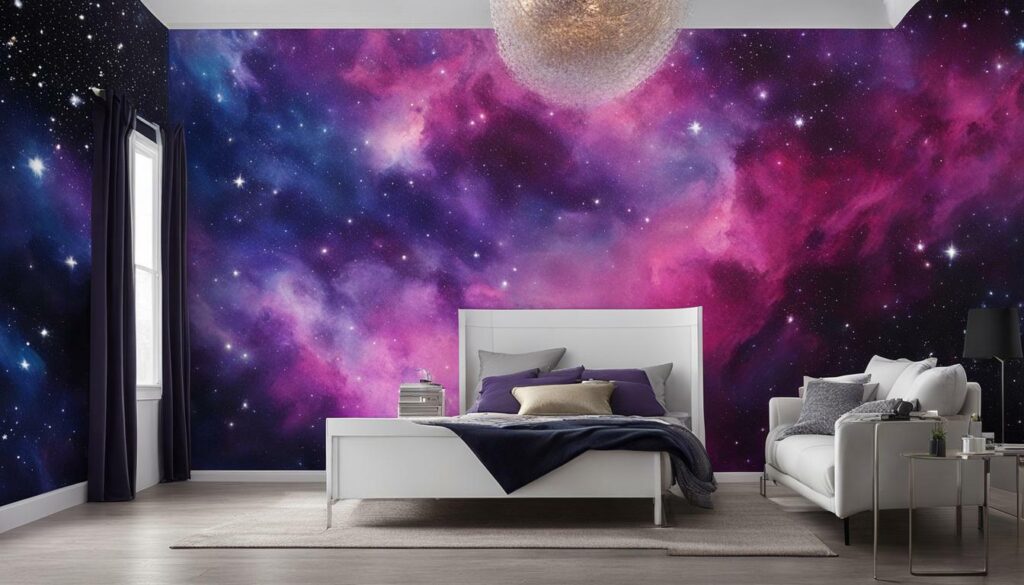
Remember that the base layer is the foundation of your galaxy mural, so take your time and ensure it looks just right. Once you’re happy with the base layer, let it dry completely before moving on to the next step.
Painting the Nebulae
The nebulae are the shining clouds of gas and dust that fill the galaxy with color and sparkle. To create these wispy, ethereal shapes, start by choosing your colors. Blues, purples, and pinks are great options, but you can experiment with any shades that inspire you.
Begin by using a large brush to paint broad, sweeping strokes across the wall, blending the colors together as you go. Next, switch to a smaller brush and use it to create wispy, cloud-like shapes. Paint these shapes in different directions and sizes to create a more natural and varied look.
When you’ve finished painting the nebulae, take a step back and examine your work. If you notice any areas that look too stark or defined, use a dry brush to blend them out and soften the edges.
To add more depth and dimension, consider layering different colors and shades on top of each other. This will give your nebulae a more realistic, layered look. And of course, don’t be afraid to experiment and mix different colors and techniques to find the perfect blend for your galaxy mural!
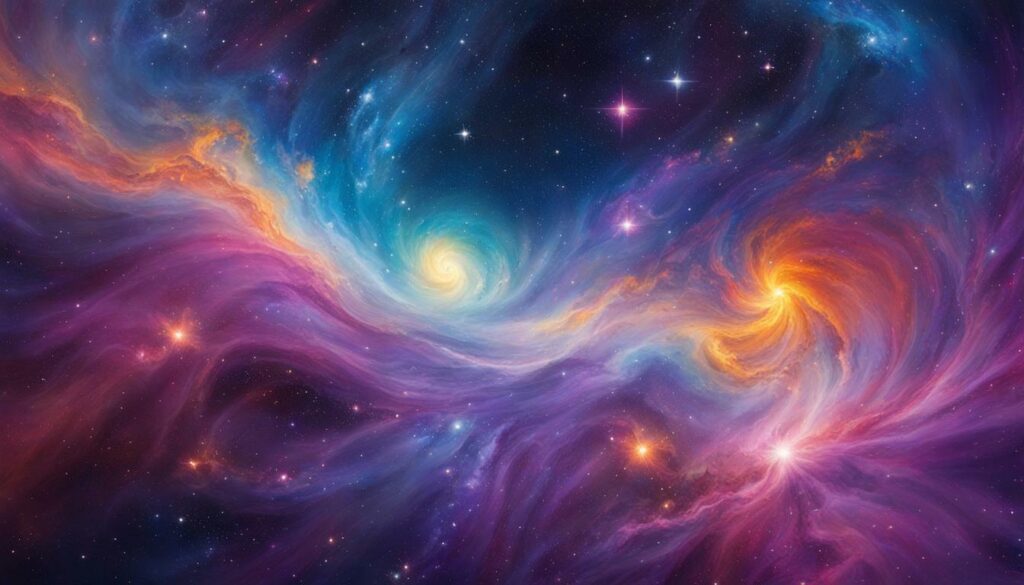
“I love the way the nebulae give the galaxy mural a sense of movement and energy. Experimenting with different colors and blending techniques was so much fun!” – Sara, DIY enthusiast
Adding Stars and Constellations
Now that you have created a stunning base layer and painted the colorful nebulae, it’s time to add the stars and constellations to your DIY galaxy wall mural. This step will give your mural a realistic and celestial touch, making it a perfect addition to any galaxy bedroom decor.
Start by using a small brush to paint the individual stars. You can use a variety of sizes to create a more natural-looking starry sky. Remember to take a step back and assess your progress frequently, checking that the density and distribution of the stars look balanced.
For a more dramatic effect, consider using a splattering technique to create a starry “spray” across your mural. To do this, dip a toothbrush in white paint and run your finger over the bristles to create a spray of stars across the mural.
Next, use a stencil or a reference image to add your favorite constellations. You can use a variety of brush sizes and techniques to create different shapes and textures, and don’t worry about making them too perfect—constellations are often irregular and abstract.
Adding constellations also gives you the opportunity to personalize your DIY galaxy wall mural. Consider using the constellations of your zodiac sign or creating your own patterns and shapes to represent your own unique story.
When you have finished adding the stars and constellations, take a step back and appreciate your galaxy masterpiece. The addition of stars and constellations will create a stunning and realistic sky, making for an unforgettable celestial experience right in your own home.
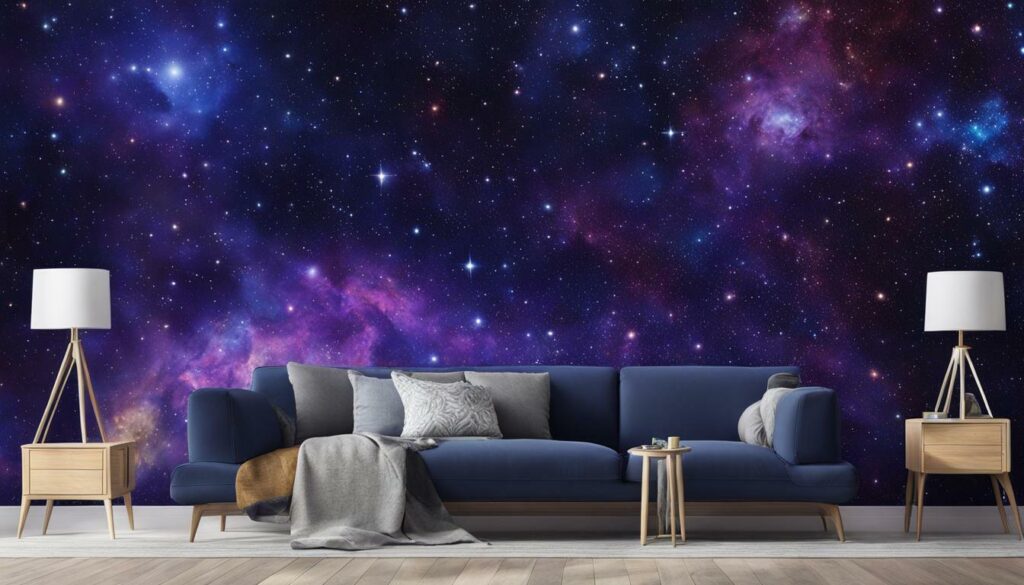
Adding special effects and finishing touches to your galaxy mural can take it to the next level. Here are some ideas:
Glow-in-the-Dark Paint
For a truly out-of-this-world effect, use glow-in-the-dark paint to make your mural come alive at night. Apply the paint over your stars, constellations, and planets to create an otherworldly ambiance.
Glitter Accents
For a touch of sparkle, add glitter accents to your nebulae and stars. Mix a small amount of glitter with your paint to add some extra shine to your galaxy.
Metallic Accents
For a futuristic look, use metallic paint to create highlights on your planets and celestial bodies. These accents will give your mural a sense of depth and dimensionality that is truly breathtaking.
“Incorporating special effects and finishing touches can make your galaxy mural truly unique.”
Remember to experiment with different techniques to find the perfect combination for your mural. Adding these extra elements can take your DIY galaxy wall mural to the next level and create an engaging and immersive experience for anyone who sees it.
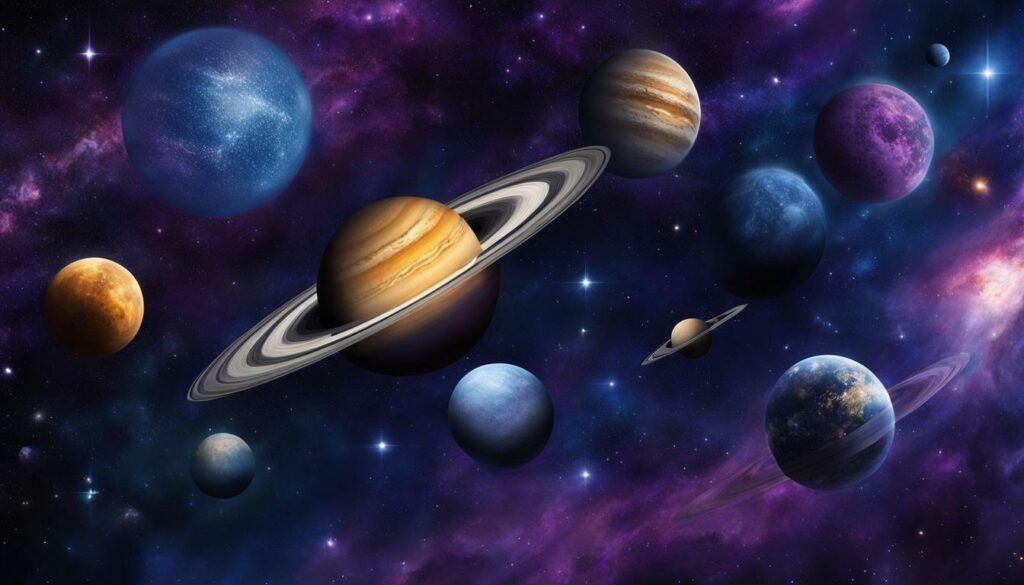
Now that you have painted the galaxy, it’s time to make it shine with special effects and finishing touches. Here are some ideas to make your DIY galaxy wall mural truly unique:
Glow-in-the-Dark Paint
Add a little magic to your mural by using glow-in-the-dark paint. You can create a captivating nighttime effect by painting over the stars and constellations with this paint. During the day, the mural will look stunning as it is, and at night, it will light up, adding an ethereal glow to your room.
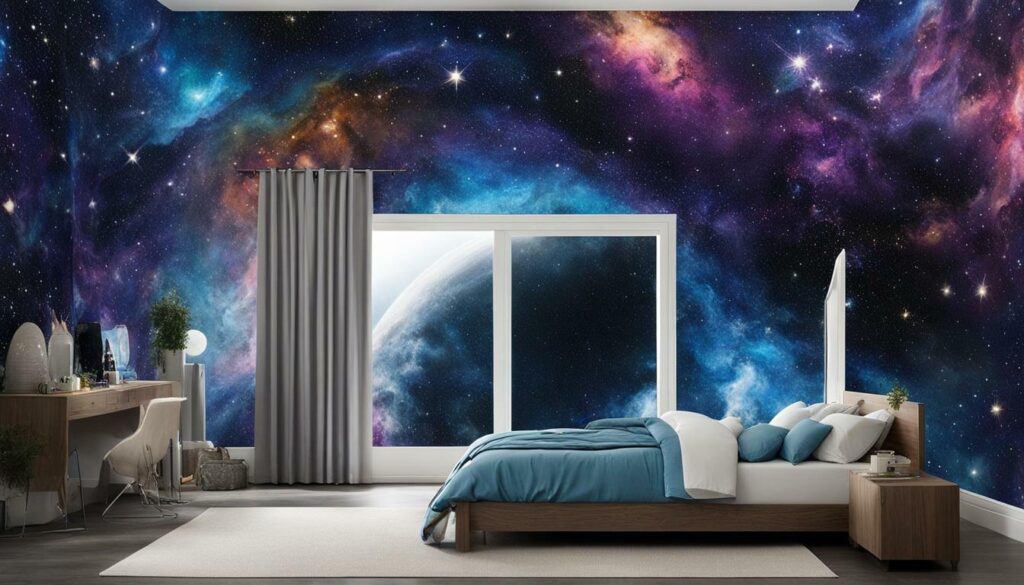
If you want to add some sparkle to your galaxy wall mural, use glitter and metallic paints. You can paint the stars and other celestial bodies with metallic paint to give them a shimmering effect, and add glitter to the nebulae to create a sparkling starry sky. This will give your mural a magical and captivating ambiance.
Color Gradients
Another creative idea is to add color gradients to your mural. You can blend colors together to give the galaxy a more realistic appearance, or use complementary colors to create a visually appealing contrast. This technique can add depth and dimension to your mural, making it more intriguing and engaging.
Enhancing with 3D Elements
If you want to take your galaxy wall mural to the next level, you can enhance it with 3D elements. You can add foam planets and stars to make them stand out from the mural and appear as if they are floating in space. This technique can add a playful and interactive element to your mural, making it more fun and engaging to look at.
Adding a Quote
If you’re feeling extra creative, you can add a quote or phrase to your mural. This can be a space-themed quote or your favorite quote that inspires you. You can use stencils or freehand to paint the letters onto the mural, making it a personalized and inspirational piece of art.
Conclusion
There are many ways to enhance your DIY galaxy wall mural with special effects and finishing touches. Whether you choose to use glow-in-the-dark paint, glitter, metallic accents, color gradients, or 3D elements, remember to use your creativity and have fun with it. Your galaxy wall mural will be a mesmerizing and captivating addition to any room, giving your space a magical and otherworldly ambiance.
Maintenance and Care
After you’ve put in the effort to create your stunning DIY galaxy wall mural, it’s essential to take proper care of it to ensure its longevity and beauty. Here are some tips to help you maintain your mural:
- Clean your mural regularly: Dust and dirt can accumulate on your mural over time, so it’s important to clean it regularly. Use a soft cloth or a feather duster to wipe away dust or dirt gently. Avoid using harsh chemicals or abrasive materials that could damage your mural.
- Touch up your mural as needed: Over time, your mural may develop small cracks or chips. To keep your mural looking its best, touch it up as needed with the same paint colors and techniques you used to create it originally.
- Protect your mural from direct sunlight: Although your mural may look beautiful in direct sunlight, it’s important to protect it from the sun’s damaging rays. Direct sunlight can cause the colors to fade and the paint to crack or peel over time. Consider installing curtains or shades to protect your mural from prolonged exposure to direct sunlight.
- Keep your mural dry: Moisture can cause the paint on your mural to bubble or peel. Be sure to keep your mural dry by avoiding high-humidity areas and areas prone to water damage.
- Enjoy your galaxy bedroom decor: Your DIY galaxy wall mural is a work of art and should be enjoyed as such. Take a step back and admire your celestial masterpiece regularly. You’ve created a stunning piece of galaxy art that will bring joy and wonder for many years to come.
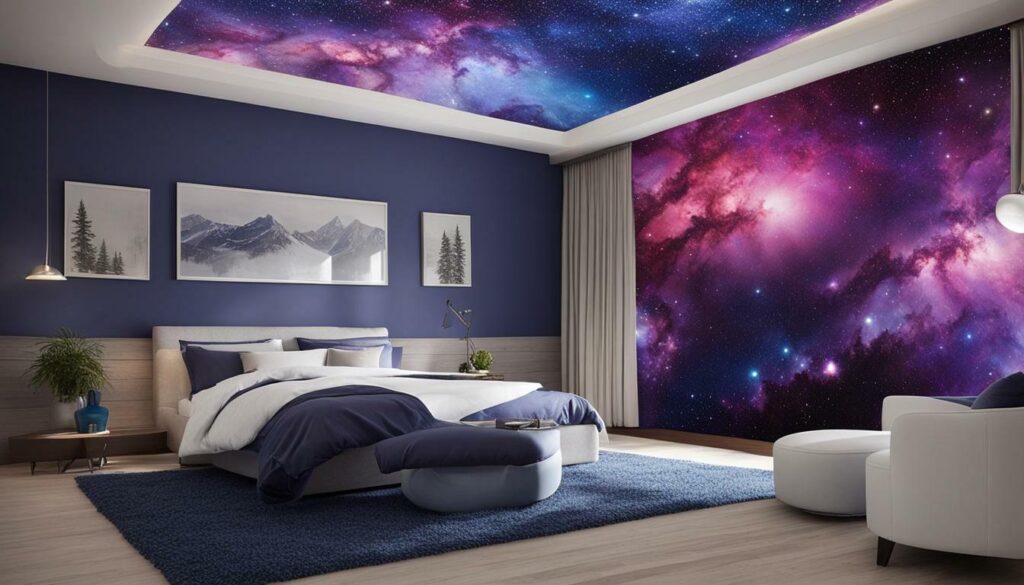
Creating your own DIY galaxy wall mural can be both fun and rewarding. It’s an easy way to transform any boring wall into a beautiful and celestial masterpiece. By following our step-by-step guide, gathering all essential materials, preparing your wall, creating the base layer, painting the nebulae, adding stars and constellations, enhancing with planets and celestial bodies, incorporating special effects and finishing touches, and maintaining and caring for your mural, you’ll be able to achieve the galaxy wall mural of your dreams.
Remember, with a little creativity and personal artistic flair, you can make your mural stand out and truly unique. Don’t be afraid to experiment with different techniques and special effects to add texture, dimension, and sparkle. And don’t forget to share your beautiful works of art with family and friends.
Create your own DIY galaxy wall mural today and enjoy stargazing from the comfort of your own home!


