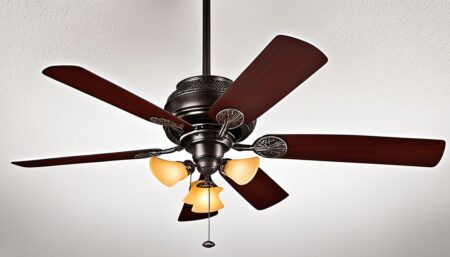
Ceiling fans are a fantastic addition to any home, providing both comfort and energy efficiency. Installing a ceiling fan may seem like a daunting task, especially for those without prior electrical experience. However, with the right tools and knowledge, you can safely and successfully install a ceiling fan in your home. In this step-by-step guide, we will walk you through the process of safely installing a ceiling fan, including wiring and mounting tips, to ensure a comfortable and energy-efficient environment in your home.
Key Takeaways:
- Installation of a ceiling fan can greatly improve the comfort and energy efficiency of your home.
- Ensure you have the necessary tools and materials before starting the installation process.
- Turn off the power supply to the room at the circuit breaker to ensure your safety.
- Choose the right ceiling fan size and style that fits your room and personal preferences.
- Follow proper wiring and electrical connection procedures, matching fan wires and using connectors.
Pre-installation Preparations for Ceiling Fan Installation
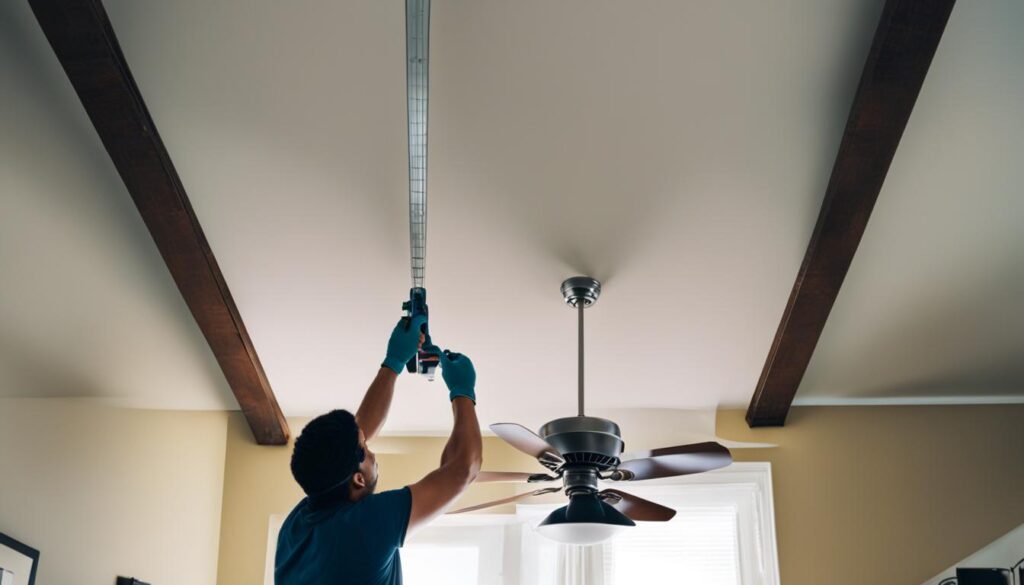
Before you begin the process of installing your ceiling fan, it’s essential to make a few necessary preparations. These pre-installation steps will ensure a smoother and safer installation process. Follow these guidelines to ensure a successful ceiling fan installation:
Gather the Essential Tools and Materials
Start by gathering all the necessary tools and materials required for the installation. This includes:
- A screwdriver
- Pliers
- Wire connectors
- A voltage tester
- A ladder
Having these tools readily available will make the installation process more efficient and convenient.
Turn Off the Power Supply
Prior to starting any electrical work, it’s crucial to turn off the power supply to the room where the ceiling fan will be installed. Locate the circuit breaker that controls the power to the room and switch it off. This precautionary measure ensures your safety and prevents any potential electrical accidents.
Clear the Installation Area
Clear the installation area of any furniture, fixtures, or obstacles that may hinder the installation process. Ensuring an open and clutter-free space will provide you with more room to work comfortably and safely. Make sure the area is free from any objects that could potentially fall and cause accidents during the installation.
By following these pre-installation preparations, you are setting yourself up for a smoother and safer ceiling fan installation process. With the necessary tools at hand, the power supply turned off, and a cleared installation area, you can proceed confidently to the next steps of installing your ceiling fan.
“Having the right tools and materials ready, ensuring the power supply is turned off, and clearing the installation area are essential pre-installation preparations that will contribute to a successful ceiling fan installation.”
| Pre-installation Preparations | |
|---|---|
| Gather the essential tools and materials | A screwdriver, pliers, wire connectors, a voltage tester, and a ladder |
| Turn off the power supply | Locate and switch off the circuit breaker controlling the room’s power supply |
| Clear the installation area | Remove furniture and obstacles that may hinder the installation process |
Selecting the Right Ceiling Fan for Optimal Safety and Performance
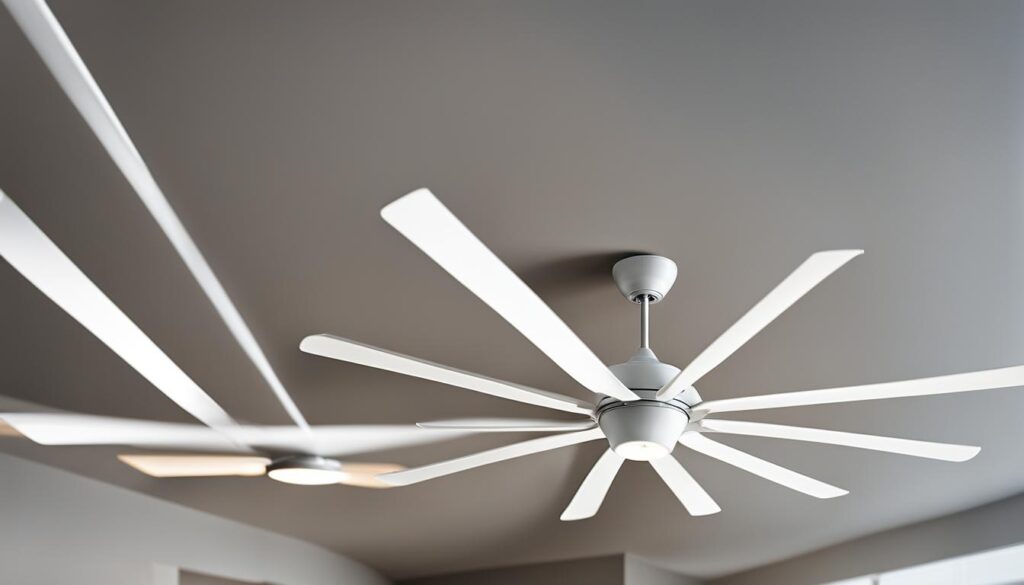
Choosing the right ceiling fan is crucial for ensuring both safety and performance in your home. There are several key considerations to keep in mind when selecting a ceiling fan, including the size of the room, the height of the ceiling, and your personal style preferences.
Considerations for Ceiling Fan Size
One important factor to consider is the size of the room where the ceiling fan will be installed. For larger rooms, it’s recommended to choose a fan with larger blades and higher airflow capacity to effectively circulate air throughout the space. This will ensure that you can enjoy the full benefits of your ceiling fan and maintain a comfortable environment.
On the other hand, if you have a smaller room or a low ceiling, a low-profile fan may be more suitable. These fans are designed to be installed closer to the ceiling, making them ideal for rooms with limited vertical space. Additionally, low-profile fans can provide sufficient airflow without compromising safety or aesthetics.
Airflow Capacity and Ceiling Height
In addition to considering the size of the room, it’s important to assess the airflow capacity of the ceiling fan. Look for fans with adjustable speed settings that allow you to customize the airflow according to your needs. This will ensure that you can achieve optimal comfort throughout the year, both during the warmer months when you need a cooling breeze and during the colder months when you want to circulate warm air.
The height of your ceiling also plays a role in selecting the right fan. For ceilings that are higher than average, consider purchasing an extended downrod to ensure proper installation and functionality. This will allow the fan to hang at the appropriate distance from the ceiling, maximizing its performance and safety.
Choosing a Fan Style
Lastly, consider the fan style that best suits your personal preferences and complements your existing decor. Ceiling fans are available in a wide range of designs, from modern and sleek to traditional and ornate. Take into account the overall aesthetic of your room and choose a fan that seamlessly blends in or serves as an eye-catching statement piece.
By carefully considering the size of the room, airflow capacity, ceiling height, and your personal style preferences, you can select the perfect ceiling fan that guarantees optimal safety, performance, and aesthetic appeal in your home.
Wiring, Electrical Connections, and Mounting Tips for Safe Ceiling Fan Installation
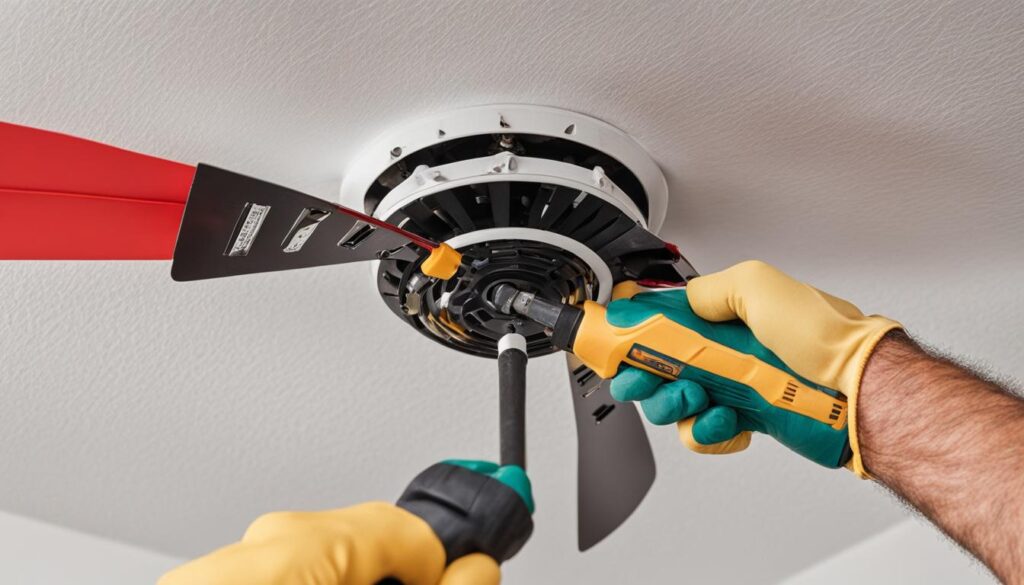
Before embarking on any electrical work, it’s imperative to have a solid understanding of the existing wiring in your home. Begin by identifying the circuit that powers the room where you plan to install the ceiling fan. To ensure your safety, always use a voltage tester to confirm that the power is turned off before proceeding.
If your ceiling lacks an electrical box, it may be necessary to install one to adequately support the weight and ensure the stability of the fan. If you’re uncertain about the wiring process or the need for an electrical box, don’t hesitate to consult a professional electrician for guidance.
When it comes to connecting the wiring, it’s crucial to match the fan wires with the corresponding wires in your home. Follow the manufacturer’s instructions carefully to identify and properly connect the wires. To securely fasten the connections, utilize wire connectors, ensuring a safe electrical connection.
Once the wiring is successfully in place, the next step is mounting the ceiling fan. Begin by assembling the various fan components according to the manufacturer’s instructions. Next, securely attach the fan bracket to the ceiling using the provided screws.
With the help of a partner or a suitable support brace, carefully lift and secure the fan onto the bracket. During this process, it’s essential to ensure that the fan is properly balanced to avoid any potential wobbling or excessive noise while it’s in operation.
By following these wiring, electrical connections, and mounting tips, you can ensure a safe and successful installation of your ceiling fan. It’s important to prioritize safety at every step of the installation process.
Keep in mind that if you’re uncomfortable working at heights or uncertain about any aspect of the installation, it’s always wise to seek the assistance of a professional electrician. Prioritizing safety is key to avoiding accidents and enjoying the benefits of a well-installed ceiling fan.
Safety Precautions and Conclusion
Prioritizing safety during the installation of your ceiling fan is of utmost importance. To ensure a safe and accident-free installation process, always remember to follow these essential safety precautions.
First and foremost, never attempt to work on live electrical circuits. Before starting any electrical work, it is crucial to use a voltage tester to confirm that the power is completely turned off. This simple step can help you avoid the risk of electric shock and other potential hazards.
Additionally, it is essential to diligently follow the manufacturer’s instructions during the installation process. By carefully adhering to these instructions, you can ensure that your ceiling fan is installed correctly and minimize the chances of encountering any unexpected issues or dangers.
Remember to securely fasten all components and connections of your ceiling fan. This will help prevent accidents and ensure that your fan operates safely and smoothly. If you feel uncomfortable working at heights or are unsure about any aspect of the installation, it is always advisable to consult a professional electrician. Their expertise and knowledge can provide the peace of mind that the installation is done correctly and efficiently.
By adhering to these safety precautions and following the step-by-step instructions provided in this guide, you can confidently install a ceiling fan in your home. Enjoy the benefits of improved airflow, increased comfort, and reduced energy costs while maintaining a safe environment for you and your family.


