Portable saunas are a convenient and affordable way to enjoy the relaxation and health benefits of traditional saunas in the comfort of your own home. Whether you’ve purchased a portable sauna for therapeutic purposes or just to unwind after a long day, setting it up may seem like a daunting task. But fear not! This comprehensive guide will take you through the process step-by-step, ensuring a smooth and safe installation process.
- Portable saunas provide a convenient way to enjoy the benefits of traditional saunas in your own home
- Setting up a portable sauna may seem daunting at first, but this guide will ensure a smooth and safe installation process
- Understanding the components and types of portable saunas is essential for a successful installation
- Proper preparation of the installation area is crucial for comfort and efficiency
- Following the manufacturer’s instructions and safety guidelines is vital for a successful installation
Understanding Portable Saunas
Before diving into the installation process, it’s important to understand what a portable sauna is and how it works. Portable saunas are compact and easy to transport, making them an ideal option for in-home relaxation and health benefits. They come in various sizes and styles, including foldable and pop-up designs, and can be set up in just a few steps.
A typical portable sauna unit consists of several components, including a wooden frame, heater, control panel, and accessories. The frame is made up of several wooden panels that fit together to create a secure structure, while the heater and control panel work together to regulate the temperature and duration of the sauna session. Accessories can include a seating bench, footrest, and towels.
When it comes to assembly, most portable saunas require some level of installation. However, the process is usually straightforward, and many users find it easy to do themselves. Some models come with pre-assembled parts, while others require complete assembly. In any case, having a good understanding of the components and how they work together is essential for a successful installation.
TIP: Before purchasing a portable sauna, make sure to read the manufacturer’s instructions and specifications to ensure it’s the right fit for your needs and space.
There are several types of portable saunas to choose from, each with their unique benefits and features. The most common types are:
- Foldable saunas: These saunas are designed with a collapsible frame that makes them easy to store and transport. They typically come in an all-in-one package, and users can set them up in minutes by unfolding the frame and attaching the heating unit.
- Pop-up saunas: Similar to foldable saunas, pop-up saunas feature a collapsible frame, but they also have built-in insulation panels that provide added heat retention. They generally come in a circular or hexagonal shape and are easy to set up and take down.
- Inflatable saunas: These saunas are designed with an inflatable PVC frame that can be quickly inflated and deflated for storage and transport. They are a great option for those who have limited space but still want to enjoy the benefits of a sauna.
No matter which type you choose, make sure to follow the manufacturer’s instructions carefully to ensure safe and proper installation.
Preparing the Installation Area
Before beginning the installation process of your portable sauna, it’s important to prepare the area where you’ll be setting it up. Whether you plan to install it indoors or outdoors, the area must be clean, dry, level, and have a suitable electrical outlet nearby.
If you’re setting up your portable sauna indoors, consider the flooring material. It’s recommended to place your sauna on a hard, flat surface such as a tile, concrete, or vinyl floor. Avoid carpeted or wooden surfaces, as they may not be able to withstand the heat and moisture produced by the sauna.
For outdoor setups, the area must be level and have adequate drainage. It’s recommended to install a foundation made of concrete or pavers to ensure stability and longevity of your outdoor sauna. Additionally, consider the weather conditions and choose a location that is protected from the wind and rain.
Remember to allow sufficient space around the sauna for easy access and ventilation. You may also want to install a ventilation system to ensure proper air circulation and prevent any potential damage to the unit.
By following these simple sauna installation tips, you can create a comfortable and safe space for your portable sauna that will enhance your relaxation and health experience.

Once you’ve prepared the installation area, it’s time to unpack and organize the sauna components. As you unpack your portable sauna, check that all the parts are present and in good condition. Be sure to keep all the hardware together in a safe place where you won’t lose any small components.
Start by laying out the sauna frame on a flat surface with the front and back panels facing up. Attach the four legs to the frame by inserting them into the corresponding sockets and fastening them securely with the provided hardware. Next, attach the horizontal crossbars between the legs, again using the hardware provided. Refer to the assembly guide for specific instructions for your model.
Place the heating elements on the bottom of the sauna floor, positioning them according to the instructions provided. Then, attach the control panel to the front of the sauna, making sure to properly align the connectors. Be sure to tighten all screws and bolts appropriately, ensuring that everything is secure and stable.
Handling the Sauna Components
When handling the sauna components, be sure to wear gloves to protect your hands from sharp metal edges and hot surfaces. Take care when handling the heating elements, as they can become extremely hot and cause burns or fires if mishandled. Follow the manufacturer’s instructions carefully and use caution when working with electrical components.
Once all the components are attached, double-check that everything is secure and properly aligned. Then, move on to the next step of the installation process: assembling the sauna frame.

Now that you have properly organized the components of your portable sauna, it’s time to start building the frame. Begin by unpacking the frame pieces and laying them out on a clean, flat surface. Refer to the manufacturer’s instructions to make sure you have all the necessary parts.
Next, connect the corner pieces to the main frame pieces using the provided screws and bolts. Make sure each piece is securely fastened and the frame is stable. Double-check the alignment of the frame to ensure everything is squared up correctly.
Once the main frame is assembled, attach the legs to the bottom of the frame using the provided hardware. Adjust the level of the legs if necessary to ensure a stable and level base. You can also install the caster wheels at this point if your portable sauna comes with them.
Finally, connect the frame to the electrical components. Follow the manufacturer’s instructions carefully, and make sure all wiring is properly secured and insulated. Once the frame is wired up, move on to the next step of installing the sauna heater and control panel.
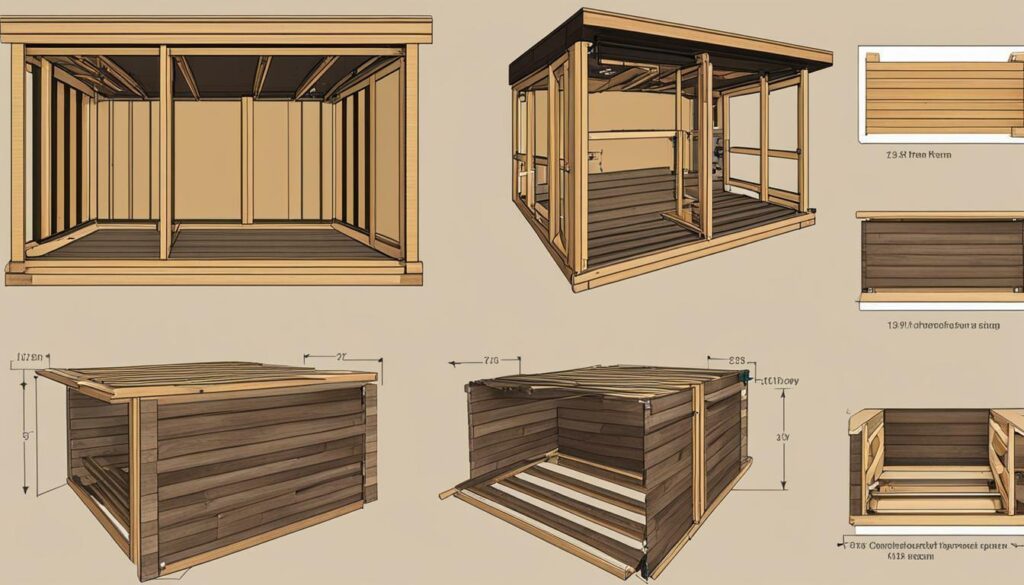
With the frame of your portable sauna assembled, the next step is to install the sauna heater and control panel. These two components are essential to creating a comfortable and customized sauna experience. Follow these steps to ensure a safe and successful installation.
- Remove the heater and control panel from their packaging and place them in their designated locations within the sauna frame.
- Locate the electrical wires protruding from the sauna heater and connect them to the corresponding wires on the control panel. It’s important to follow the manufacturer’s instructions and wiring diagram to ensure proper connections and avoid any electrical hazards.
- If you’re installing an outdoor sauna, it’s recommended to weatherproof the heater and control panel connections with a silicone sealant to prevent moisture damage.
- Once the electrical connections are complete, attach the sauna heater to the designated area within the frame using the provided hardware. Make sure the heater is secure and level.
- Attach the control panel to the designated area within the frame using the provided hardware. Check the control panel display to ensure it is functioning correctly before proceeding with the installation.
- If you’re installing your portable sauna indoors, you may need to hire an electrician to install a dedicated circuit for the sauna to avoid overloading your home’s electrical system.
- Refer to the manufacturer’s instructions to ensure the sauna heater and control panel are properly wired to the power source. Again, if you’re installing an outdoor sauna, make sure the wiring is properly weatherproofed.
- Once the heater and control panel are properly installed and connected to the power source, turn on the sauna and test its functionality by adjusting the temperature and observing the heat output. If everything is working correctly, you’re ready to move on to the final steps of the installation process.
By following these steps, you can confidently install the heater and control panel of your portable sauna without the need for professional assistance. However, if you’re unsure about any aspect of the installation process, it’s always best to consult with a professional sauna installer or electrician for additional guidance.
Securing Sauna Panels and Insulation
Once the frame and heating elements are in place, it’s time to secure the sauna panels and insulation. Proper insulation is key to maintaining the desired temperature and maximizing the heat retention of your sauna.
First, determine the correct placement of the panels. Start with the back panel and attach it to the frame using the pre-drilled holes. Then, attach the side panels to the back panel, making sure they are aligned and level.
After securing the panels to the frame, it’s time to apply insulation. Use a high-quality insulation material and apply it to the interior walls of the sauna. Be sure to leave gaps around the control panel and heating elements to prevent overheating.
Seal any gaps between the panels using a silicone sealant. This will prevent heat loss and ensure the sauna is as energy-efficient as possible.
When insulating the ceiling, make sure to leave an air gap between the insulation and the roof. This will help prevent moisture buildup and prolong the life of your sauna.
Once the insulation is in place, test the sauna for any unwanted air leaks. If you detect any, seal them immediately to avoid heat loss. Proper insulation and sealing will make all the difference in the performance and efficiency of your portable sauna.
For more sauna installation tips, consult a professional sauna installer or refer back to this comprehensive guide on setting up your portable sauna.
Tip: Proper insulation and sealing will help prolong the life of your sauna and reduce energy costs over time.
Now that you’ve completed the installation of your portable sauna, it’s time to power it up and test it. This final step is crucial to ensure that your sauna is working properly and ready for use.
First, connect your portable sauna to a power source using the cord provided. Make sure to plug it into a grounded outlet and avoid using any extension cords or adapters. For outdoor installations, you may want to consider hiring a professional electrician to ensure proper wiring and safety.
Next, turn on the power switch and set the temperature to your desired level using the control panel. It may take several minutes for the sauna to reach the desired temperature, depending on the model and size. During this time, you can prepare yourself by changing into comfortable clothing and grabbing a towel.
Once the sauna reaches the desired temperature, step inside and close the door. Sit back, relax, and enjoy the many benefits of your portable sauna. Be sure to follow all the safety guidelines and recommendations provided by the manufacturer.
If you encounter any issues during the testing process, consult the sauna installation guide and troubleshooting section for guidance. Do not attempt to make any repairs or modifications on your own unless you have proper training and experience.
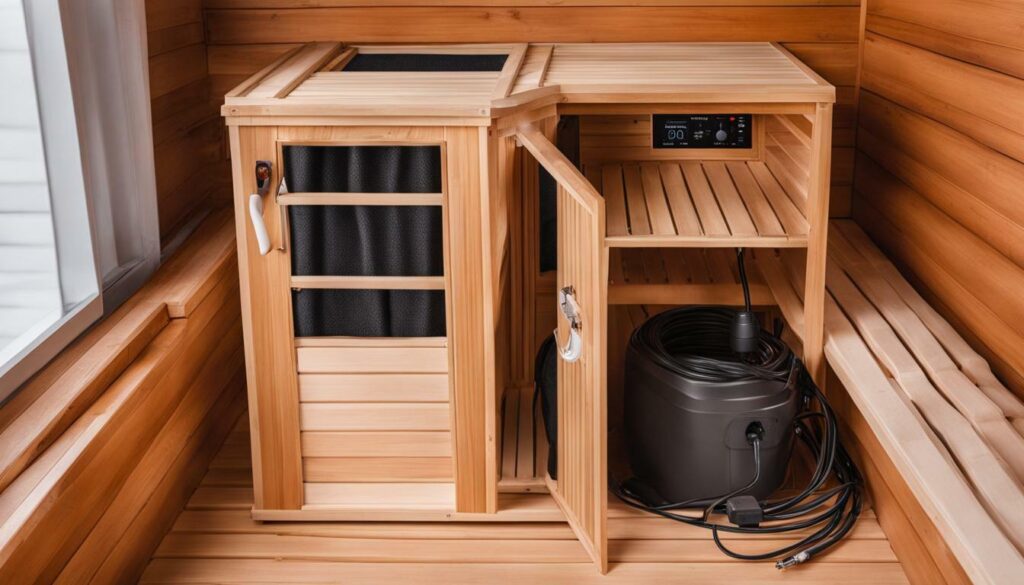
By following this sauna installation guide, you’re now the proud owner of a premium portable sauna that will provide you with countless hours of relaxation and health benefits. Remember to maintain and clean your sauna regularly to ensure optimal performance and longevity. Refer back to this installation guide whenever you need assistance with your portable sauna, and enjoy your very own home spa experience.
Outdoor Sauna Installation Considerations
If you’re planning to install your portable sauna outdoors, it’s important to take some extra precautions to ensure the longevity and safety of your unit. Here are some important considerations to keep in mind:
- Weatherproofing: Since your outdoor sauna will be exposed to the elements, it’s important to select materials that can withstand the weather conditions in your area. Make sure to choose water-resistant wood for the sauna panels and invest in a durable cover for the unit when not in use.
- Ventilation: Proper ventilation is crucial for outdoor saunas to prevent mildew and mold build-up. Make sure to install vents in the sauna panels and consider using a dehumidifier to remove excess moisture from the air.
- Foundation: A strong and stable foundation is essential for an outdoor sauna. It’s important to properly level the ground and use a sturdy material such as concrete or pavers to create a solid base for your unit.
- Electrical Requirements: Make sure to hire a licensed electrician to install the necessary electrical components for your sauna. Consider installing a dedicated circuit to avoid overloading your home’s electrical system.
- Professional Installation: If you’re not comfortable installing your outdoor sauna yourself, consider hiring a professional sauna installation service. They can ensure that your unit is properly installed and can provide tips for maintaining and cleaning your sauna.

Congratulations! You’ve successfully installed your premium portable sauna and can now enjoy its relaxing and health benefits. To ensure your unit continues to perform well, it’s important to maintain and clean it regularly. Here are some helpful tips:
Routine Cleaning
It’s important to clean your portable sauna after each use to prevent the build-up of bacteria and other harmful particles. Use a soft cloth and mild soap solution to wipe down the interior and exterior surfaces, including the bench, backrest, and floor. Avoid using abrasive cleaners and scrubbers that can damage the wood and heating elements.
Inspection
Regular inspections can help identify any issues or defects before they become major problems. Check the electrical wiring and connections, control panel, and heating elements for signs of wear and tear, rust, or damage. Replace any faulty components as soon as possible to prevent safety hazards.
Troubleshooting
If your portable sauna is not functioning properly, there are several troubleshooting steps you can take before calling a professional. Check the power source and ensure that the unit is properly connected. If the sauna is not heating up, make sure the timer and temperature settings are correct. If you’re experiencing any other issues, consult the user manual for troubleshooting tips or contact the manufacturer for assistance.
Sauna Installation Tips
- Keep the sauna dry to prevent mold and mildew growth.
- Use a sauna guard or cover to protect the unit from dust and debris when not in use.
- Avoid placing the sauna near humidity sources, such as showers or water heaters.
- Refrain from using scented oils or lotions inside the sauna, as they can damage the wood and heating elements.
- Ensure proper ventilation to prevent excess moisture and promote air circulation.
Following these maintenance and cleaning tips can help ensure that your portable sauna stays in top condition for years to come. Enjoy your relaxing sauna sessions with peace of mind knowing that you’re taking care of your investment.
Congratulations on successfully setting up your premium portable sauna! By following this guide, you have ensured a smooth and safe installation process for your relaxation and health needs.
While the cost of sauna installation may vary depending on the brand and model of your portable sauna, this guide provides a comprehensive sauna installation guide that can be applied to most models. Remember to refer back to this guide whenever you need assistance with your portable sauna.
Now that your sauna is ready to use, it’s important to keep it well-maintained for optimal performance. Regularly cleaning and inspecting your sauna can help extend its lifespan and ensure a safe and enjoyable experience.
Thank you for choosing to invest in your wellness with a premium portable sauna. We hope you enjoy the ultimate home spa experience with your new installation!


